
Face the challenges of each biome in Deep Rock Galactic: Survivor. Learn how environments like the Crystalline Caverns impact survival and mineral extraction.
Deep Rock Galactic: Survivor throws you into several hostile environments, each with its own unique set of challenges and opportunities. Understanding these biomes is crucial for survival and for maximizing your mineral extraction efforts. Here's a breakdown of the primary biomes you'll encounter:
1. The Crystalline Caverns
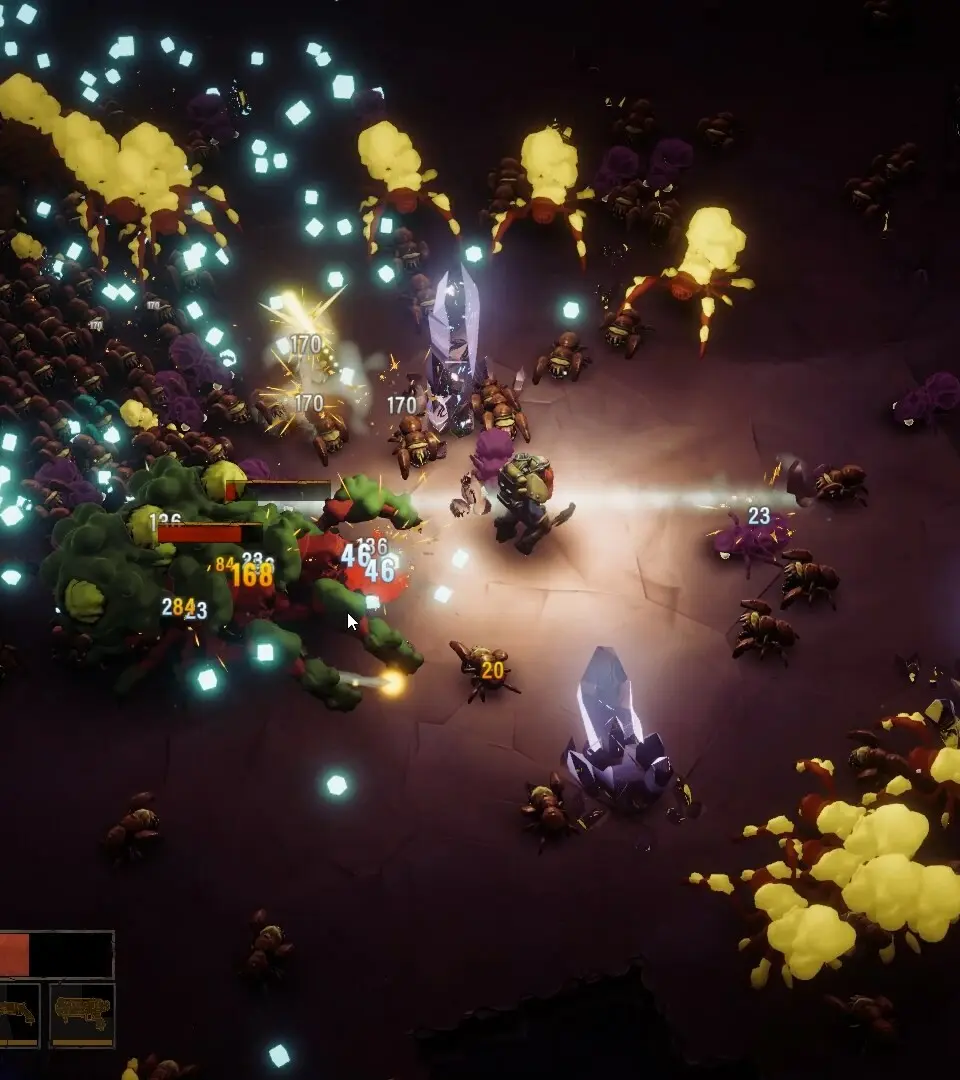
This is often your first introduction to Hoxxes IV. The Crystalline Caverns are characterized by their vibrant, glowing crystal formations and relatively open spaces. While visually stunning, they present a steady stream of basic Grunt and Swarmer threats.
- Key Challenges: Constant, but manageable, enemy waves. Limited cover in open areas.
- Item Locations: Look for clusters of Nitra veins to fuel your resupply pods. Morkite is abundant and essential for mission objectives.
- Strategies:
- Prioritize clearing out Swarmer nests early to prevent being overwhelmed.
- Use movement upgrades like Dash to quickly reposition and avoid being cornered.
- Weapons with good area-of-effect (AoE) damage, such as the Plasma Cutter or Shredder Gatling, excel here.
2. The Magma Core
Prepare for intense heat and molten hazards in the Magma Core. This biome is defined by rivers of lava, geysers, and fiery enemies. The environment itself is a constant threat, so careful movement is paramount.
- Key Challenges: Environmental damage from lava and geysers. Tougher, fire-resistant enemies like the Exploder and Slasher.
- Item Locations: Magnite is commonly found here, often near heat sources. Morkite deposits can be found in more sheltered pockets.
- Strategies:
- Invest in resistances early. The Armor Plating upgrade or the Shield Generator passive can significantly mitigate environmental damage.
- Keep a safe distance from lava pools and time your movements to avoid geyser eruptions.
- Weapons that deal high single-target damage or have good crowd control are effective. The Cryo Cannon can freeze enemies, negating their fire damage, while the Rocket Launcher can clear groups from a distance.
- Prioritize killing Exploders before they reach you, as their molten explosions can be devastating.
3. The Azure Weald
The Azure Weald is a dense, bioluminescent jungle filled with hazardous flora and aggressive fauna. Visibility can be reduced by thick foliage, and many enemies use stealth or ambush tactics.
- Key Challenges: Reduced visibility. Enemies that can burrow or camouflage. Spore-spewing plants that inflict status effects.
- Item Locations: Bismor is a common find in the Weald. Look for large Morkite veins hidden within the dense undergrowth.
- Strategies:
- Weapons with wide arcs or persistent damage, like the Boomstick or the Minigun, are excellent for clearing dense foliage and hidden enemies.
- Keep an eye on your minimap for enemy signatures and be prepared to react to ambushes.
- The Flare Gun can be invaluable for illuminating dark areas and spotting hidden threats.
- Prioritize destroying spore-spewing plants to prevent debuffs like slow or damage over time.
4. The Fungal Wastes
This biome is a sprawling network of caves filled with giant mushrooms, toxic spores, and fungal creatures. The air is thick with spores, which can inflict various status effects on the player.
- Key Challenges: Persistent spore clouds that inflict debuffs (e.g., reduced movement speed, damage over time). Enemies that release spores upon death.
- Item Locations: Uranite is the primary resource here. Morkite can be found in pockets, often guarded by tougher fungal enemies.
- Strategies:
- Invest in spore resistance or cleanse effects. The Respirator upgrade is highly recommended.
- Area-clearing weapons are essential for dealing with swarms of smaller fungal enemies and for quickly destroying spore-releasing corpses. The Grenade Launcher or Shredder Gatling are good choices.
- Be mindful of your positioning to avoid standing in spore clouds for extended periods.
- Prioritize killing enemies that release large spore clouds upon death to prevent chain reactions.
100% Human-Written. AI Fact-Checked. Community Verified. Learn how AntMag verifies content