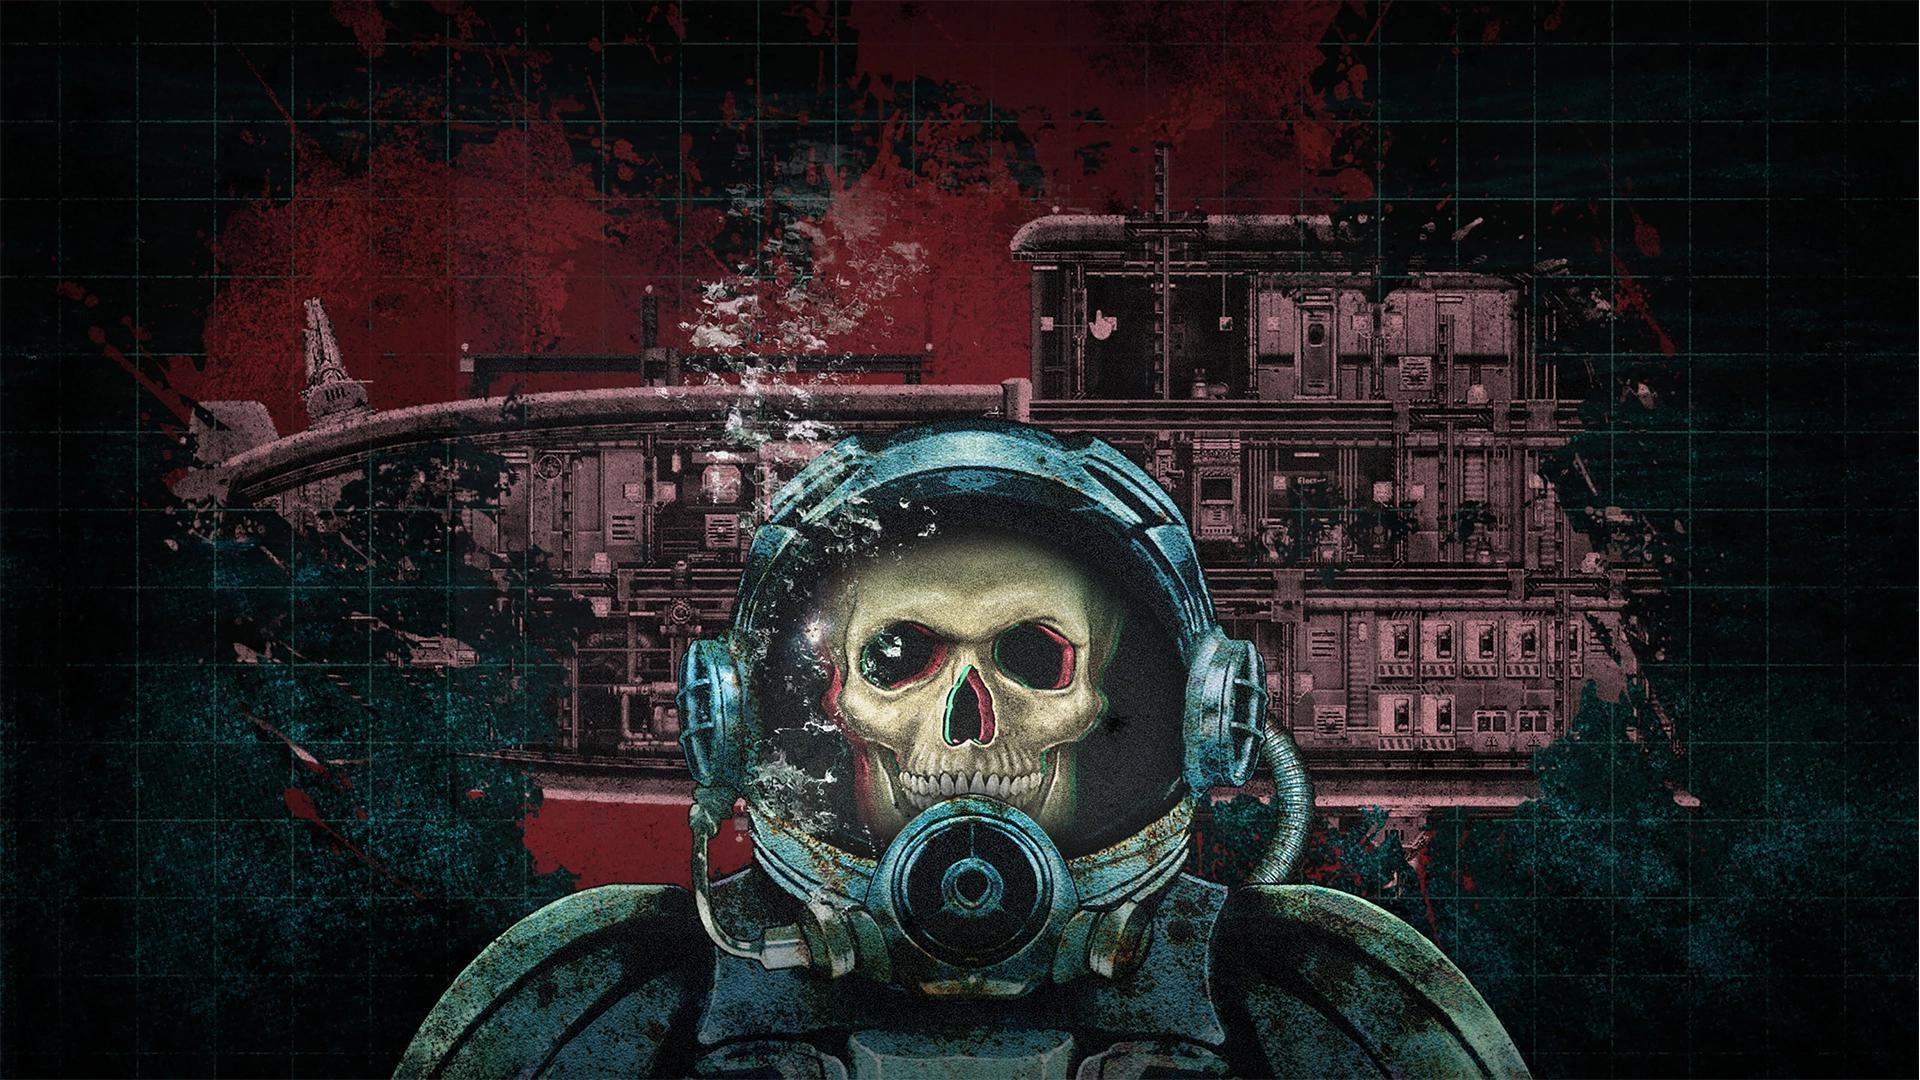

See all Europa map zones in Barotrauma. This guide details each region, its unique challenges, and the resources available for your survival.
The vast ocean of Europa in Barotrauma is divided into distinct map zones, each presenting unique environmental conditions, creature populations, and mission types. These zones are not merely cosmetic; they significantly influence the gameplay experience and the challenges players will face. As your submarine descends deeper, you will transition through these zones, encountering increasingly dangerous flora and fauna, as well as more complex geological formations. Understanding the characteristics of each zone is crucial for mission planning, resource management, and crew survival. For instance, the shallower zones might be relatively safe, populated by smaller, less aggressive creatures, while the deeper zones could harbor colossal leviathans and extreme environmental hazards like crushing pressures or volcanic vents. The transition between zones often marks a significant increase in difficulty, requiring players to ensure their submarine is adequately prepared and their crew is ready for the challenges ahead. Each zone offers a distinct flavor of danger and discovery, contributing to the rich and varied exploration of Europa.
The progression through Europa's map zones is often tied to the game's campaign structure. As players advance through missions, they will be directed into progressively deeper and more hazardous zones. This gradual escalation of difficulty ensures that players have time to upgrade their submarine, train their crew, and learn the intricacies of the game's mechanics. Certain missions might specifically require venturing into a particular zone to retrieve an artifact, investigate a distress signal, or extract a rare resource. The types of creatures encountered will also vary significantly between zones. For example, the relatively docile Spinefish might be common in the upper layers, while the terrifying Thresher or the elusive Mudraptor could be found in deeper, more treacherous waters. Environmental hazards also become more pronounced in lower zones, such as increased water pressure that can damage the submarine's hull or pockets of toxic gas that pose a threat to the crew. Mastering the challenges of each zone is essential for completing the campaign and uncovering the full story of Europa.
Upper Zones
The upper zones of Europa's map represent the initial frontier for most Barotrauma expeditions. These areas are generally characterized by moderate water pressure and a less aggressive ecosystem compared to the deeper regions. Players will typically encounter smaller, more manageable alien creatures such as Spinefish and Hammerheads, which, while still posing a threat, are less likely to overwhelm an unprepared crew. Resources may be less abundant here, but the relative safety allows players to focus on learning the submarine's controls, practicing basic repair and maintenance, and completing introductory missions. Points of interest in the upper zones might include smaller asteroid fields or shallow wrecks, offering opportunities for early-game salvage and resource gathering. It is crucial for new players to utilize these zones to familiarize themselves with the game's core mechanics, such as managing power, operating the sonar, and responding to minor hull breaches. Successfully navigating the upper zones provides a solid foundation for the more perilous journeys that lie ahead in the deeper layers of Europa.
Mid Zones
As players venture into the mid zones of Europa, the challenges and rewards escalate significantly. Water pressure increases, demanding more robust submarine hulls and efficient power management to maintain life support and propulsion. The creature population becomes more diverse and dangerous, with the introduction of threats like the Mudraptor, which can swarm the submarine, and the formidable Tiger Thresher. Missions in these zones often involve more complex objectives, such as investigating abandoned research outposts or salvaging valuable cargo from larger wrecks. have a well-maintained submarine, with upgraded weapons systems and effective medical supplies, to survive encounters in the mid zones. Resource gathering becomes more critical, as players will need materials to repair damage and craft better equipment. Effective communication and coordination among the crew are paramount in these zones, as a single mistake can lead to catastrophic failure. The mid zones serve as a crucial proving ground, testing the crew's preparedness before they face the ultimate dangers of the deep.
Deep Zones
The deep zones of Europa represent the ultimate frontier in Barotrauma, characterized by extreme water pressure, scarce resources, and the most formidable alien lifeforms. These are the most dangerous areas of the map, where even the most advanced submarines can be crushed if not properly maintained and operated. Players will encounter colossal creatures like the Kraken or the Abyssal Leviathan, which can single-handedly destroy a submarine. Environmental hazards are also at their most severe, with intense volcanic activity, toxic gas clouds, and crushing depths posing constant threats. Missions in the deep zones are typically high-stakes endeavors, often involving critical story progression or the retrieval of extremely rare and valuable artifacts. Survival in these zones requires a fully upgraded submarine, a highly skilled and coordinated crew, and a significant amount of luck. The deep zones are the ultimate test of a player's mastery of Barotrauma, pushing them to their limits and offering the greatest rewards for those who can conquer their terrifying depths.
100% Human-Written. AI Fact-Checked. Community Verified. Learn how AntMag verifies content