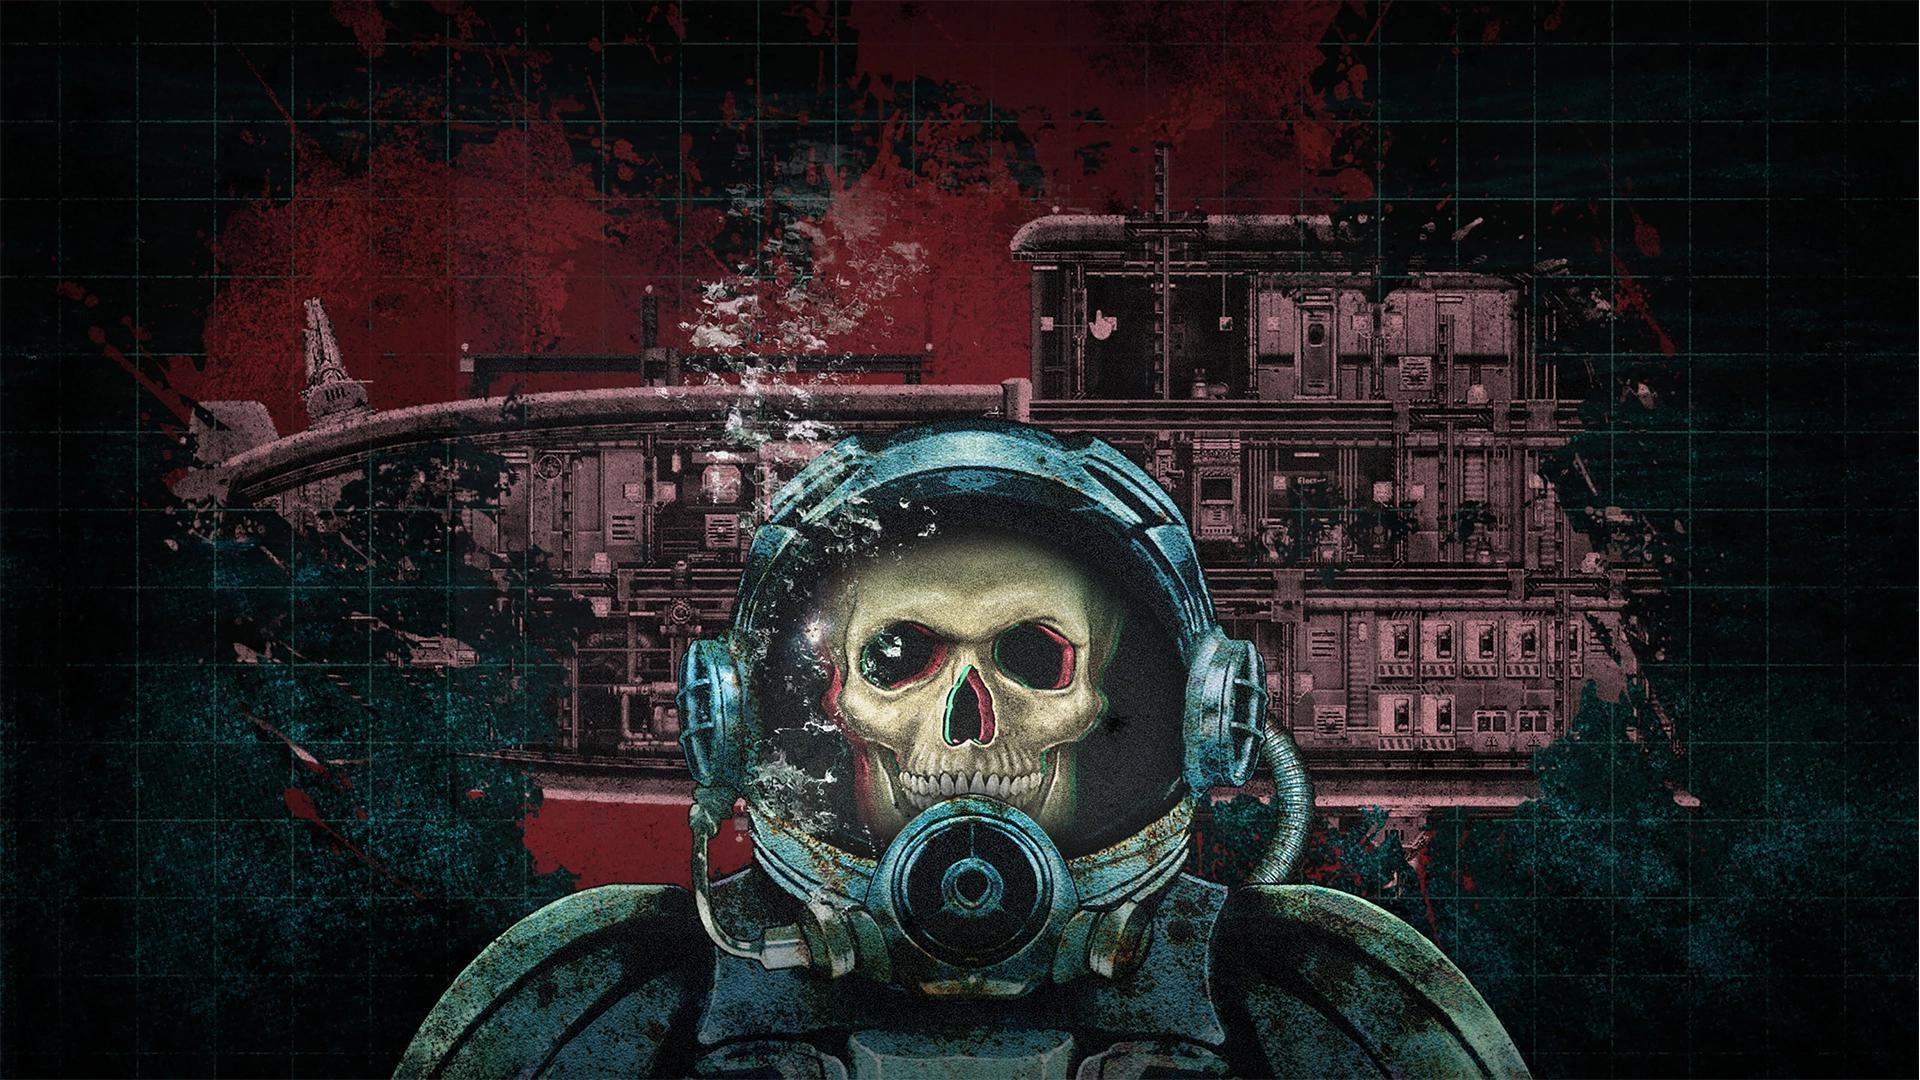
Choose optimal Barotrauma submarine loadouts, balancing coilgun and railgun systems with reinforced hull plating for diverse mission success.
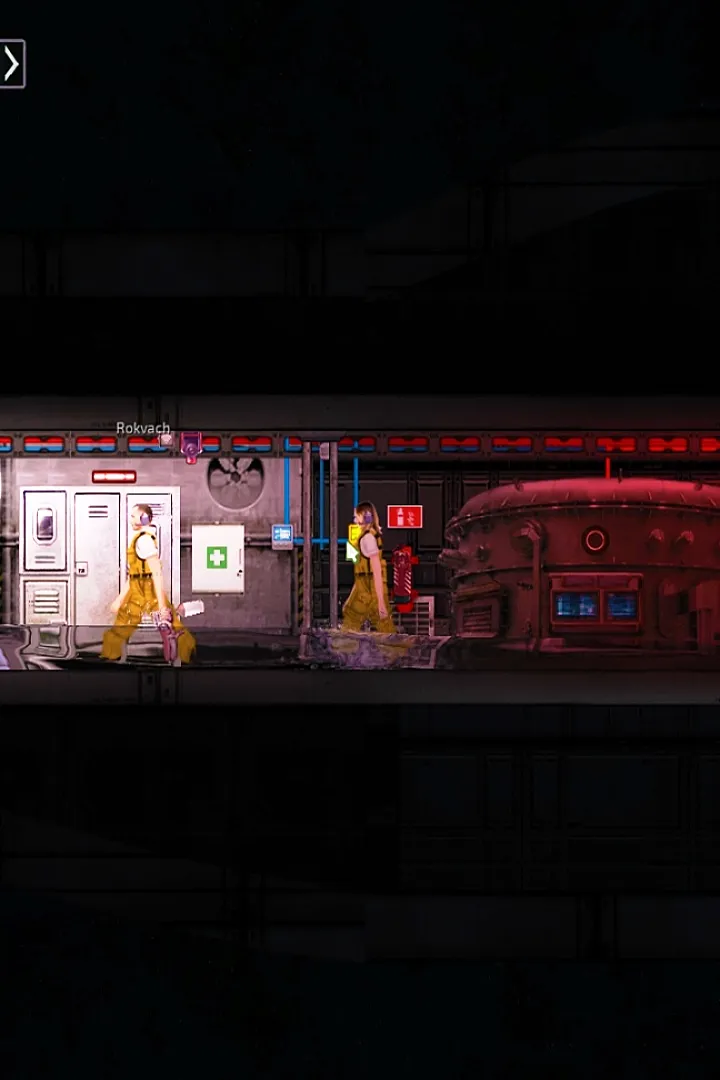
Selecting the right loadout for your submarine in Barotrauma is a critical decision that directly impacts your crew's survivability and mission success. The optimal loadout is not a one-size-fits-all solution; it must be tailored to the specific submarine class, the intended mission type, and the anticipated threats of the region. For instance, a submarine designed for deep-sea exploration might prioritize advanced sonar and long-range weaponry, while one intended for combat missions would focus on heavy armor, powerful turrets, and robust repair systems. The wiki provides extensive information on various submarine classes, their inherent strengths and weaknesses, and recommended configurations to maximize their potential. Understanding the interplay between different components, such as the power draw of a high-output reactor versus the defensive capabilities of reinforced hull plating, is key to building an effective vessel.
When considering equipment, players must balance offensive, defensive, and utility systems. Offensive capabilities might include several turrets, such as the coilgun or railgun, each with different firing rates, damage types, and effective ranges. Defensive systems encompass hull plating, armor upgrades, and countermeasures designed to mitigate damage from enemy attacks or environmental hazards. Utility systems are equally vital, including advanced sonar for threat detection, efficient oxygen generation, robust repair tools, and specialized cargo holds. The power requirements of these systems are a significant factor; a powerful reactor might be necessary to run all systems at full capacity, but it also introduces its own set of risks if not properly managed. The guides often detail specific component combinations that have proven effective in various scenarios, offering a solid starting point for players to customize their own loadouts.
Furthermore, the crew's roles and skill sets play a significant part in determining the ideal loadout. A submarine with a highly skilled Engineer might be able to manage a more complex and power-hungry reactor setup, while a crew with a dedicated Medical Officer would benefit from enhanced medical bay facilities and readily accessible medical supplies. The availability of specific resources and technologies within the game also influences loadout choices. Players might need to adapt their plans based on what upgrades and components they can acquire or craft. The wiki's comprehensive database of items and their statistics allows players to make informed decisions, comparing the effectiveness of different weapons, the durability of various hull materials, and the power efficiency of different reactor types. Ultimately, an optimal loadout is a dynamic configuration that evolves with the crew's experience and the challenges they face.
Core Loadout Components
- Weapon Systems: Turrets like the coilgun and railgun, along with specialized torpedoes and depth charges, are essential for defense and offense.
- Defensive Measures: Reinforced hull plating, armor upgrades, and countermeasures are crucial for withstanding enemy attacks and environmental damage.
- Power Generation: Reactors, from basic to advanced models, must be chosen to adequately support all onboard systems without causing power overloads.
- Navigation and Detection: Sonar systems, periscopes, and radar are vital for identifying threats and navigating the treacherous underwater environment.
- Support Systems: Oxygen generators, fire suppression systems, and advanced repair tools are necessary for maintaining the submarine and crew's well-being.
Loadout Customization Strategies
Customizing your submarine's loadout involves a strategic approach. For combat-heavy missions, prioritize powerful turrets like the railgun and ensure sufficient ammunition reserves. Complement this with robust armor and countermeasures to survive sustained enemy fire. If the mission leans towards exploration, focus on advanced sonar for early threat detection, efficient oxygen generation for extended dives, and ample cargo space for valuable resources. A balanced approach is often best for general exploration and campaign progression, ensuring you have adequate defenses while also being equipped to handle unexpected encounters. The wiki's detailed component descriptions, including power consumption and effectiveness ratings, are invaluable for making these trade-offs. For example, understanding that a coilgun has a higher rate of fire but lower damage per shot than a railgun allows for strategic choices based on the type of enemy encountered. Crew roles also dictate loadout needs; a submarine with a dedicated mechanic might benefit from more complex, high-performance systems that require skilled operation and maintenance.
100% Human-Written. AI Fact-Checked. Community Verified. Learn how AntMag verifies content