
Strategize objective splitting in Rotwood co-op. Learn when to defend the forge and when to hunt the blight lord for optimal team progression and rewards.
Rotwood's cooperative mode, designed for up to 4 players, opens up dynamic strategic possibilities beyond simply sticking together. While the core gameplay loop revolves around intense combat and dungeon delving, intelligent objective splitting can significantly accelerate progress, enhance exploration, and maximize loot acquisition. This approach is particularly effective in areas featuring multiple pathways, optional objectives, or distinct environmental challenges. By dividing the team, You can cover more ground simultaneously, tackle disparate threats, and gather resources more efficiently. The key to success lies in clear communication, a shared understanding of immediate goals, and ensuring each sub-group is sufficiently prepared for their assigned tasks.
When to Split Objectives: Strategic Scenarios
Not all situations are conducive to splitting up. However, when the stars align, it can be a game-changer. Here are some prime examples:
-
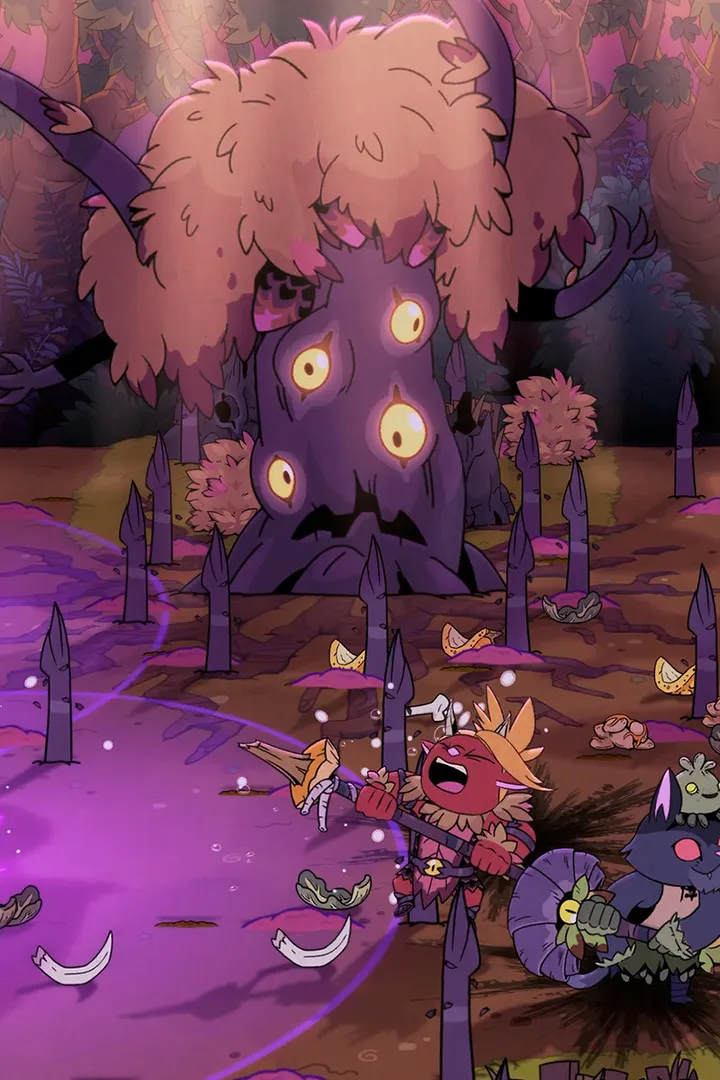
The Dual-Path Dungeon: Imagine entering a large cavern system like the Whispering Caves. The main path might lead directly to the area's boss, the Gloom Weaver, but a secondary, more perilous tunnel could branch off. One pair of Hunters could push forward to engage the boss's initial defenses, while the other pair explores the side tunnel. This side path might contain a hidden shrine offering a temporary Buff, a cache of rare crafting materials like Glimmering Shards, or even a shortcut that bypasses a later combat encounter. The risk is that the boss might enrage sooner if not engaged promptly, but the reward could be a significant power boost or vital resources.
-
The "Guard the Gate" Scenario: In certain areas, like the approach to the Ironclad Fortress, players might encounter a large gate requiring a lengthy activation process. One player or a pair could be tasked with initiating and defending the activation mechanism, which often triggers waves of enemies. The remaining Hunters can then split: one might scout ahead to clear the immediate path beyond the gate, while another could flank to intercept reinforcements or secure a nearby vantage point. This prevents the activation team from being completely overwhelmed.
-
Resource Rush in the Sunken City: The Sunken City is notorious for its scattered, high-value resources, such as Coral Essence and Abyssal Pearls. If the team has a clear objective of gathering specific materials for an upgrade, splitting into two pairs can be highly effective. One pair could focus on a known cluster of resource nodes, while the other ventures into a slightly more dangerous, unexplored section of the city where rarer materials are rumored to spawn. This requires careful attention to the minimap and constant communication about enemy sightings.
-
Optional Objective Diversion: Some areas present optional objectives that don't directly impede main progression but offer substantial rewards. For example, in the Verdant Mire, a side quest might involve destroying a series of corrupted totems guarded by aggressive flora. One group could handle the main path and its associated enemies, while the other tackles the totem objective. Completing these optional tasks often unlocks unique weapon blueprints or powerful Runes.
Loadout Recommendations for Independent Ventures
When venturing off solo or in a pair, your loadout becomes paramount. The goal is self-sufficiency and the ability to handle unexpected threats. Here's a general guideline:
-
Weapon Choice: Prioritize weapons with good crowd-control capabilities or a balanced mix of single-target damage and AoE. A Rattlesnake Flail can be excellent for staggering multiple enemies, while a Sunstone Bow offers ranged safety and decent AoE potential with its charged shots. If you anticipate tougher solo encounters, a weapon with a strong defensive or evasive secondary ability, like the Shadow Dagger's dash, is invaluable.
-
Armor & Accessories: Focus on survivability. Armor that offers a balance of physical and elemental resistance is ideal. Consider accessories that boost your dodge chance, increase your healing effectiveness, or provide a small defensive buff upon taking damage. A Guardian Charm, for instance, can be a lifesaver.
-
Consumables: Always carry a full stack of Health Potions. Additionally, bring a few Stamina Potions if your chosen weapon or playstyle is stamina-intensive. For specific areas, consider bringing resistance-boosting consumables, such as Flameproof Brew for areas with fire hazards.
-
Abilities & Powers: Ensure your equipped Powers complement your solo playstyle. A healing Power like "Regrowth" or a defensive Power like "Stone Skin" can significantly increase survivability. For offensive solo players, a Power that enhances damage output or provides crowd control, such as "Thunderclap," is beneficial.
Regrouping and Communication: The Safety Net
Splitting objectives is inherently risky. The ability to quickly and safely regroup is crucial for mitigating these risks:
-
Designated Rally Points: Before splitting, agree on a general rally point – usually a visually distinct landmark or a cleared area. If one group encounters overwhelming odds, their primary objective becomes reaching the rally point.
-
"Need Help" Pings: Utilize the in-game ping system. A dedicated "Need Help" ping should be a clear signal to the other group that immediate assistance is required. Coordinate your pings with verbal callouts if using voice chat.
-
Strategic Retreat: If a group is struggling, a tactical retreat to a more defensible position or back towards the rally point is often wiser than a futile stand. The other group can then move to intercept and support.
-
Boss Encounter Coordination: For boss fights, splitting is generally not advised unless it's a specific mechanic of the fight (e.g., one player distracts adds while others attack the boss). If a group is wiped while the other is still alive, the surviving group should attempt to reach the respawn point or the rally point and regroup before re-engaging.
-
Minimap Awareness: Constantly check the minimap for the icons of your teammates. If a teammate's icon disappears or is stationary for too long in a dangerous area, it's a strong indicator they might need assistance.
By mastering the art of objective splitting, communication, and preparedness, teams can transform Rotwood's challenging environments into opportunities for efficient and rewarding co-operative play.
100% Human-Written. AI Fact-Checked. Community Verified. Learn how AntMag verifies content