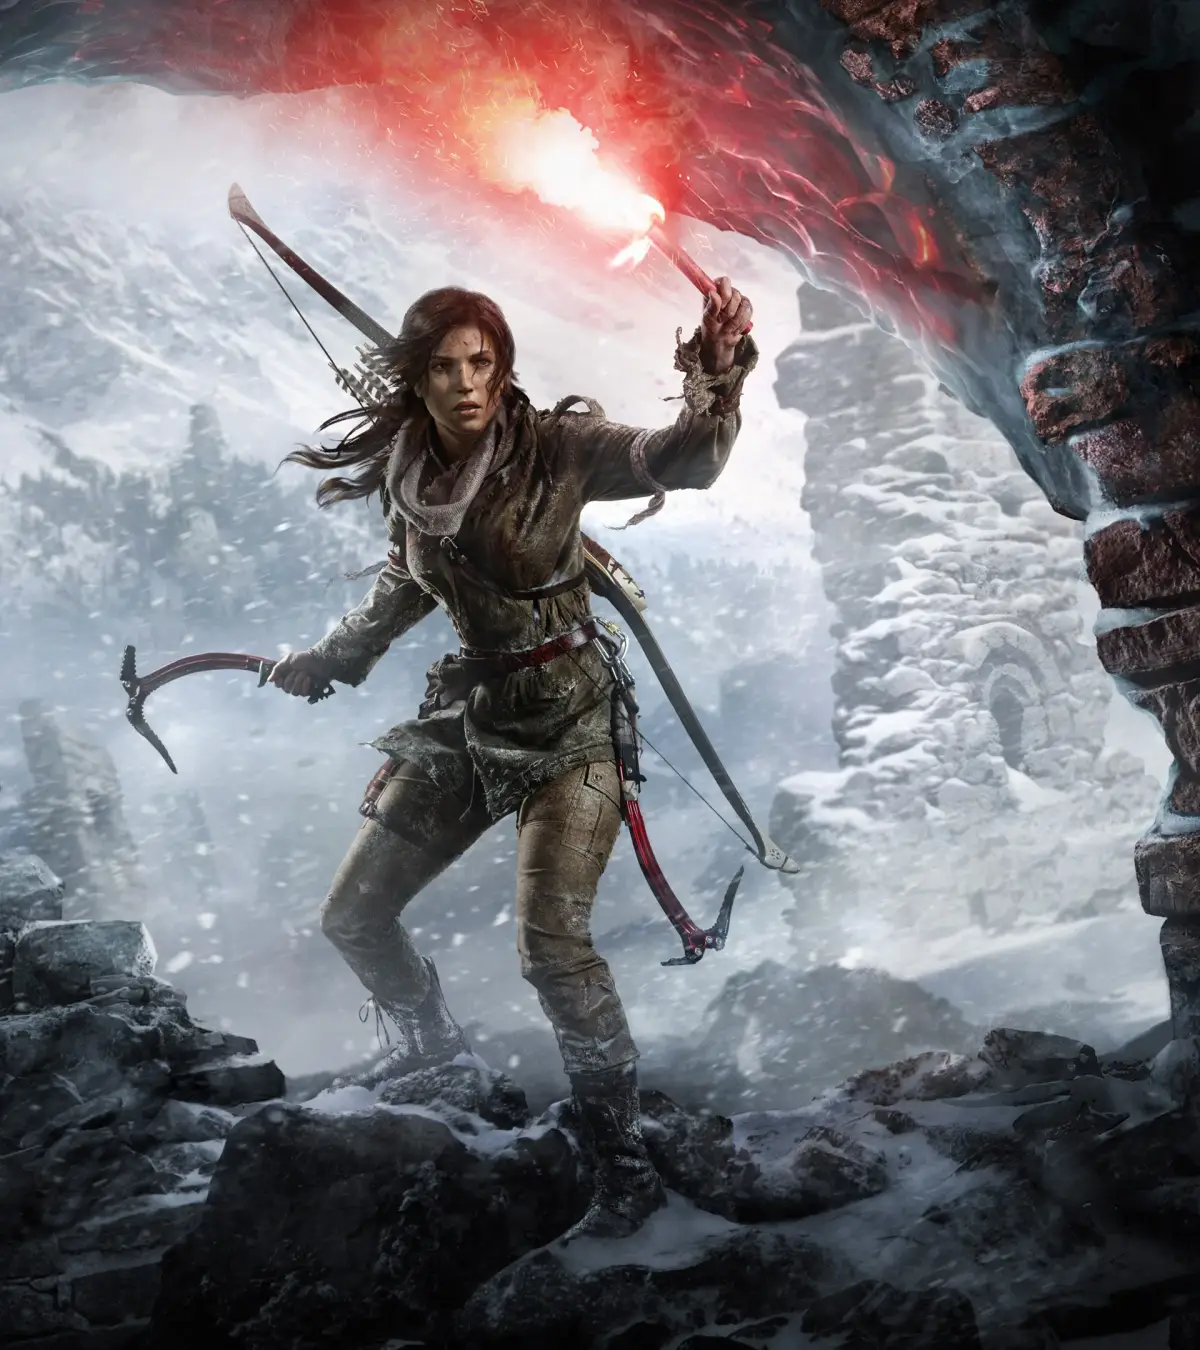
Welcome back to the adventure, Lara! Rise of the Tomb Raider plunges you into the Siberian wilderness, continuing the reboot's blend of exploration, intense combat, and challenging puzzle-filled tombs. If you enjoyed the previous game's formula of raiding ancient sites and surviving harsh environments, you'll feel right at home mastering Lara's skills, crafting gear, and uncovering the mysteries of the Prophet's Tomb.
This guide is your essential companion for conquering every aspect of Rise of the Tomb Raider. We'll help you navigate the main campaign missions, tackle every optional Challenge Tomb, and track down the game's frankly ridiculous number of collectibles – from Coin Caches and Relics to Documents and Survival Caches. Plus, we've got you covered with a dedicated Achievement/Trophy guide to ensure you snag every last reward.
Prologue: Walkthrough
Follow Lara Croft through the 'Prologue: Walkthrough' of Rise of the Tomb Raider. This guide details reaching the mountain summit, navigating icy cliffs, and overcoming obstacles.
Prologue: Walkthrough
Follow Lara Croft through the 'Prologue: Walkthrough' of Rise of the Tomb Raider. This guide details reaching the mountain summit, navigating icy cliffs, and overcoming obstacles.

Best Laid Plans: Glacial Cavern
Follow the Mongolian path and search for signs of the Lost City in the Glacial Cavern. Find documents, relics, and salvage in this section of the Rise of the Tomb Raider walkthrough.
Best Laid Plans: Glacial Cavern
Follow the Mongolian path and search for signs of the Lost City in the Glacial Cavern. Find documents, relics, and salvage in this section of the Rise of the Tomb Raider walkthrough.
Challenge Tomb 01
Need help with Challenge Tomb 01 in Rise of the Tomb Raider? Follow our guide to navigate the Ice Ship and claim your rewards. Get started now!
Alright, so you've made it to Challenge Tomb 01, also known as the Ice Ship. This one's pretty straightforward once you know the path. The main goal here is just to complete any Challenge Tomb, and this is a good one to start with. You'll bag yourself 10 experience points for your trouble.
- 1Once you're done exploring the tomb itself, you'll find yourself back near the zip line. Head back down the stairs you came from.
- 2Look over to your left. You should see a zip line waiting for you.
- 3Hop on that zip line. It'll take you right back to the main path, super close to where your objective marker is. Easy peasy!
- Don't get lost on your way out! The zip line is the quickest way back to the main route.
- This tomb is pretty basic, so focus on enjoying the scenery and grabbing any extra supplies you might have missed on the way in.
- 10 Experience Points
- Completion of a Challenge Tomb
Best Laid Plans: Part
Follow the Mongolian path, find the Lost City, and discover hidden relics in this walkthrough for Rise of the Tomb Raider's 'Best Laid Plans' section.
Alright, let's get through this part of 'Best Laid Plans' in Rise of the Tomb Raider. The main goal here is to follow the Mongolian path and keep an eye out for clues leading to the Lost City.
If you skipped the Challenge Tomb earlier, or if you're just not paying attention to the objective marker, you can still find a chest containing the Relic [03/03 – Enamel Brooch]. Make sure to check the back of it after you grab it; it'll give Lara a nice boost to her Greek language skill!
From where the objective marker is pointing, you'll want to jump across to the ice wall directly opposite. Climb up to the ledge above. Keep jumping across the gaps until you reach a pool of water. Dive in and start mashing that swim button to go faster! You need to pilot Lara through the underwater tunnel to the other side. Surface as soon as you can.
Once you surface, follow the path to the left until you hit another pool of water. After swimming through and surfacing again, turn around. You should spot Document [04/04 - Russian] tucked away in a small alcove to your right.
Now, head up the ramp nearby and just keep following the linear path. It'll lead you out of the cave. As soon as you exit, go down the hill and approach the Base Camp. A cutscene will trigger there, so get ready for that.
Similar guides you might like


100% Human-Written. AI Fact-Checked. Community Verified. Learn how AntMag verifies content