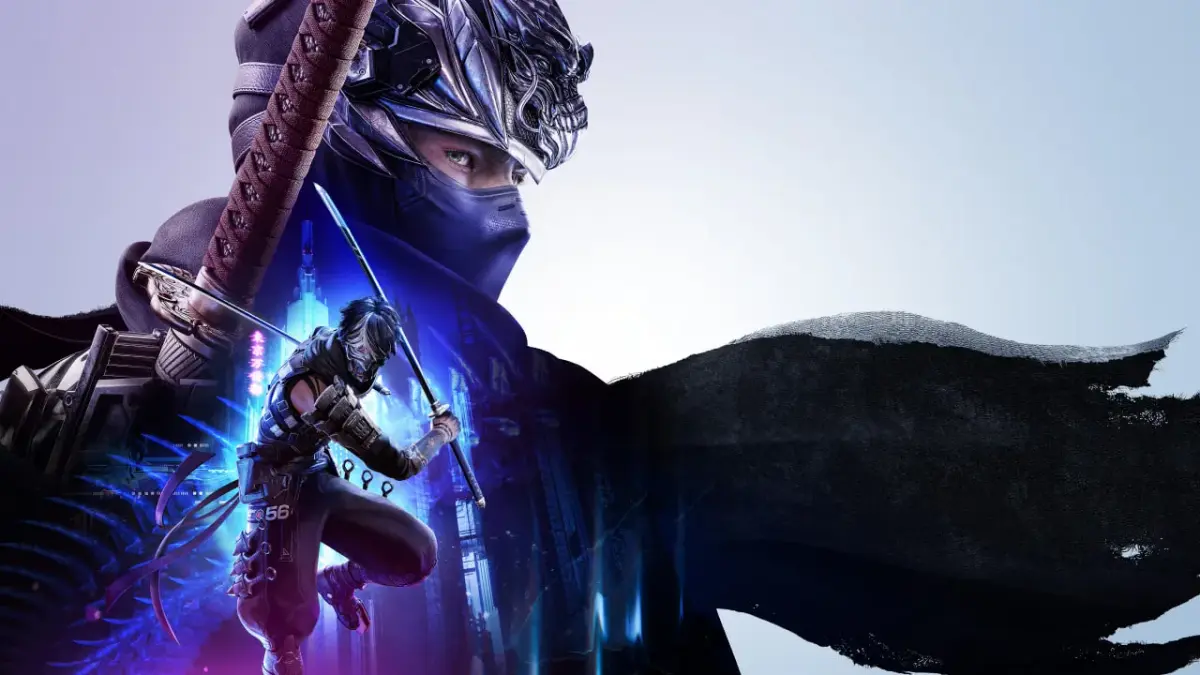
Master Part 72 of Ninja Gaiden 4 with our comprehensive walkthrough. Learn how to defeat Alma, navigate the Military Gates, and conquer the boss battle against Gamov.
Walkthrough
- 1Chapter 8: Alma, Greater Fiend
- Objective #1: Go to Great Bridge Square.
- 2Objective #2: Go to the Military Gates (Optional).
- 3Save your game at the Save Point and replenish supplies at Muramasa's Statue if needed. Exit the Monastery back to Monastery Plaza.
- 4Head down the only open pathway in Monastery Plaza towards Drawbridge Hill. Use the Save Point there if needed, then proceed down the steps to Drawbridge Square.
- 5In Drawbridge Square, pull the lever to lower the bridge. Defeat the Ogres that appear to receive the BLADE OF THE OUROBOROS Sorcery for Rachel.
- 6Exit Drawbridge Square through the Blue-jeweled doorway.
- 7Engage the soldiers: prioritize the Grenadier, then the other two. Use Ultimate Techniques (UT's) if available.
- 8Go to the end of the path and strike the crack on the wall to reveal a secret pathway. Open the chest for a reward and descend the zigzag path to the next gate.
- 9Upon exiting the gate into Dworku Alleyway, you must choose your path: Great Bridge Square (boss encounter) or Military Gate (ambush).
- 10If choosing to do both, tackle the ambush first. Go up the stairs and exit through the Red-jeweled door to the Military Gate.
- 11Rachel Enemy Ambush #2: Military Gate
- VERY HARD MODE NOTE: Expect a mixture of 100 Pink/Brown Fiends and Ogres.
- 12After the ambush, proceed to the Bronze Lilly Door. Eliminate any soldiers and use the Save Point nearby.
- 13Go to Clock Tower Square and exit through the Green-jeweled door. Replenish items at Muramasa's Shop if necessary.
- 14Approach Great Bridge Square and prepare for a Red Fire Ninja ambush. Use evasion and combos to defeat them.
- 15After defeating the ninjas, a boss battle against Gamov will trigger.
- VERY HARD MODE NOTE: Gamov will have robot MSAT soldiers assisting him.
- 16Chapter 9: Hidden Underground
- After the battle with the Bone Dragon, collect the Lives of the Thousand Gods #3 item to increase your HP bar.
- 17Return to the Save Point at Inner Econtra and SAVE your game.
- 18Jump down to the area with the Bone Dragon's dead body.
- 19Area: Underground Cemetery
- Find Golden Scarab #16 in a wall alcove near the Bone Dragon's body.
- 20Enter the doorway to the next area.
- 21Area: Coffin Chamber
- Defeat the four Archers and Apparitions. Incendiary Shurikens are recommended.
- 22Enter the next room containing Muramasa's Statue. Upgrade the Dragon Sword to Level Three if possible. Restock on items.
- 23Use the Save Point to SAVE your game. Open the nearby chest to find the MAP for the area.
- 24Area: Suspension Bridge Room
- Find an Elixir in a chest to the left of the exit.
- 25Locate Golden Scarab #17 to the right of the exit.
- 26Jump to the bottom of the room and defeat the Zombies and Shadow Fiends.
- 27Two doorways (Red Eye and Blue Eye) and a large locked door with a red and blue lock are present. Enter either doorway to begin a series of puzzles.
- 28Area: Red Eye Chamber
- This is a simple puzzle involving two Archers.
Tips
- Prioritize the Grenadier when fighting soldiers.
- Use Ultimate Techniques (UT's) for efficient combat against groups of soldiers.
- Consider using Incendiary Shurikens against the Archers and Apparitions in the Coffin Chamber.
- Ensure your Dragon Sword is upgraded to Level Three by this point.
- Save your game frequently, especially before boss battles and after finding important items.
- BLADE OF THE OUROBOROS Sorcery (for Rachel, upon defeating Ogres in Drawbridge Square).
- MAP for the area (found in a chest in the Coffin Chamber).
- Elixir (found in a chest in the Suspension Bridge Room).
- Golden Scarab #16 (found in Underground Cemetery).
- Golden Scarab #17 (found in Suspension Bridge Room).
- Lives of the Thousand Gods #3 (found after the Bone Dragon battle).
100% Human-Written. AI Fact-Checked. Community Verified. Learn how AntMag verifies content