Your essential guide to conquering the 'Into the Hive' mission in Warhammer 40,000: Dawn of War II. Learn enemy tactics, boss strategies, and optimal squad setup.
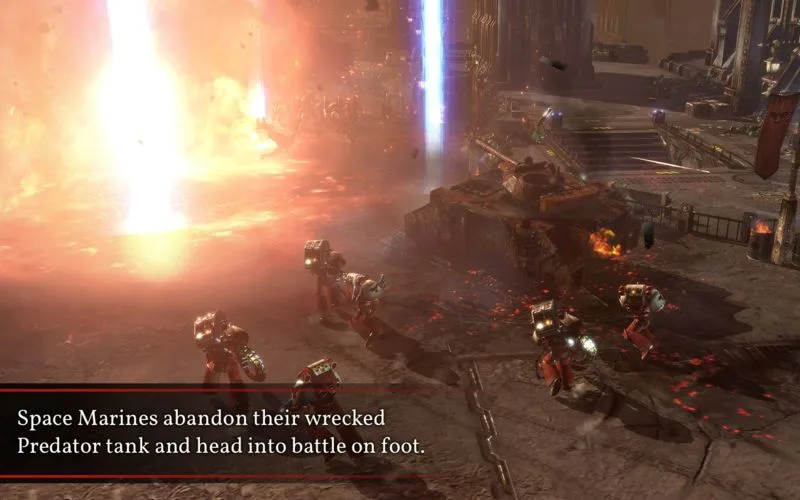
Alright, let's get you through the 'Into the Hive' mission in Dawn of War II. For this one, a solid squad setup is Thaddeus, Tarkus, and Cyrus. Make sure Cyrus has a sniper rifle equipped – you'll see why in a sec. There are a ton of spore mines floating around, and taking them out from a distance is super important, or they'll wreck your squad faster than you'd think.
From the start, head towards the biosample. As you move, you'll run into some Brood enemies. You'll find a group of them on the other side of some logs. Just keep pushing forward after you clear them out until you reach the gene pool area. Before you dive too deep in, it's a good idea to toss some grenades to thin out the enemies. Seriously, all those spores in there can be deadly if you're not careful.
Once you've dealt with the enemies in the gene pool, your next objective is to reach the mission's extraction point to escape. The catch is, this extraction point is deep in enemy territory. As you make your way there, you'll notice several Brood Nests scattered around. It's a top priority to find and destroy all of them; it'll make your life a whole lot easier. Also, keep an eye out for beacons so you can recover any troops if you need to.
You're looking to eliminate about six Nests in total. The only real enemies you'll encounter are the ones guarding these Nests, so you can afford to be a bit more aggressive here. But, you'll need to get serious when you reach the extraction point itself. If things felt too easy, you were right – here comes the big one: the Hive Tyrant. This guy is way tougher, faster, has more health, and a lot more armor than anything you've faced so far.
When you're fighting this walking tank, your best bet is to pull back and use your ranged attacks to wear down its health. Whatever you do, try to keep your troops out of melee range, except maybe the Force Commander who can hold his own for a little while. Use your grenades, artillery, turrets, and anything else you've got to chip away at this massive beast. If you see markings appear on the ground, move out of them quickly, or the Hive Tyrant will absolutely demolish your health.
After you've taken down about half of its health, a new ally will arrive via drop pod to help you out: a Dreadnought! This guy can dish out some serious damage, making the Hive Tyrant fight significantly easier. Once the big guy is down, you're all done with this mission!
100% Human-Written. AI Fact-Checked. Community Verified. Learn how AntMag verifies content