Welcome to the Darkest Dungeon II hub! Red Hook Studios' sequel throws you into a corrupted world on a desperate pilgrimage. You'll manage a party of flawed heroes, battling through treacherous regions like the Sprawl, Tangle, Shroud, Sluice, and Foetor in turn-based combat. Every run is a new challenge, pushing your resource management and strategic combat skills to the limit as you face down the horrors that plague the land.
This guide is your companion through the darkness. We'll help you master the game's intricate systems, from understanding the nuances of trinkets and challenging lair bosses to navigating the UI and controls. Whether you're aiming to conquer every region or simply survive the relentless onslaught, you'll find the knowledge you need to face the looming threat.
The Shroud: A Drowning World — Darkest Dungeon II Walkthrough
Navigate The Shroud in Darkest Dungeon II with our comprehensive walkthrough. Learn about the region, its challenges, and how to best prepare your heroes for the journey ahead.
The Shroud: A Drowning World — Darkest Dungeon II Walkthrough
Navigate The Shroud in Darkest Dungeon II with our comprehensive walkthrough. Learn about the region, its challenges, and how to best prepare your heroes for the journey ahead.

Navigating The Shroud
Tips for navigating The Shroud in Darkest Dungeon II, including road hazards, events, and hero considerations for the region.
The Shroud is a treacherous, fog-laden region characterized by its decaying maritime aesthetic and the constant threat of Blight and Bleed. Navigating its winding paths requires careful planning and an understanding of its unique hazards and opportunities. This section will guide you through optimizing your journey, minimizing risks, and maximizing rewards within this challenging biome.
Road Hazards and Environmental Interactions
The Shroud's roads are rife with environmental dangers that can significantly impact your party's health and stress levels. Understanding how to interact with these is crucial for survival.
- Fog Hazards: These ubiquitous road hazards are a defining feature of The Shroud. Upon encountering a Fog hazard, you will typically be presented with a choice:
- "Push Through": This option often results in immediate stress damage to one or more heroes, or the application of negative tokens like Weak, Vulnerable, or Blinded. There is a small chance of gaining a positive token or a minor item, but this is generally a high-risk, low-reward choice.
- "Wait it Out": This choice usually consumes a small amount of time (represented by a segment on the journey bar) but allows your party to avoid the immediate negative effects. However, waiting can increase the likelihood of encountering subsequent road events or combat encounters if you are close to a node.
- "Attempt to Navigate": Less common, this option might require a specific hero's skill or a random roll. Success can yield minor positive effects or avoid negatives, while failure can be as detrimental as "Push Through."
- Shipwreck Obstacles: These are physical barriers on the road, often depicted as the skeletal remains of ships.
- Interaction: You'll usually have options to "Clear a Path" or "Scavenge." Clearing a path consumes time but allows you to proceed. Scavenging might yield Relics, Baubles, or Combat Items, but carries a significant risk of triggering an ambush combat encounter with Fishfolk or Plague Eaters.
Common Road Events in The Shroud
Beyond the standard road hazards, The Shroud features several unique or more frequent road events that can shape your journey.
- Academic's Cache: A common sight in The Shroud, these caches often contain Lore Items, Trinkets, or Mastery Points. They are generally beneficial and should be prioritized. The specific contents can vary, but they rarely pose a direct threat.
- Wrecked Fishing Village: Encountering a derelict village often presents a choice: "Search for Survivors" or "Scavenge for Supplies."
- "Search for Survivors": High risk of triggering a combat encounter with Fishfolk or Cultists, but potential for Hope, Mastery Points, or even a rare Trinket.
- "Scavenge for Supplies": More reliably yields Provisions, Combat Items, or Relics, with a lower chance of combat.
- Murky Waters: These events typically involve a choice to "Investigate the Murky Waters" or "Avoid the Waters."
- "Investigate the Murky Waters": Can lead to finding Fishfolk Scales (a valuable trade item), Baubles, or even a unique Trinket. However, there's a significant chance of applying Blight to one or more heroes or triggering an ambush.
- "Avoid the Waters": Simply consumes a small amount of time and allows you to bypass the event without incident.
- Distress Signal: A rare but impactful event. You might hear a faint cry for help.
- "Investigate the Signal": Almost always leads to a challenging combat encounter, often against a group of Cultists or Fishfolk with a unique mini-boss. Success, however, can yield significant Hope, rare Trinkets, or a large quantity of Relics.
- "Ignore the Signal": Consumes time and potentially inflicts minor stress on some heroes due to their conscience, but avoids combat.
Strategic Considerations for The Shroud
To successfully navigate The Shroud, keep the following in mind:
- Blight and Bleed Resistance: Many enemies in The Shroud, particularly the Fishfolk and Plague Eaters, rely heavily on Blight and Bleed damage. Prioritize heroes with high natural resistance to these effects, or equip Trinkets that boost these resistances. The Plague Doctor and Man-at-Arms are particularly strong here due to their ability to clear status effects or tank damage.
- Healing Over Time (HoT): Persistent damage from Blight and Bleed makes burst healing less efficient. Heroes like the Occultist with Wyrd Reconstruction (with the appropriate mastery) or the Flagellant excel at mitigating this damage over time.
- Stress Management: The constant fog and unsettling atmosphere contribute to high stress accumulation. Ensure you have reliable stress-healing abilities (e.g., Jester, Man-at-Arms) or Combat Items like Laudanum.
- Prioritize Respite and Hoard Encounters: These nodes are invaluable for recovering health, reducing stress, and acquiring essential supplies. Given the Shroud's taxing nature, plan your routes to hit as many of these as possible.
- Combat Item Usage: Bandages and Antivenom are critical. Stock up on these at every opportunity, especially before entering a combat node. Blinding Gas and Smoke Bombs can also be effective against the high-damage, low-speed enemies found here.
- Enemy Weaknesses: Many Fishfolk enemies have low Bleed Resistance, making Flagellant and Highwayman very effective. Plague Eaters often have lower Blight Resistance, making the Plague Doctor a strong choice. Exploit these weaknesses to end combat quickly and minimize damage.
Preparing for The Mountain
Learn how to prepare your party and manage resources for the perilous journey to The Mountain in Darkest Dungeon II. Master travel, combat, and hero management to survive the apocalypse.
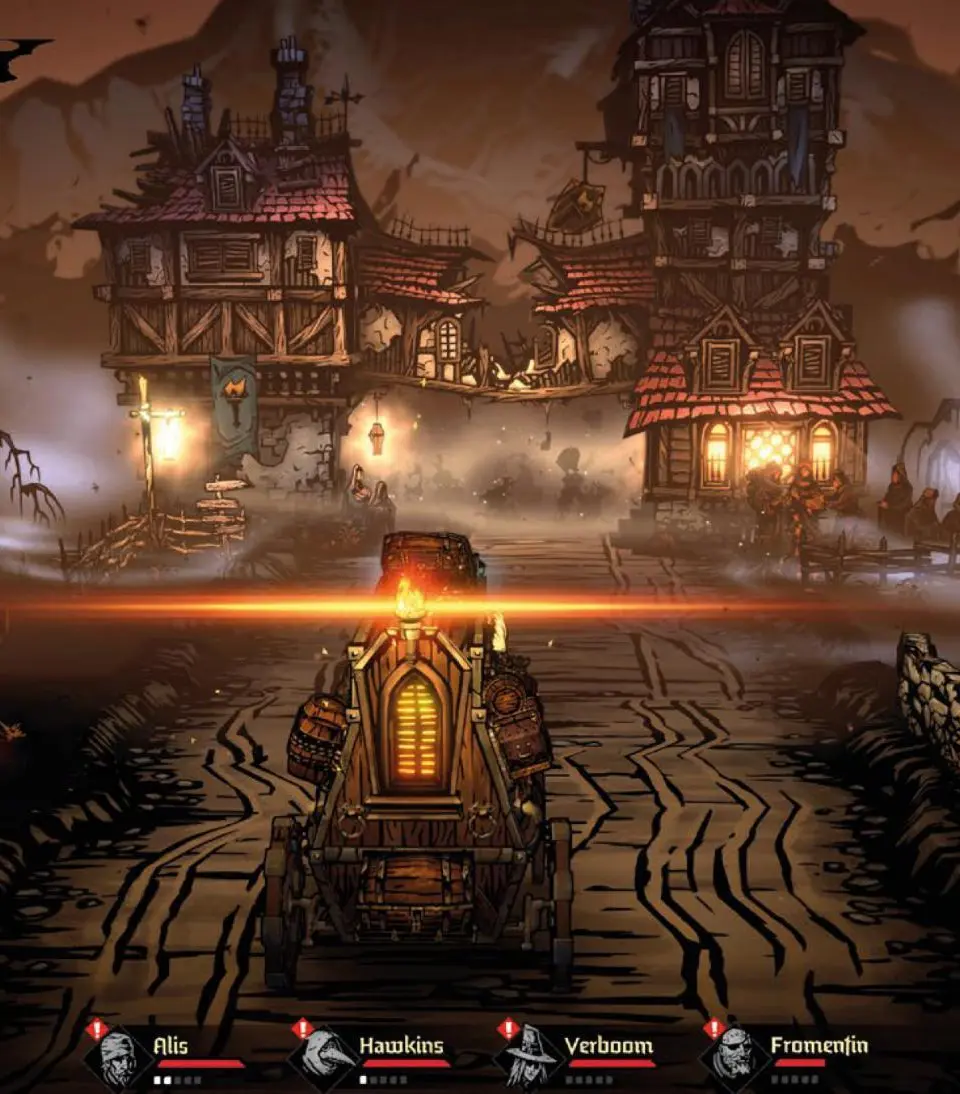
- 1The Journey Begins: Your objective is to reach The Mountain and defeat the source of evil. You are guided by The Academic and protected by The Flame on your Stagecoach.
- 2Managing The Flame: Actions like winning battles can affect The Flame's intensity. If it extinguishes, you'll face a cultist ambush. Surviving this restores The Flame to its weakest state, offering a final chance.
- 3Navigating Regions: The journey is divided into routes, always starting with The Valley (tutorial) and ending with The Mountain. You choose subsequent regions at The Inn.
- 4Randomized Encounters: Each region's map, modifiers, and goals are randomized. This means no two playthroughs are identical. You might get bonus rewards in one run of The Sprawl, or be forced to avoid a mini-boss in another.
- 5Strategic Choices: While avoiding combat is an option, it can leave your party underprepared for the final confrontation.
- 6Regions: The journey progresses through specific regions: The Valley, The Sprawl, The Foetor, The Sluice, The Shroud, The Tangle, and finally, The Mountain.
- Keep a close eye on The Flame; its status directly impacts your party's safety.
- Be strategic about which regions you choose to travel through after The Valley, considering potential rewards and risks.
- While combat can be taxing, it's often necessary for preparing your party for the ultimate challenge.
- Pay attention to hero relationships and stress, as these are crucial elements of survival in Darkest Dungeon II.
Navigating The Foetor
Tips for navigating The Foetor in Darkest Dungeon II, including road hazards, events, and hero considerations for the region.
The Foetor, a land ravaged by a grotesque plague, presents a unique and insidious challenge in your journey through the Darkest Dungeon II. Its pervasive Blight and stress-inducing environments demand careful planning and strategic execution. This section will guide you through its treacherous paths, highlighting key obstacles, common enemies, and optimal strategies to ensure your party's survival.
Environmental Hazards: Blighted Fields & Corrupted Harvests
The very air of the Foetor is thick with contagion, manifesting in its ubiquitous environmental hazards:
- Blighted Fields: These roadside encounters are unavoidable and will consistently inflict Blight on your heroes. The severity of the Blight can vary, from minor stacks to potent, multi-turn afflictions. While they don't typically trigger combat, prolonged exposure without cleansing can quickly deplete your party's health.
- Corrupted Harvests: Similar to Blighted Fields, Corrupted Harvests are static environmental nodes. Interacting with them often results in a stress gain for your party, and sometimes a minor Blight application. Occasionally, a Corrupted Harvest might yield a small amount of Food or Reagents, but the risk of stress often outweighs the reward unless your party is in excellent mental health.
Strategy for Hazards: Prioritize heroes with strong Blight resistance or those who can reliably remove Blight tokens (e.g., Plague Doctor's "Battlefield Medicine"). Stagecoach items like Antivenom, Blight Salve, or the Healing Poultice are invaluable. Consider equipping trinkets that boost Blight resistance, especially for heroes with low natural resistance.
Unique Obstacles: Clearing Diseased Crops
The Foetor's "Obstacles" are distinct from those found in other regions. Instead of barricades or rockfalls, you will frequently encounter grotesque, diseased crops blocking your path. Interacting with these obstacles can lead to several outcomes:
- Combat Encounters: Often, disturbing these crops will trigger a fight against a small group of Foetor-specific enemies (detailed below). These encounters are usually 2-3 enemies and serve as mini-challenges.
- Resource Yields: Successfully clearing the crops (either through combat or a successful skill check) can yield useful items such as Food, Reagents, or even rare Trinkets or Combat Items.
- Stress/Blight Infliction: On rare occasions, clearing the crops might simply inflict stress or Blight without combat, representing the sheer toxicity of the environment.
Strategy for Obstacles: Always be prepared for combat when interacting with these. Ensure your party has adequate health and stress levels. If you have a choice of paths, consider whether your party can afford another minor skirmish or if avoiding an obstacle is the safer bet.
Key Enemies & Combat Strategies in The Foetor
The Foetor's inhabitants are as corrupted as the land itself, presenting unique combat challenges:
- Maggot: These low-health, high-speed enemies are primarily Blight damage dealers. They often appear in swarms.
- Strategy: Prioritize AoE attacks to clear them quickly. They are susceptible to most damage types.
- Carrion Eater: A more robust version of the Maggot, capable of applying stronger Blight and occasionally healing other enemies.
- Strategy: Focus fire to eliminate them before they can heal or apply significant Blight. Stun abilities are effective.
- Plague Eater: These dangerous foes can apply heavy Blight and often have high Blight resistance themselves. They can also shuffle your party.
- Strategy: High burst damage is key. Heroes with strong single-target attacks or piercing damage are excellent. Be prepared for party shuffles and have skills that can reposition your heroes.
- Butcher: A large, frontline enemy with high health and physical damage. They can apply Bleed and have a powerful cleave attack.
- Strategy: Control their actions with Stuns or Weak tokens. Apply Bleed or Blight to chip away at their substantial health. Guarded heroes can help mitigate their damage.
- Skinner: A backline support enemy that can buff allies, debuff your party, and occasionally apply stress.
- Strategy: Disrupt their actions with Stuns or move them to the front ranks where they are less effective. High-reach attacks are useful for eliminating them quickly.
General Combat Tips for The Foetor:
- Blight Management: Always have a plan for Blight. Whether it's the Plague Doctor's "Battlefield Medicine," the Man-at-Arms's "Retribution" (with appropriate trinkets), or simply carrying enough Antivenom, Blight will be your constant enemy.
- Stress Control: Many Foetor enemies and environmental effects inflict stress. Heroes like the Jester or Man-at-Arms are excellent for managing party stress.
- Damage Over Time (DoT): Enemies in the Foetor often have moderate to high health. Bleed and Blight from your own heroes can be very effective at wearing them down, especially against the Butcher.
- Positioning: Be mindful of party shuffles from enemies like the Plague Eater. Have skills that can reposition heroes or make them effective from multiple ranks.
Road Events and Points of Interest
While navigating the Foetor, keep an eye out for these beneficial road events and locations:
- Hospital: Crucial for healing wounds, curing diseases, and removing negative quirks. Prioritize these, especially if your party has accumulated significant Blight or stress.
- Hoard: A valuable source of Reagents, Relics, and occasionally Trinkets. Always worth visiting if your resources are low.
- Academic's Cache: Provides a small amount of Reagents and Combat Items. A reliable, low-risk stop.
- Shrine of Reflection: Allows a hero to gain a new skill or upgrade an existing one. Essential for character progression.
- Assistance Encounter: Can provide a small amount of healing, stress relief, or a minor buff to your party.
Route Planning: When presented with choices, prioritize routes that lead to Hospitals or Hoards, as healing and supplies are paramount in the Foetor. If your party is struggling with stress, a Shrine of Reflection can also be a good choice for a morale boost.
Similar guides you might like


100% Human-Written. AI Fact-Checked. Community Verified. Learn how AntMag verifies content