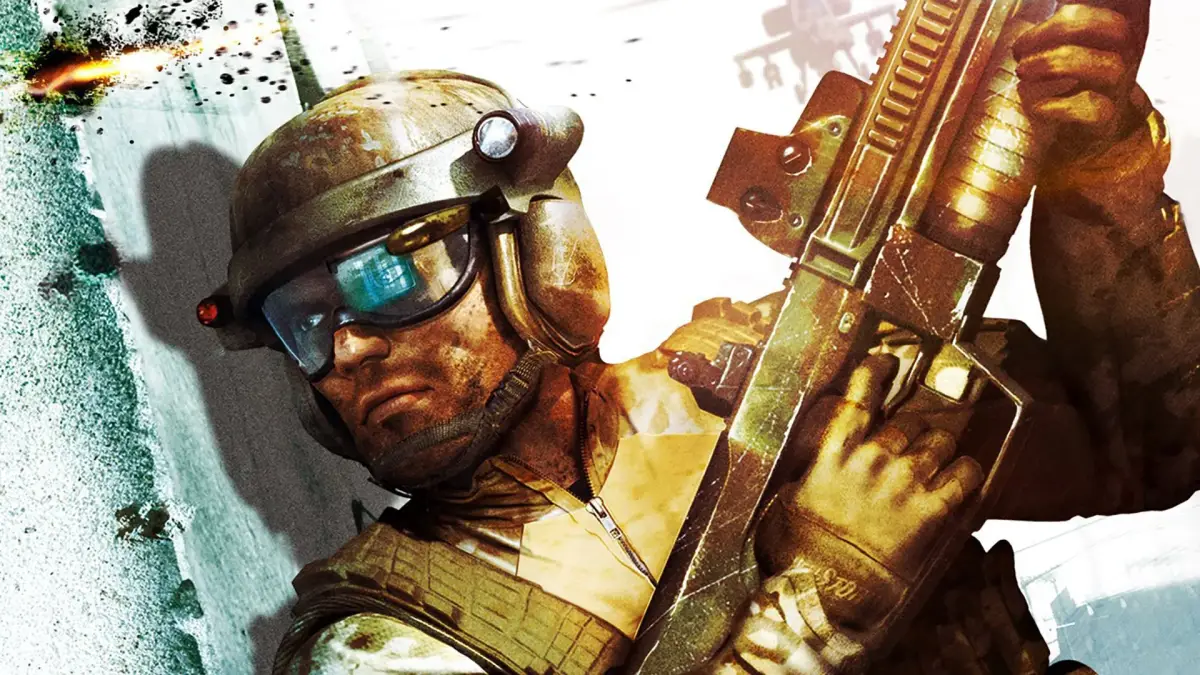
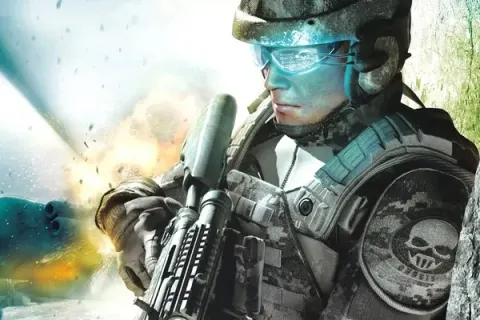
Welcome to Tom Clancy's Ghost Recon Advanced Warfighter, a tactical shooter where you lead an elite squad through a near-future Mexico City. As Captain Scott Mitchell, you'll be calling in airstrikes, coordinating your team, and engaging threats from enemy motorcades to heavily armored APCs and tanks. It’s a fast-paced, high-stakes combat experience that demands strategic thinking and precise execution.
This guide is here to help you master every mission. We’ll cover everything from basic controls and getting started to detailed walkthroughs of primary and secondary objectives. You'll find tactical awareness tips and weapon specifics to help you conquer the challenges ahead and lead your Ghosts to victory across all platforms.
Objective 3: Locate Ramirez
Learn how to use the UAV drone and intel map to locate Ramirez in Tom Clancy's Ghost Recon Advanced Warfighter.
- 1After selecting your team and gear, your objective will update, and you will receive a short tutorial on how to use a UAV drone (Unmanned Aerial Vehicle).
- 2The intel map (a tactical display showing enemy positions and objectives) will automatically be shown.
- 3Point the drone to the yellow indicator on the intel map and follow the instructions.
- 4Drop the drone to low altitude by pressing LB.
- 5Once the drone finds Ramirez's location, you will receive a new objective.
- Pay close attention to the UAV drone tutorial.
- Ensure you are following the instructions precisely on the intel map.
Objective 4: Reach Ramirez
Your Ghost Recon Advanced Warfighter walkthrough for Objective 4: Reach Ramirez. Learn how to position your squad, take down enemy trucks, and scout ahead with your drone.
Alright, you've got your squad now, so let's get them working for you! Make sure you're putting them in smart spots and letting them take the lead. There are a few ways to get through this next part, but I'll walk you through my preferred method.
- 1Head down the road to your left. You'll spot a bridge up ahead. Move up to a car with your squad and take out the two enemies on the right side of the stairs leading up the bridge. You *can* go up onto the bridge and shoot from there, but I actually recommend going under it for a more direct confrontation.
- 2Either way you choose, a couple of enemy supply trucks are going to roll in past the bridge. Immediately point them out and order your team to attack. Your grenadier will step up and start lobbing explosives. Focus on taking out any enemies that bail out of the trucks while covering your grenadier.
- 3Once the trucks are destroyed and any remaining enemies are dealt with (it shouldn't be many if you were quick with the trucks), keep pushing forward. You'll come up to a big wall – move around it. Remember, you can use your drone here to scout ahead and see where the enemies are positioned.
- 4In the next area, you'll find about three enemies in a covered pavilion, plus two more further down. Keep moving towards the railroad tracks (that's the yellow spot on your map) and you'll get another mission update.
- Use your squad! They're there to help you out, so don't be afraid to give them orders and let them draw enemy fire.
- Your drone is your best friend for scouting. Use it to get a heads-up on enemy positions before you blindly walk into an ambush.
- Prioritize those supply trucks. Taking them out quickly will significantly reduce the number of enemies you have to deal with.
Objective 5: Extract with Ramirez
Learn how to extract with Ramirez in Tom Clancy's Ghost Recon Advanced Warfighter. This guide covers clearing railroads, using the Blackhawk chopper, and reaching the extraction zone.
- Objective 1: Secure Insertion Point
- Objective 2: Reach VIP 1's Position
- Objective 3: Create a Diversion
- Objective 4: Move to Rally Point
- Objective 5: Secure VIP's Extraction
- 1At the railroads, look left to find 4 or 5 hostiles. Pick off a few from a distance, then move in to finish them. Be careful of a couple more hostiles on the trains above.
- 2Once the railroads are clear, move towards the yellow indicator (waypoint (a marker on your map you've manually placed as a destination)) on your map.
- 3When you reach a big gate that opens, STOP. Do not enter immediately.
- 4Move your teammates far away behind the wall to the right.
- 5Move to the small booth just outside the factory entrance.
- 6Switch the CrossCam to the Blackhawk (chopper) to attack enemies.
- 7Use the radar (your minimap with nearby blips and threats marked) to identify enemy positions and attack targets through the fence without exposing yourself.
- 8Continue attacking enemies and supply trucks until the area is 100% clear. This may take a few minutes.
- 9Order your team to regroup and enter the factory.
- 10There will be one enemy running on the railing above. Eliminate them.
- 11Ascend the stairs and go around the building.
- 12You will receive a report that Ramirez has been picked up and you need to get to the evacuation zone NOW.
- 13Continue up the winding catwalks.
- 14Eliminate the two enemies at the top.
- 15Reach the extract zone at the very top to complete the mission.
- Use the Blackhawk's abilities effectively by directing it from cover (press the cover button to crouch behind walls or objects). The radar will detect enemies through the fence.
- Be patient when clearing the factory area to ensure it is 100% clear before proceeding.
- Watch out for the enemy on the railing inside the factory.
Objective 1: Secure Insertion Point
Secure Insertion Point in Tom Clancy's Ghost Recon Advanced Warfighter by picking up the minigun and taking down rebels. Manage minigun overheating.
- 1While flying into your mission, pick up the minigun on the Blackhawk.
- 2Take down rebels below using the minigun.
- 3Prioritize taking out any armored vehicles in the road first, as they will cause more trouble by sending out more enemies.
- 4Once the area is clear, the pilot will take you down into the war zone.
- The minigun has extremely rapid fire but it also overheats. Watch the overheat gauge and give the shooting a rest once in awhile for the gun to cool down and regain its rapid fire.
Similar guides you might like


100% Human-Written. AI Fact-Checked. Community Verified. Learn how AntMag verifies content