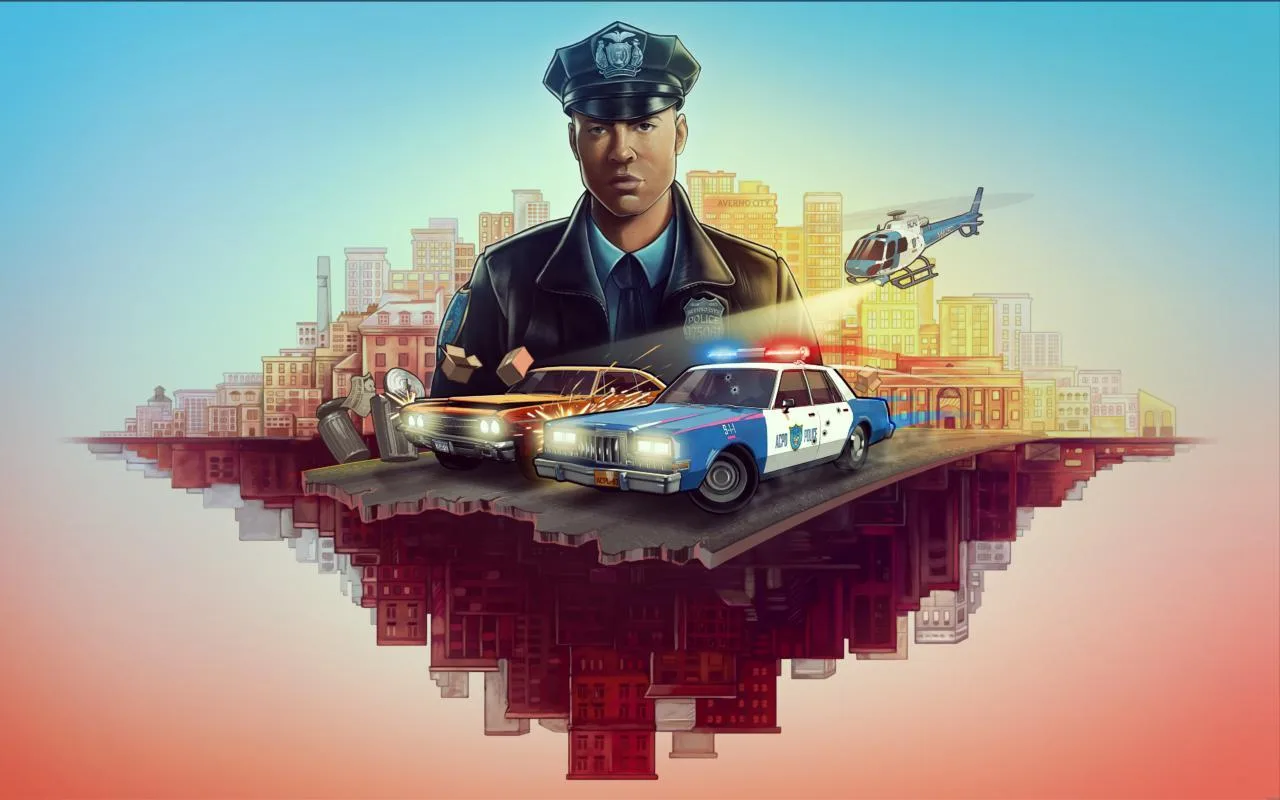
Begin your career in The Precinct. Learn tactical strategies for patrols and investigations in the gritty underbelly of Vice City.
Welcome to "The Precinct," rookie! This guide is your essential companion for navigating the treacherous streets of Vice City and bringing order to its chaotic underbelly. Whether you're a seasoned veteran of the force or a fresh face straight from the academy, this walkthrough will provide you with the actionable intelligence and tactical strategies needed to succeed. We'll cover everything from your very first patrol to apprehending the city's most notorious criminals, ensuring you always have the upper hand.
Getting Started: Your First Patrol
Upon starting a new game, you'll find yourself at the Precinct Headquarters in Downtown Vice City. Your initial objective is to familiarize yourself with the basic controls and your patrol area. Follow these steps:
- Report to Desk Sergeant Miller: Head to the main desk on the ground floor. Sergeant Miller will provide you with your first assignment: a routine patrol.
- Acquire Your Patrol Vehicle: Exit the Precinct Headquarters and locate the designated parking area. You'll find your standard issue Patrol Car (Model VCPD-01). Use the interaction prompt (usually 'E' on PC, 'A' on Xbox, 'X' on PlayStation) to enter the vehicle.
- Activate Your Dispatch Radio: Once in your vehicle, the game will prompt you to activate your dispatch radio. This is crucial for receiving mission updates and emergency calls. Press the indicated button (typically 'R' on PC, 'Left Bumper' on Xbox, 'L1' on PlayStation).
Understanding Your HUD and Key Information
Before you hit the streets, take a moment to understand your Heads-Up Display (HUD). This will be your primary source of information:
- Minimap: Located in the bottom-left corner, the minimap displays your current location, mission objectives (marked with a yellow star), and points of interest (such as gas stations, hospitals, and other precincts).
- Health Bar: Positioned in the top-left, this green bar indicates your current health. Taking damage will deplete it. Seek out First Aid Kits (found in various buildings and sometimes dropped by enemies) or visit a Hospital to replenish it.
- Armor Bar: Below your health, this blue bar represents your current armor. Armor absorbs a portion of incoming damage before your health is affected. You can acquire Body Armor Vests from specific vendors or as mission rewards.
- Wanted Level: Displayed as a series of stars in the top-right corner. The more stars, the higher the police presence and the more aggressive law enforcement will be towards you. Avoid increasing this unless a mission requires it!
- Weapon Slot: In the bottom-right, this shows your currently equipped weapon and its ammunition count.
Initial Gear and Inventory Management
You start with basic equipment, but managing your inventory effectively is key to survival:
- Standard Issue Pistol (9mm): Your reliable sidearm. It has decent accuracy and a moderate rate of fire. Always keep an eye on your ammo count.
- Handcuffs: Used for apprehending suspects non-lethally. Essential for many early missions and for maintaining your "good cop" reputation.
- Flashlight: Invaluable for navigating dark alleys and interiors. Activate it with the designated button (often 'F' on PC, 'D-Pad Down' on consoles).
As you progress, you'll unlock or purchase more advanced weaponry and gadgets. Remember to regularly check your inventory and equip the right tools for the job. Good luck, officer. Vice City needs you!
100% Human-Written. AI Fact-Checked. Community Verified. Learn how AntMag verifies content