Complete Shovel Knight Part 19 walkthrough, including tips for the Mole Knight boss battle and finding Shield Knight.
Walkthrough
- 1Ride across the lava, jumping on the boss and then backing up.
- 2Continue right, breaking blocks while avoiding wisps and lava drips.
- 3Break the top layer of a large cluster of blocks to be safe, or attempt to get the lower gem if skilled.
- 4Jump across the next set of dirt blocks for gold.
- 5Reach the last checkpoint (an auto-save point you restart from on death). If your ichor (health) is full, break the nearby dirt blocks to find a full life platter.
- 6Use the dirt blocks to break the wall and proceed to fight the knight of this Lost City.
- 7Boss Battle - Mole Knight: Mole Knight moves frequently and can be damaged during his burrowing attacks.
- 8Mole Knight Moves:
- Wall Dash: Mole Knight burrows and dashes across the screen. Jump ahead of his path and perform a downward strike to hit him. He may throw dirt blocks before this move later in the fight; dig out quickly and resume attacking.
- 9Treasure Trove: Mole Knight burrows and hides in one of four treasure deposits. His visor indicates which one. He will burst out, and all deposits will shoot fire. Dig him up quickly or collect other deposits.
- 10Power Slide: Mole Knight bursts out and slides along the ground, creating sparks. Bounce off him while avoiding the sparks.
- 11Wall Crush: Mole Knight creates breakable block walls that slide towards you. Jump and slash each block to avoid being crushed. You can sometimes get above him and bounce off his head.
- 12Lava Power: Mole Knight stays in place, gets hit by a lava stream, and then spews flames while lava drips from above. Use the Phase Locket to avoid damage.
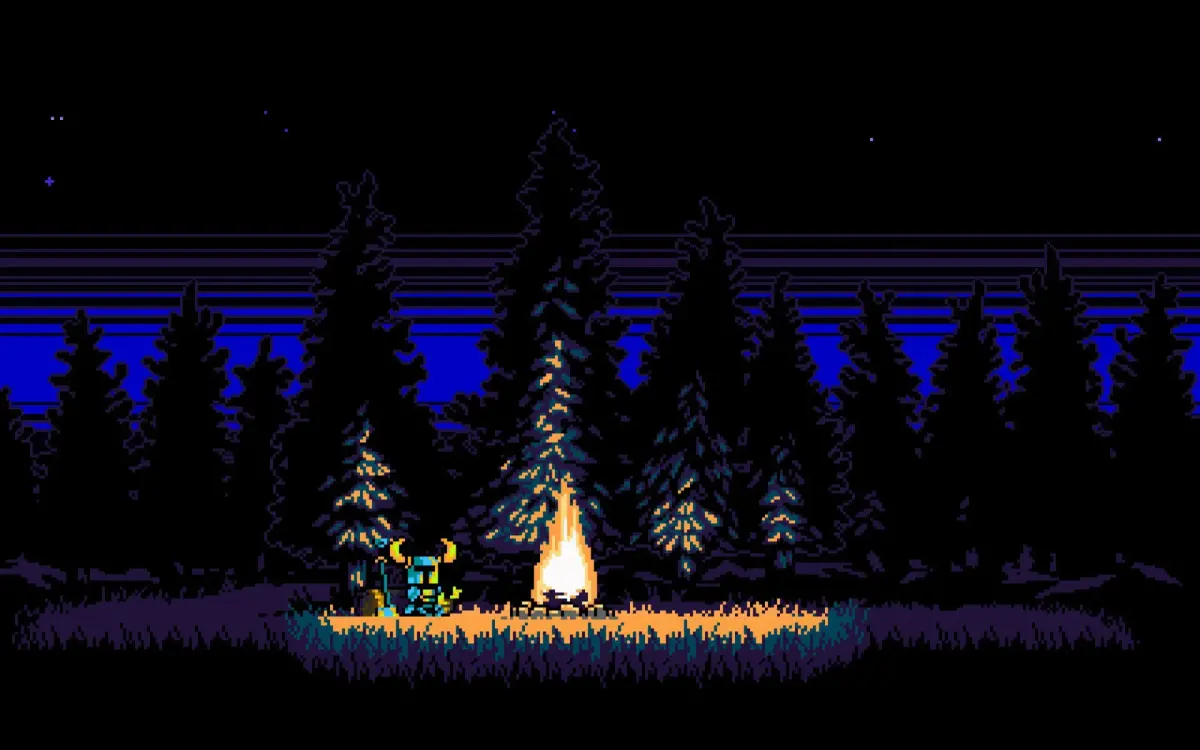
- 13After the fight, you will reach a campfire and Shovel Knight will dream, indicating the need to save Shield Knight.
- 14In the next area, fight knights, wisps, and other enemies. Consider using the Orb of Chaos or Anchor relics.
- 15Catch Shield Knight when she falls.
- 16Wake up and extinguish the fire. Open the chest for a Meal Ticket.
- 17After the fight, proceed to map encounters. Spend gold, but save at least 5,000 Gold for an upcoming area.
- 18Use the catapults found in each area, including the one in the village, to access new locations. You can also access an area to the right labeled "Shortcut?".
Tips
- The Phase Locket is a good relic choice for the Mole Knight fight due to the prevalence of walls and single-hit projectiles.
- Anticipate Mole Knight's Wall Dash by jumping ahead of his path and performing a downward strike.
- When Mole Knight uses Treasure Trove, watch his visor to identify his location.
- Avoid the sparks during Mole Knight's Power Slide.
- For Wall Crush, jump and slash all breakable blocks.
- If you are having trouble with Mole Knight's Lava Power, the Phase Locket can help mitigate damage.
- Consider relics like the Orb of Chaos or Anchor for the hectic fight involving knights, wisps, ravens, and bunny enemies.
- Collect gems from defeated enemies.
- Save at least 5,000 Gold for a future area.
- Utilize the catapults in each area, including the village, for faster travel and access to new zones.
100% Human-Written. AI Fact-Checked. Community Verified. Learn how AntMag verifies content