Face the Freaker hordes in Days Gone, a brutal action game for PC and PS4. This extensive guide offers 348 sections covering everything from getting started and walkthroughs to weapon advice and collectible locations. Master melee combat, conquer encampment jobs, and explore every corner of the world to survive.
Section 1: Game Basics
Get a grip on Deacon St. John's survival adventure in Days Gone. Learn about weapons, crafting, and the harsh world of Oregon to stay alive against Freaks and raiders.
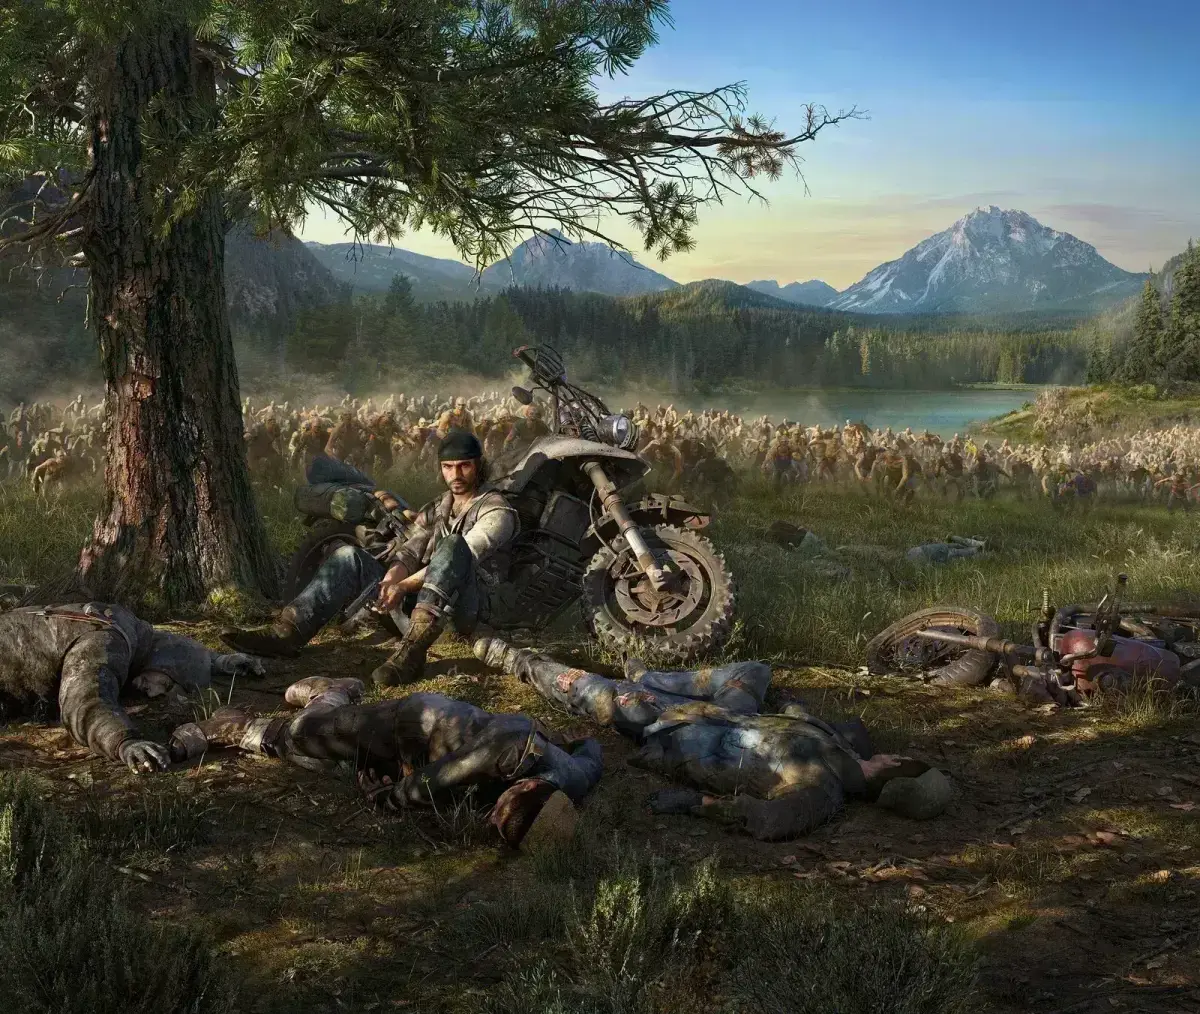
Alright, so you're diving into the wild, unforgiving world of Days Gone. It's a tough place out there, and you'll be playing as Deacon St. John, a former biker just trying to find his way after the world went sideways. A nasty pandemic turned most folks into Freaks and Swarmers, and they're all heading north. You'll be dealing with these infected, plus some nasty raider gangs and a fanatical cult called the Rippers who really have it out for Deacon and his buddy Boozer. Oh, and there's a Colonel with a militia who's on a whole crusade. Your main goal? Survive in the Oregon wilderness.
When it comes to gear, you've got a few options. You'll always have your trusty boot knife for stealthy takedowns, but it's not much good in a straight fight. Regular melee weapons, like planks or baseball bats you find lying around, have a damage and durability meter, so keep an eye on them. You can even craft some better ones, like the Spiked Bat after the 'No Starving Patriots' mission, or the awesome Baseball Bat Axe you get from the Ambush Camp Hunter storyline. If you really invest in the Melee skills, especially with the Superior Metal Axe you can find later, you'll be taking down Freaks in just a few hits.
You also get three weapon slots: a Sidearm, a Primary Weapon, and a Special Weapon. You start with a 9MM handgun and get a crossbow early on. You can pick up weapons from fallen enemies or buy them at camps like Hot Springs. Some awesome weapons are mission rewards, like Boozer's Shotgun after 'I Could Use a Hand' or the Rock Chuck assault rifle. Don't forget about explosives! Molotovs are super useful for burning out infestations, and you can craft them early. Pipe bombs come later, and grenades require a higher Trust Level. These can also be found scattered around.
Keeping your weapons upgraded is key. While some heavy hitters like the MG 55 or Talon 7 sniper rifle require a lot of grinding or high Trust Levels that are tough to get early, there are plenty of solid options. Shotguns aren't generally recommended over assault rifles or SMGs with good range and suppressors. Speaking of suppressors, they're made from oil filters and degrade over time – about 4% per shot for a sidearm suppressor. You can attach and remove them, which is great for sneaking around. Use a suppressed weapon until you're discovered, then maybe switch it up.
Remember, skills like Field Repairs let you fix melee weapons, and Hard-Hitter boosts their damage. If you really go deep into the Melee Tree, Home Run makes your melee attacks devastating. These weapons are going to be a big part of your survival, so keep them in good shape or swap them out before you're left with just your knife!
Guide and Walkthrough (PS4) by SENIORBILL
Days Gone walkthrough and guide sections list, including 'Smoke On The Mountain' and 'Price On Your Head'. Updated 08/03/2020.
Sections:
- Section 1: Game Basics
- Section 2: He Can't Be Far
- Section 3: Smoke On The Mountain
- Section 4: Price On Your Head
- Section 5: It's Not Safe Here
- Section 6: What Have They Done?
- Section 7: Not Gonna Kill Anyone
- Section 8: Now You See It
- Section 9: Flow Like Buried Rivers
- Section 10: Moments Of Lucidity
- Section 11: Drinking Himself To Death
- Section 12: Better To Light One Candle:
- Section 13: Trying To Help The Camp
- Section 14: Now That's An Idea
- Section 15: Why Am I Here?
- Section 16: Mayday, Mayday
- Section 17: We Will Take Back This World
- Section 18: Afraid Of A Little Competition
- Section 19: Just Another Requisition Form
- Section 20: What Kept Me Going
- Section 21: This Could Be It.
- Section 22: The Anarchist Spy
- Section 23: Ascending From The Underworld
- Section 24: You Can't Do This Alone
- Section 25: Afterward
- Section 26: Ambush Camps
- Section 27: Infestations
- Section 28: Nero Checkpoints and Research Sites
- Section 29: Encampment Missions
Previous Section: Section 2: He Can't Be Far
Next Section: Section 4: Price On Your Head
- This guide was a FAQ of the Month Winner in November 2019 and is a Highest Rated Guide.
- The guide is specifically for the PS4 version of Days Gone.
Section 3: Smoke On The Mountain
Complete the Smoke On The Mountain mission in Days Gone. Learn how to approach the camp, defeat Drifters, and secure rewards of 3,000 XP, 2,000 trust, and 550 credits.
- 1Fast travel to the O'Leary Mountain Safehouse. Harvest cedar trees for crafting materials.
- 2Ride to the mission marker east of the Safehouse, parking about 100 meters before the second boxcar.
- 3Avoid or silently eliminate foraging Freaks (enemies) on the railroad tracks. Be aware that gunfire can attract Freaks and a horde from the Horse Lake NERO Checkpoint.
- 4Identify and disable the tripwire south of the boxcar using Survival Vision (a mechanic that highlights important items and enemies).
- 5Take cover (press the cover button to crouch behind walls or objects) in the brush atop the grade to scout and tag the nine Drifters defending the camp.
- 6Begin eliminating the Drifters, luring them into kill zones with rocks.
- 7If you remain hidden, use your crossbow or suppressed handgun to kill most Drifters before they retreat into cover.
- 8Secure the site, being mindful of remaining bear traps and tripwires.
- Harvesting cedar trees after departing the Safehouse provides materials for crafting bolts.
- Copeland's propaganda broadcasts will be active.
- Gunfire near the mission site may attract additional Freaks and a horde from the Horse Lake NERO Checkpoint.
- A stealthy approach to the mountain camp is recommended.
- Use rocks to lure Drifters into kill zones.
- Remain aware of bear traps and tripwires covering likely approaches.
Horse Lake Nero Checkpoint:
This is an optional task that provides a fast travel station and a NERO Injector. The location is revealed by a map at the Cascade Radio Tower Ambush Camp during the mission, No Starving Patriots.
- 1Park your bike away from the Horse Lake NERO Checkpoint. Silently dispose of any stray Freaks.
- 2Ensure the horde sleeping in the boxcar has bunked down before attempting entry. Confronting a horde this early in the campaign is not advised.
- 3During the daytime, shoot the speaker on the guard hut under the railroad trestle with your suppressed handgun to detach it. The horde will be sleeping directly above.
- 4Sneak north to find a gas can near the railroad engine. Monitor the area for stray Freaks.
- 5Toss the gas can over the fence to the generator. Shoot the two speakers on the roof with your suppressed handgun from the ground.
- 6Use the truck to reach the roof, then drop into the enclosure to avoid a drowsing Freak in the railcar.
- 7Fuel the generator to energize the door locks. Enter the building to access the NERO Injector and the recorder.
- 8Take the gas can if needed and sneak out, killing silently if necessary to reach your bike without awakening the horde.
- Working stealthily is critical due to the horde that spends daylight hours in the boxcar.
- Going during the night is hit or miss; the horde may be away or wandering the site.
- A gas can can also be found on the tow truck west of the checkpoint.
- Fast traveling to this NERO Checkpoint places you near the tow truck, a safe place to refuel.
Drugged Out Of His Mind:
Copeland has placed a bounty on Randall, whom you must capture alive.
- 1Fast travel to the Little Bear Lake NERO Checkpoint to shorten the trip from O'Leary Mountain Safehouse.
- 2Ensure your bike's fuel is topped off and you have a full supply of handgun ammo.
- 3Interact with the corpse at the mission marker south southwest of the O'Leary Mountain Safehouse.
- 4Chase Randall on his bike. Target his bike using the tutorial prompts to damage it.
- 5You can also ram his bike or run him into objects to damage it. Be aware that Randall will also be targeting you.
- 6Once Randall's bike is downed, you will tie him up and leave him for Copeland after a cutscene (a non-interactive story sequence).
- Remove the suppressor from your 9MM before heading to the site.
- Randall's bike has a health bar.
- You can ram Randall's bike or run him into objects.
Guide and Walkthrough (PS4) by SENIORBILL (2)
Follow this detailed walkthrough for Days Gone's 'He Can't Be Far' mission. Learn enemy tactics, optimal routes, and how to overcome challenges.
Alright, let's dive into the mission 'He Can't Be Far.' This one's all about tracking down a specific target, so keep your eyes peeled and your wits about you. We'll cover the best approach to make sure you can find him without too much trouble.
- 1
Where You Are: You'll start this mission in the general vicinity of where you last saw the person you're looking for. The game will give you a general direction to head in.
What You See: Look for environmental clues, like disturbed earth, broken branches, or even tracks if the game highlights them. Keep an eye on your minimap for any mission markers that pop up.
What You Do: Follow the most logical path indicated by the clues or the minimap. You might need to dismount your bike and proceed on foot through denser areas.
Why This Way: Straying too far from the intended path might cause the mission objective to reset or even fail, so stick close to the trail.
- 2
Where You Are: As you get closer, the area might become more populated with Freakers or hostile humans. Pay attention to the terrain – you might be entering a more open area or a denser forest.
What You See: Listen for sounds – growls, gunshots, or the distinctive calls of Freakers. Visually, you might spot them from a distance, or they could be hiding behind cover.
What You Do: Approach cautiously. If you encounter enemies, decide whether to engage them directly, sneak past, or use the environment to your advantage (like attracting Freakers to a group of humans). Your goal is to reach the target area.
Why This Way: Rushing in blindly will likely get you overwhelmed. Taking a moment to assess the situation and plan your approach is key to survival and completing the objective efficiently.
- 3
Where You Are: You'll eventually reach a specific location, often a small camp, a clearing, or a specific building, where the target is supposed to be.
What You See: The target might be visible, or you might need to interact with something or someone to draw them out. There could also be a final group of enemies guarding the area.
What You Do: Depending on the situation, you might need to trigger a cutscene, confront the target, or clear out any remaining threats. Follow the on-screen prompts carefully.
Why This Way: Missing a prompt or engaging the wrong target could lead to a mission failure or having to restart the encounter.
- Keep your bike nearby but not so close that it gets destroyed if a fight breaks out.
- Use your focus mode to spot enemies and track your target more easily.
- Conserve your ammo and resources, especially if you anticipate a tough fight at the end.
- Listen to Deacon's dialogue; he often gives hints about what to do next or what dangers are ahead.
Similar guides you might like


100% Human-Written. AI Fact-Checked. Community Verified. Learn how AntMag verifies content