
Navigate Tomb Raider (2013)'s Storm Chaser sequence. Master environmental hazards, Solarii cultists, and precision platforming to survive this perilous segment.
Welcome, survivor! This section will guide you through the perilous "Storm Chaser" segment of Tomb Raider (2013). Prepare for a gauntlet of environmental hazards and relentless Solarii cultists. Precision platforming and quick reflexes are key here.
Navigating the Cliffside
Upon entering this area, Lara will be battered by fierce winds and driving rain. Your immediate goal is to reach the derelict radio tower to signal for help. Follow these steps:
- Initial Ascent: Head straight, jumping across the first gap. The path will be linear for a short while.
- Wind-Swept Ledge: As you approach a wider ledge, a strong gust of wind will threaten to blow Lara off. Quickly press the indicated button (usually X/A) to brace yourself and avoid falling.
- Scramble Wall: Ahead, you'll encounter a climbable wall. Use your pickaxe (Square/X) to ascend. Be mindful of falling debris; if you see rocks breaking loose, quickly move left or right to avoid them.
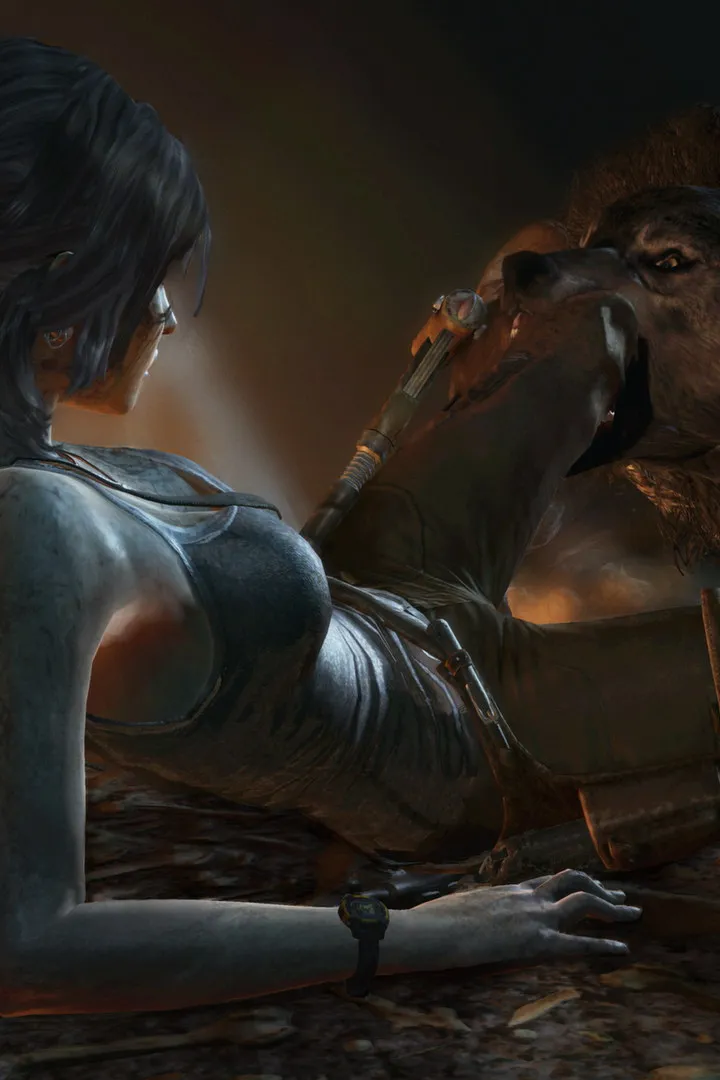
- First Enemy Encounter: After scaling the wall, you'll spot a lone Solarii cultist patrolling a small platform. This is an excellent opportunity for a stealth takedown. Approach quietly from behind and press Triangle/Y for a silent kill. This conserves ammo and avoids alerting others.
The Radio Tower Approach
With the first enemy dispatched, the path to the radio tower becomes more complex. Environmental puzzles and more enemies await.
- Rope Arrow Bridge: Look for a broken bridge with a visible anchor point on the far side. Equip your Rope Arrow (hold L1/LB and press R1/RB) and fire it at the anchor. Cross the newly formed rope bridge carefully.
- Scavenger's Den: On the other side, you'll find a small alcove. Search it thoroughly for a Salvage Crate (often hidden behind some crates or barrels) and potentially a Relic (e.g., a Japense Dog Tag). check for Survival Caches glowing faintly on the ground.
- Ambush Point: As you exit the alcove, two Solarii will ambush you from above. Take cover behind the large rock formation immediately. Prioritize the one with the bow, as their arrows can quickly whittle down your health. Use your Pistol for quick headshots, or if you have it, the Shotgun for close-quarters damage.
- Climbing the Tower Base: After the ambush, proceed towards the base of the radio tower. You'll need to perform a series of precise jumps and grab ledges. Look for yellow-painted markers indicating climbable surfaces.
Reaching the Summit
The final ascent to the radio's controls is the most challenging, combining platforming with a tense encounter.
- Wind Turbine Puzzle: A large, broken wind turbine blocks your path. You'll notice a mechanism nearby that controls its rotation. Use your Rope Arrow to pull a counterweight, causing the turbine blades to temporarily slow down. Quickly jump through the gap between the blades before they speed up again. Timing is crucial here!
- Tower Interior Combat: Inside the tower, you'll face a group of three Solarii, one of whom is heavily armored with a shield.
- Shielded Enemy Strategy: Focus on the shielded enemy first. You cannot directly shoot them from the front. Wait for them to charge, then dodge (Circle/B) and quickly shoot them in the back or legs. Alternatively, if you have the Axe Attack skill, a well-timed melee strike can break their guard.
- Remaining Enemies: Once the shielded enemy is down, the remaining two are standard cultists. use cover and aim for headshots to conserve ammo.
- Activating the Radio: After clearing the enemies, proceed to the top platform. Interact with the radio console (Square/X) to attempt to send a distress signal. A cutscene will trigger, concluding the "Storm Chaser" section.
Remember to scavenge for Salvage and Experience Points throughout this area to upgrade your gear and skills. Good luck, Lara!
100% Human-Written. AI Fact-Checked. Community Verified. Learn how AntMag verifies content