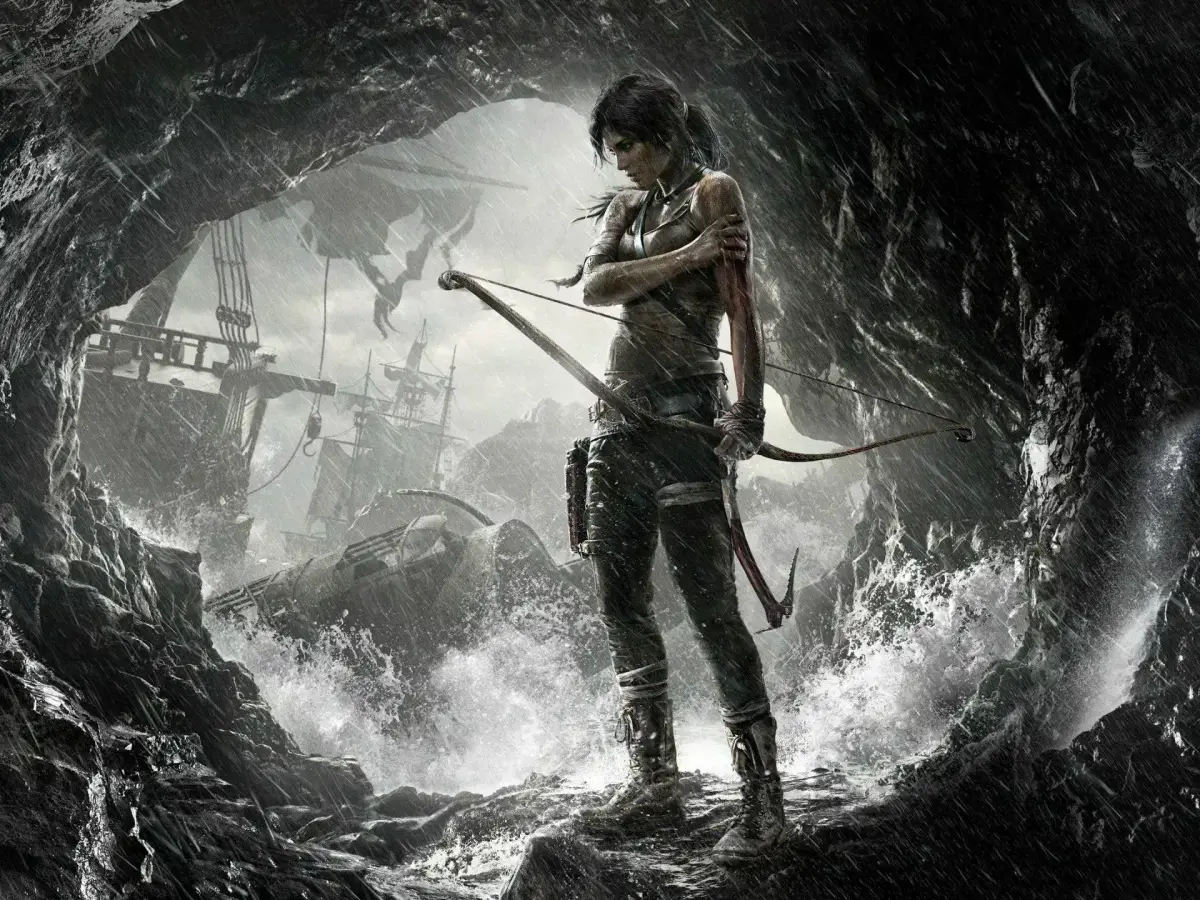
Navigate the difficult chasm crossing in Tomb Raider (2013)'s At an Impasse segment. Utilize careful navigation and resource management to progress.
Welcome, survivor! This section will guide you through the treacherous "At an Impasse" segment of Tomb Raider (2013). This area can be tricky, but with careful navigation and a keen eye for resources, Lara will overcome.
Objective: Find a Way Across the Chasm
After the harrowing escape from the collapsing ruins, Lara finds herself facing a seemingly impassable chasm. Your primary goal here is to find a path forward.
- Examine the Environment: Begin by looking around. To your immediate left, you'll notice a broken wooden bridge. While currently unusable, remember its location.
- Scavenge for Supplies: Before proceeding, always check for salvage.
- Look for a small alcove directly opposite the broken bridge. You'll find a Salvage Crate here, containing valuable Salvage (x50).
- Near the edge of the chasm, to the right of your starting position, there's a fallen tree trunk. Investigate it for another Salvage Crate (x30).
- Locate the Climbable Wall: Your path forward isn't across the chasm directly, but around it.
- Head towards the right side of the chasm, past the fallen tree trunk.
- You'll spot a distinctive, rough-hewn rock face with visible handholds. This is a Climbable Wall.
- Ascend the Wall:
- Approach the climbable wall and press the designated action button (e.g., X on PS3/A on Xbox 360) to begin climbing.
- Carefully navigate the handholds, moving Lara upwards and to the right. Be mindful of loose rocks that may crumble if you linger too long.
- Cross the Narrow Ledge:
- Once you reach the top of the climbable wall, you'll find yourself on a narrow ledge overlooking the chasm. Proceed cautiously along this ledge.
- Midway across, the ledge will narrow even further. You may need to press the Crouch button (Circle on PS3/B on Xbox 360) to squeeze through.
- Jump to the Next Platform:
- At the end of the narrow ledge, there will be a gap leading to a slightly larger, stable platform.
- Take a running start and press the Jump button (X on PS3/A on Xbox 360) to clear the gap. Lara will automatically grab the edge if you're close enough.
- Pull yourself up onto the platform.
Optional: Collectibles and Exploration
While you're in this area, consider taking a moment to uncover some hidden secrets:
- Relic: Jagon's Ceremonial Dagger: From the stable platform you just jumped to, look down and to your left. There's a small, almost hidden alcove beneath the platform. Carefully drop down to find the Jagon's Ceremonial Dagger relic. To get back up, you'll need to jump to a nearby ledge and climb back to the main path.
- Document: Solarii Journal - "The Betrayal": After climbing back up from the relic, continue along the main path. Before you reach the next major obstacle, you'll see a small, makeshift camp with a campfire. The Solarii Journal - "The Betrayal" document is lying on a crate within this camp.
Objective: use the Rope Arrow
Having navigated the initial climb and collected any optional items, you'll now face another gap that requires a new tool.
- Identify the Rope Anchor: Look across the next significant gap. You'll see a sturdy wooden beam with a coil of rope wrapped around it. This is a Rope Anchor.
- Equip the Bow and Rope Arrows: If you haven't already, switch to your Bow. Ensure you have Rope Arrows equipped (you should have acquired these earlier in the game).
- Fire a Rope Arrow: Aim at the Rope Anchor across the gap. The reticle will change to indicate a successful target. Fire a Rope Arrow (R2 on PS3/RT on Xbox 360).
- Cross the Rope Line: Once the rope arrow is secured, Lara will automatically begin to traverse the rope line. Hold the Forward direction (Left Analog Stick) to move across.
- Reach the Other Side: Continue across the rope line until Lara safely lands on the opposite side.
Congratulations! You've successfully navigated "At an Impasse" and are ready to face the next challenges the island throws at you. Remember to always be on the lookout for salvage and collectibles to upgrade your gear and uncover more of Yamatai's secrets!
100% Human-Written. AI Fact-Checked. Community Verified. Learn how AntMag verifies content