Navigate the treacherous hazards like lava and disappearing floors in Portal: Revolution Part 3. Learn the key differences from older Lemmings games to master the challenges.
Alright, let's dive into Part 3 of Portal: Revolution! This section is going to cover some of the more dangerous environmental elements you'll encounter and also highlight some key differences from the classic Lemmings games that you'll need to get used to. Don't worry, we'll break it all down so you can handle it.
Environmental Hazards
You'll run into a few things that are definitely not your Lemmings' friends. Pay close attention to these!
Water, Acid, and Lava
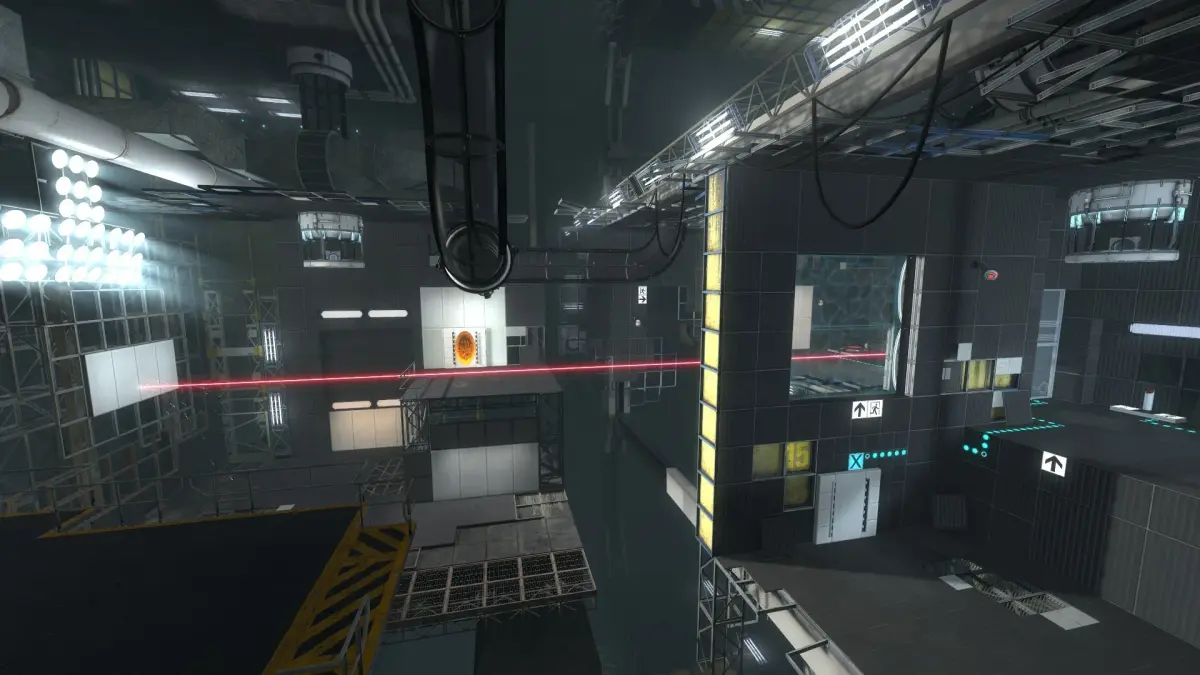
There are three main types of liquids to watch out for: water (blue), acid (green), and lava (yellow). Your standard blue Lemmings can't swim in any of them and will drown pretty quickly. Thankfully, there are special Water and Acid Lemmings who can walk on those surfaces – they'll be super useful for solving some puzzles. Lava, though? Nobody's safe from that. It doesn't show up too often, but when it does, your best bet is to either avoid it completely or build something over it.
Rolling Spiked Logs
These nasty, blood-stained logs roll along a set path, sometimes controlled by a switch. They're relentless and will smash through pretty much anything, including land! You can imagine what they'll do to your poor Lemmings. Keep a close eye on their paths and make sure your little guys aren't in the way.
Disappearing Floors
These are a real pain and usually show up later in the game. They're often layered and will vanish piece by piece as a Lemming walks over them. You really hope there's solid ground underneath, because these disappearing floors are frequently placed right over traps like water. Often, you'll need to find a switch to reveal a solid floor beneath the disappearing one, so you'll have to be quick once you notice the floors starting to fade!
Falling Too Far
This isn't exactly a trap, but it's a surefire way to lose Lemmings. They can only survive a certain height of fall before they shatter. Making a Lemming a 'floater' can prevent this, or if you don't have any, you'll need to find ways to shorten the distance they fall.
Key Differences from Older Lemmings Games
If you're coming from the older Lemmings games, you might think you can just jump right in, but this game has some significant changes. Don't get cocky, or it'll definitely teach you a lesson!
Here are the most noticeable differences:
- Mining and Digging: That old trick of digging just one step and then mining to turn around? It doesn't work anymore. You have to dig much deeper to turn around now. When a Lemming hits steel, they'll drop their pick and move forward a bit. If the ledge ahead is just slightly taller than them, they might be able to walk up it. So, if you're planning to mine to turn a Lemming around, make sure the hole is deep enough – a small dent won't cut it anymore.
- Release Rate Control: There's no longer a separate button for raising and lowering the release rate. Now, you just hover your cursor over the entry hatch. Hold the left mouse button to lower the rate and the right mouse button to raise it. This is actually more convenient because you can set custom rates for individual entrances, unlike before where changing the rate applied to all applicable entrances.
- Speed-Up Button: Tired of waiting for all your Lemmings to reach the exit? Or spending ages on a tough level? Good news! There's a speed-up button located just above the nuke button. It sends the repetitive parts into overdrive. This is a lifesaver, but be aware it can sometimes keep going even after you release the mouse button, so use it carefully.
- Pausing and Assigning Tasks: You can now assign Lemmings to tasks while the game is paused. This is a huge help for planning and executing complex strategies.
- Zoom Functionality: You can zoom in on specific parts of the level now. This is great for getting a closer look at tricky areas or for those of us who might need a little extra visual help.
- Digging Through Mixed Materials: If you're digging through a mix of ground and steel, you'll stop instantly when you hit steel, no matter how much ground is mixed in. This is a bit annoying and can mess with old strategies. In previous games, you could sometimes dig through steel if you were also digging through a lot of ground. Here, when you hit steel, you'll hear a distinct "shhhh" sound. Steel is a much bigger obstacle now and doesn't have the same exploitable glitches.
- Less Forgiving Timer: The timer in this game is much tighter. You might have the required number of Lemmings reach the exit, but if the timer runs out just as the last one is getting there, you'll still fail. This can lead to frustrating losses on levels with very tight timing. Unlike older games where you knew exactly when time was up at 0:00, this game is less forgiving.
- No More F-Key Hotkeys: The F1-F10 keys used to be great for switching tasks quickly without moving the mouse. F11 paused the game, and F12 triggered the nuke. That's all gone now. You have to use the mouse to select functions, though the mouse movement itself is much smoother in this game, which is a small consolation.
Understanding these changes is key to adapting your strategies and succeeding in Portal: Revolution. Keep these differences in mind as you progress!
100% Human-Written. AI Fact-Checked. Community Verified. Learn how AntMag verifies content