Master Monster Hunter World: Iceborne's larger monsters. Learn strategies, weaknesses, and rewards for Great Jagras, Kulu-Ya-Ku, and Pukei Pukei in this comprehensive guide.
This guide covers larger monsters in Monster Hunter World: Iceborne, detailing their behaviors, weaknesses, and strategies for hunting them.
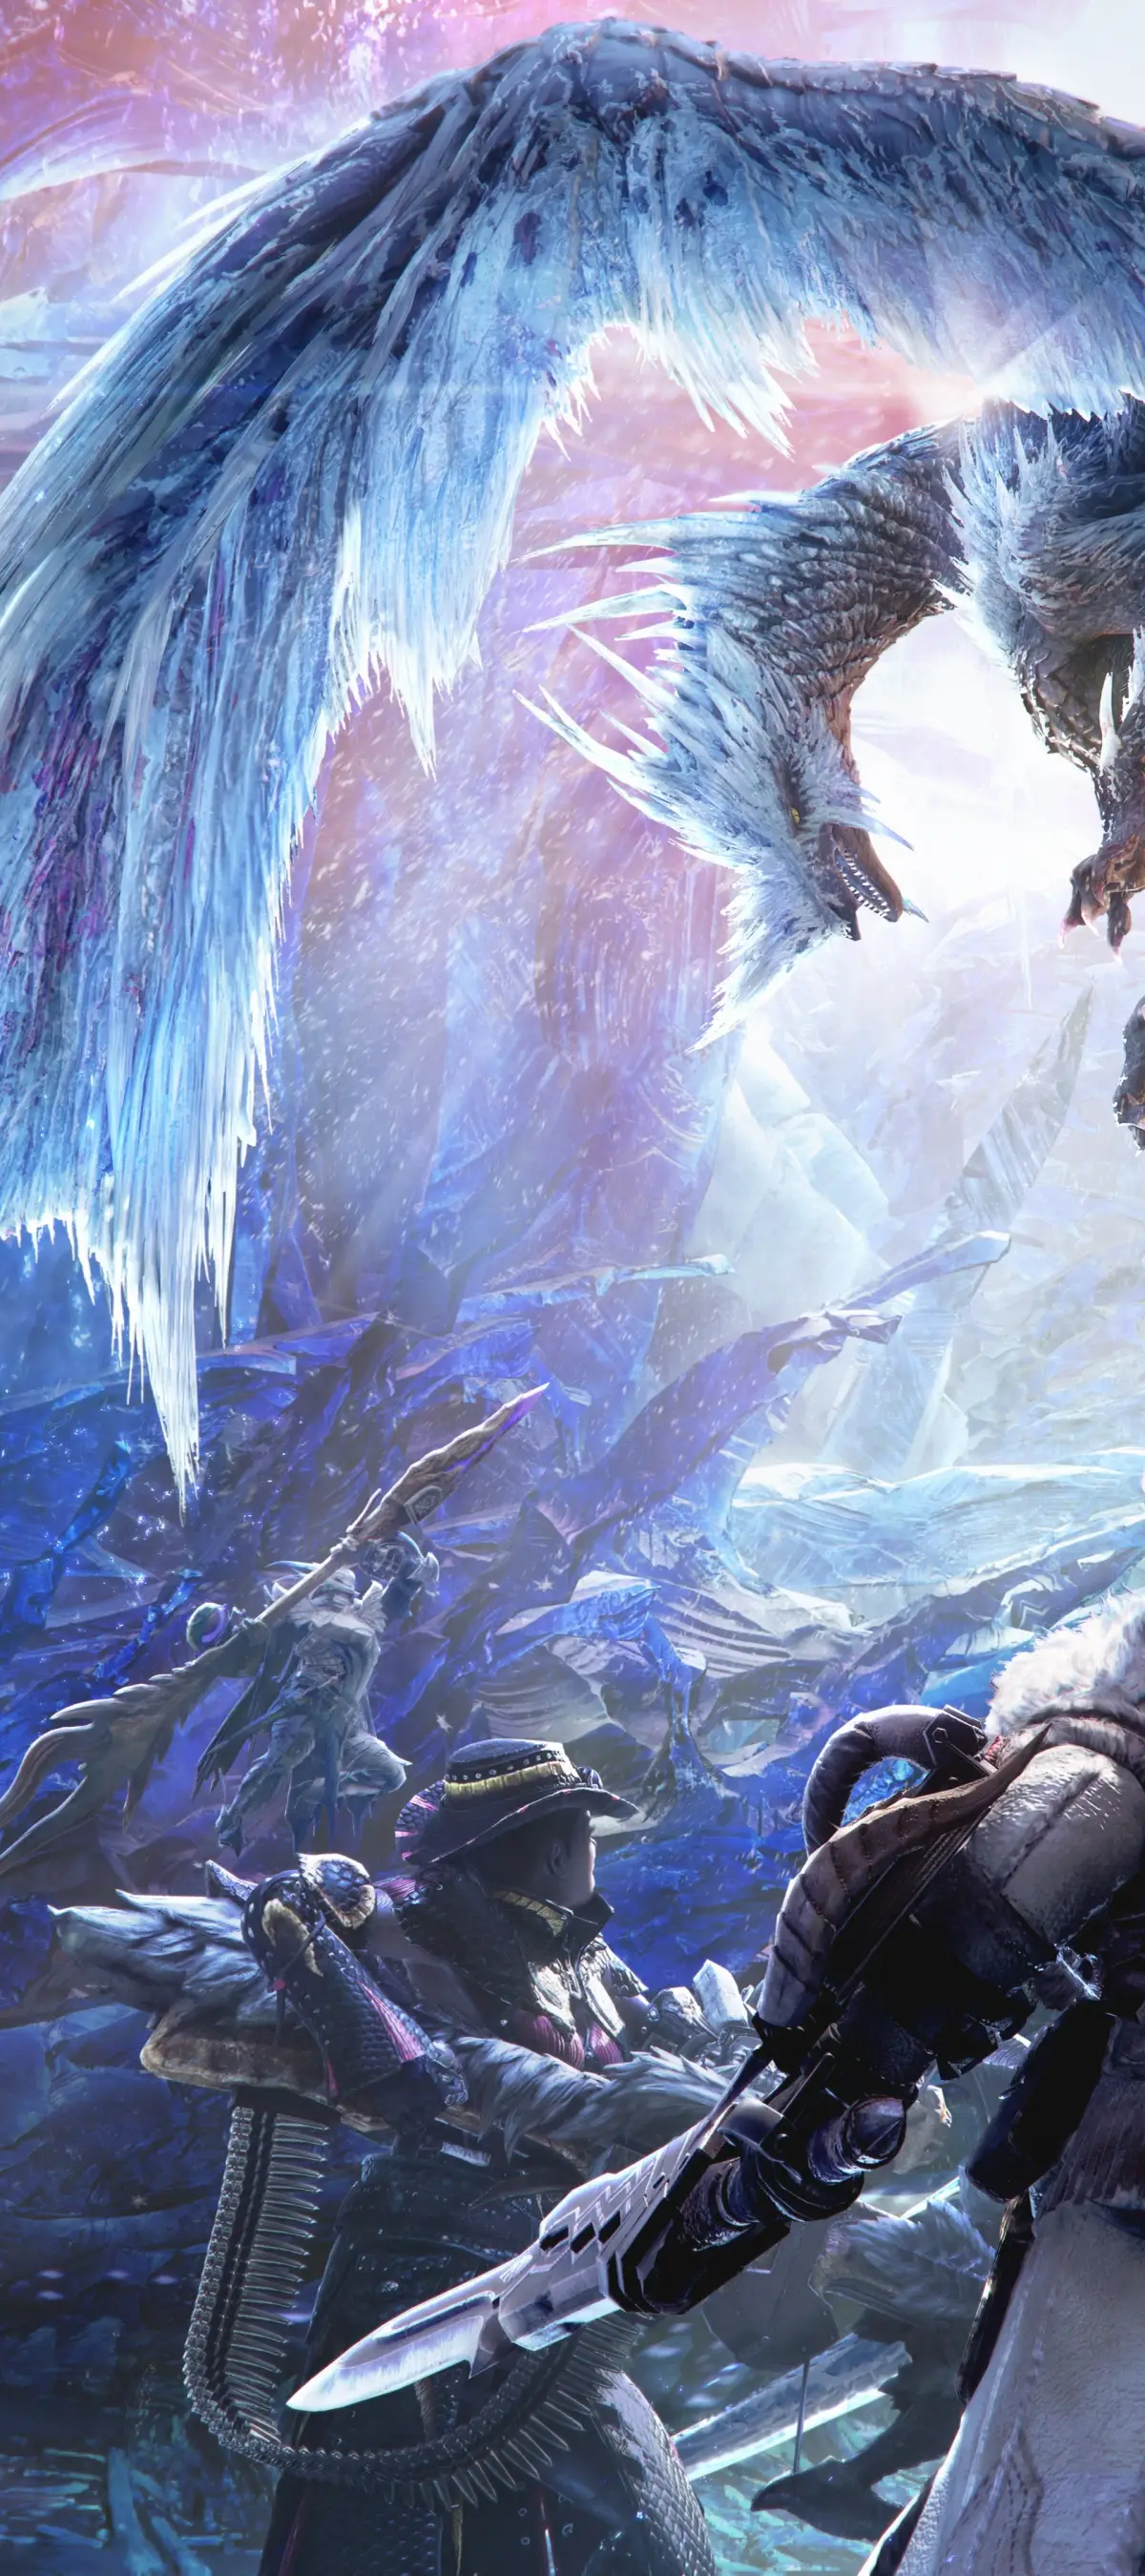
Great Jagras
The pack leader of the Jagras, the Great Jagras is known to go out of control when hungry. It balloons to unbelievable proportions after swallowing prey. This will be the very first boss players should encounter during their playthrough of Monster Hunter World. Players can battle the Great Jagras by completing a Kestodon Kerfuffle quest, which leads to the Great Jagras Hunting Quest. This is technically the third quest of the game and can be replayed later via the Optional Quest Menu selection screen.
On your first run, the Great Jagras is pretty tough, can possibly make your character faint or die, and takes about 15-20 minutes to defeat. This boss enemy is considered to be a Large Monster. Great Jagras are resistant to Water and all Water-based attacks. The Great Jagras will attack other monsters in its vicinity.
The Great Jagras is weak mainly to the fire element with a three-star rating (***). This enemy also is highly susceptible to the four status ailment types in the game. This includes Sleep, Paralysis, Blast, and Poison. The Great Jagras is susceptible to cutting damage, making Great Swords very useful. Blunt damage from Great Hammers will work nicely. Ammunition from most gun types, such as the Light Bowgun will also inflict nice damage against a Great Jagras. The head, chest, and front claws of the Great Jagras are all breakable.
Low-Rank Rewards for carving the Great Jagras corpse will be the Scale, Hide, Mane, and claw. The Mane of the Great Jagras is the rarest of the four. Rewards for beating the Great Jagras quest will be the Scale, Hide, Mane, and Claw of a Great Jagras. Players will also earn Iron Ore and possibly Monster Hunter Bone S. Players will be able to craft a full Jagras Set for the Main Character as well as several new weapons. Players will need the materials to complete forging the armor or weapons.
The Great Jagras will vomit food when it is weakened. This is the best time to generally attack the Great Jagras. Players that use a cutting weapon, specifically with Fire elemental type damage, will have great success. Blunt and Ammunition type damages with Fire elemental, will also work wonders. In conclusion, the Great Jagras is not very difficult, however, it will take a bit of time for new players to "Chew the Fat".
Kulu-Ya-Ku
An odd bird wyvern that has developed limbs capable of carrying weapons. It's been spotted stealing eggs from nests found in the Ancient Forest and Wildspire Waste.
Kulu-Ya-Ku is a boss type monster in Monster Hunter World. Its first appearance will be during the first Expedition at the Ancient Forest level. Towards the end of the Expedition, players will encounter this beast and have to hunt it down for the Bird-Brained Bandit Quest. This foe will hold a rock or boulder often and can even toss the rock at your character. This can stun your character and deal nice damage to him/her.
Players should also know the rock serves as a makeshift shield. Hitting it with certain weapons will waste more time and leave you open to attacks with certain weapons. I suggest avoiding the rock and attacking the Kulu-Ya-Ku from behind or the sides. Players can break the rock with certain weapons easier. The Kulu-Ya-Ku has a good ability to Stun your character and the current cure is button mashing and moving the Joystick quickly.
The enemy is weak against Water-based elemental attacks. It is also relatively weak against all types of status ailments. These include Poison, Paralysis, Stun, Blast, and Sleep. In-conclusion this enemy can be tough early on but nothing that should make your character faint even once or for lack of Monster Hunter Terms, die.
Pukei Pukei
This is the first Arena Quest 01. Players will do battle with a Pukei Pukei. This enemy can knockdown, stun, and poison your character. At the build selection screen, for the sake of the tutorial, select the Light Bowgun specialization. Player two should select the Switch Axe Build or Specialization. Player one will be doing most of the strategic attacks and moves. Player #2 will generally just be spamming light attacks or basic attacks on the Head of the Pokei Pokei.
Immediately at the start of the quest begin to run and vault over the fence with the circle button. After this and during the vault switch over to the Barrel Bombs with the directional pad. Place both of your barrel bombs on the ground where you fell from the vault. Next and do this all very quickly, place your pitfall trap. Make sure you are in synergy with your Switch Axe partner over the microphone. Have the Pokei Pokei baited into the pitfall trap. While the Pukei Pukei is being baited or is in the trap, very quickly place all of your Wyvern Blast special ammunition.
Make sure to blow up the barrels with any type of ammunition, Spread ammunition works excellently here due to the radius of the bullets spread. This should also blow up the barrels. When the Pukei Pukei is free, switch to paralysis ammunition. Always be in sync with your partner. This is especially important to let your partner know the Pokei Pokei is stunned. When stunned be sure to tell your partner so he or she can button mash with Pukei Pukei head strikes. The game states the tail is an equally weak point, however, I found this to at least seem false. Before reloading Paralysis ammunition have your Thunder Trap set up. This will cause a very long stun on the Pokei Pokei within a larger radius guaranteed. Once again have the Switch Axe players focus on the head.
Players should also use their Gun Powder item. This will deal extra bullet damage or ammunition damage. Use this at your first free chance during the battle. Preferably right after the Wyvern Blasts. Try and avoid using Normal Ammunition and Normal Ammunition 2. It is too weak and harder to hit the Pukei Pukei. Don't forget your Wyvern blasts is special ammunition and mu
100% Human-Written. AI Fact-Checked. Community Verified. Learn how AntMag verifies content