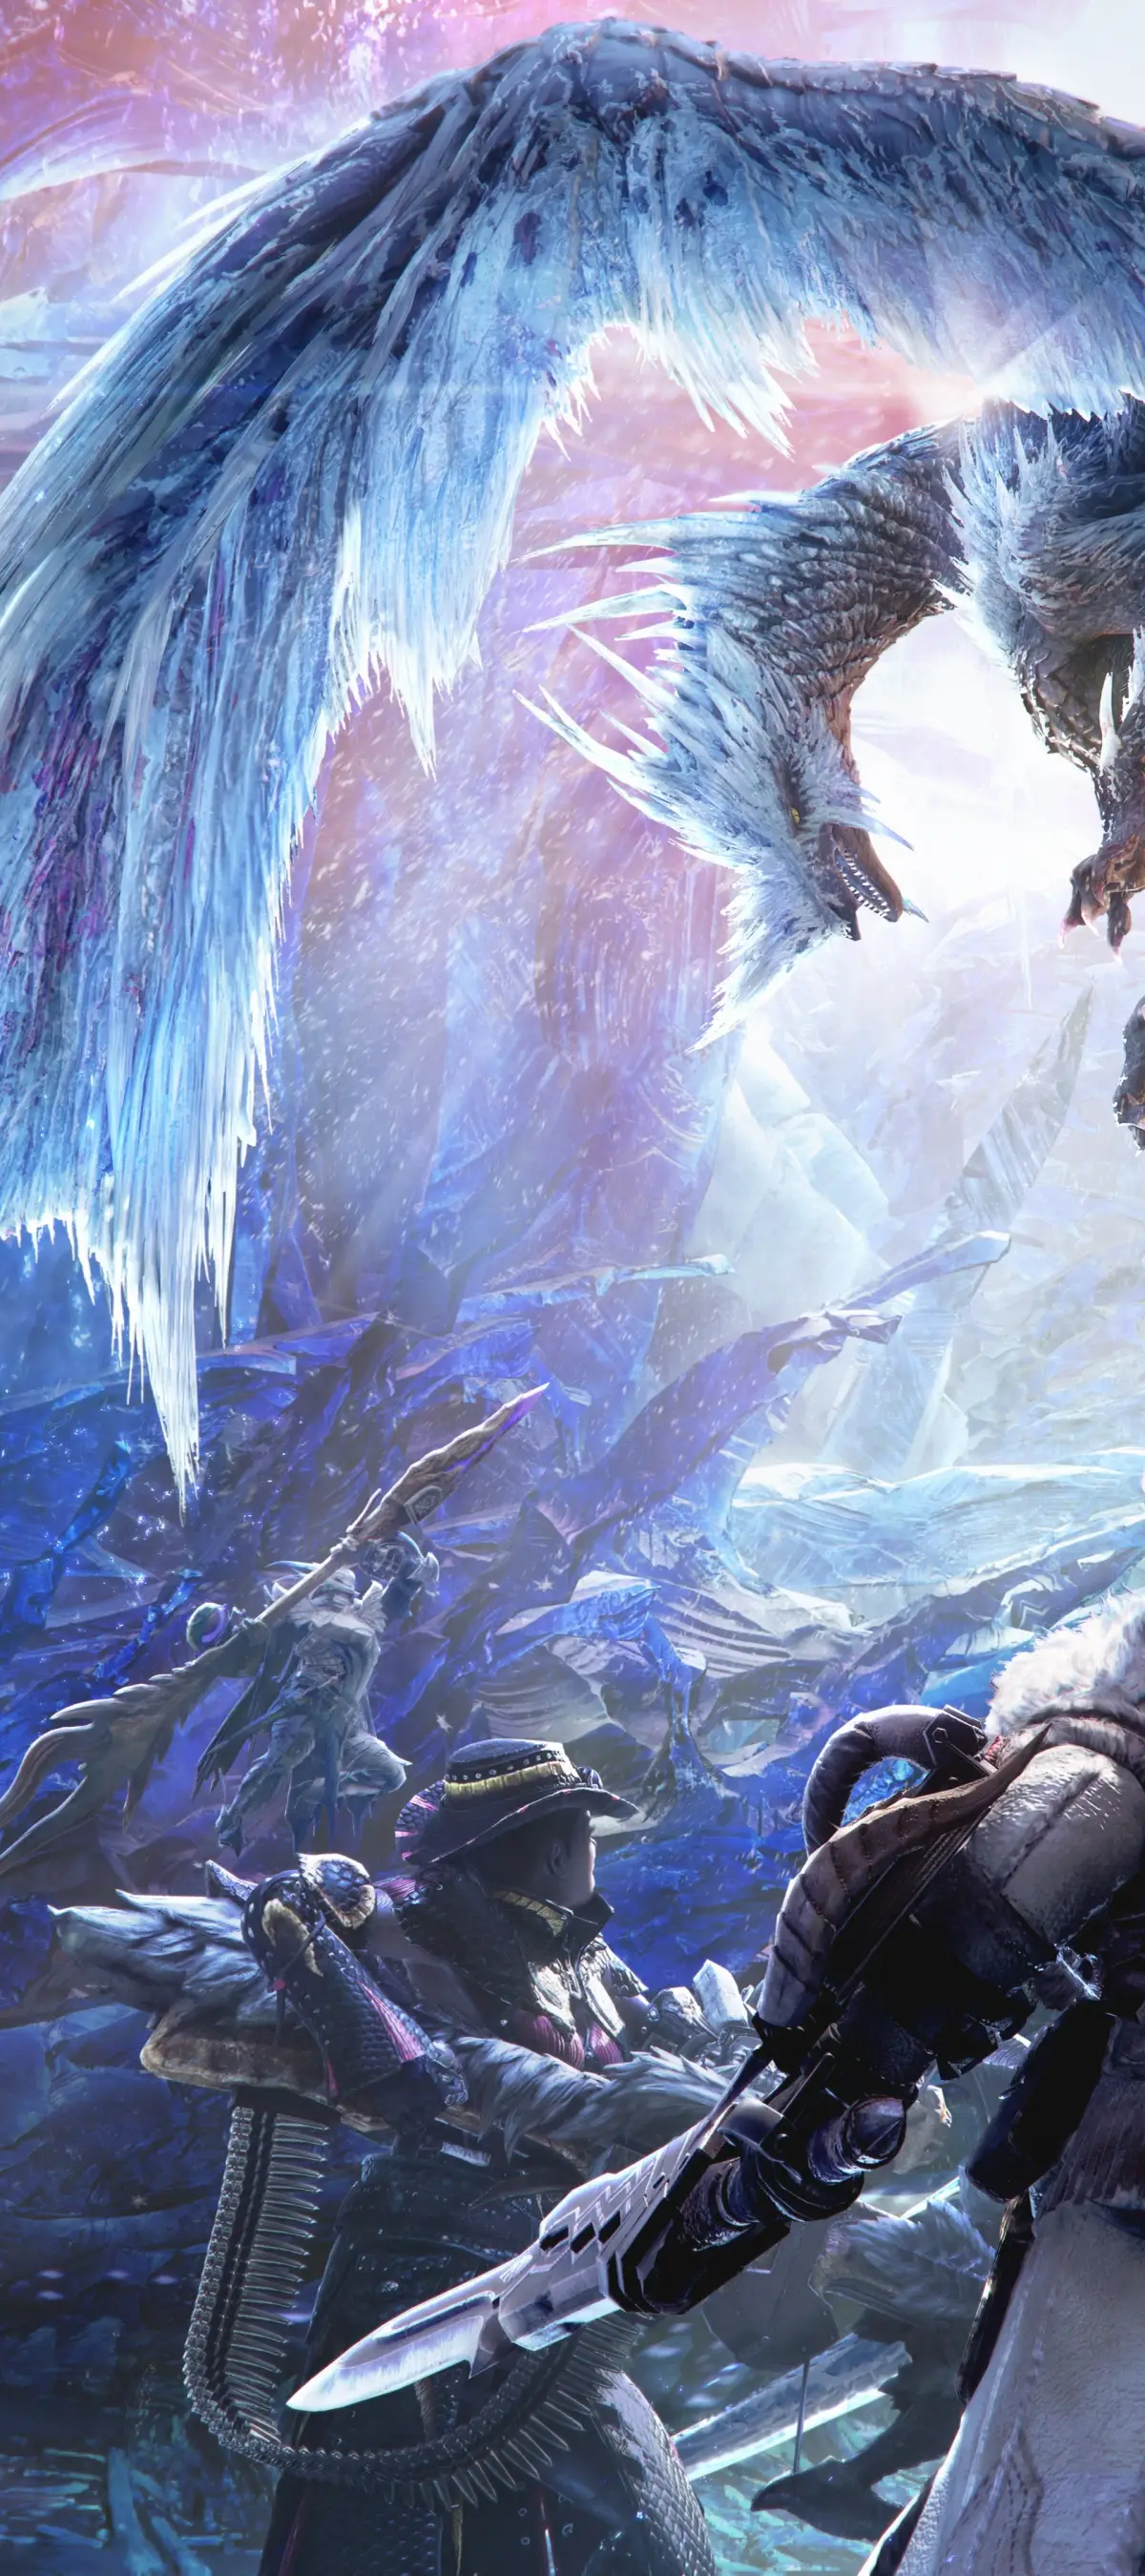
Welcome to Monster Hunter World: Iceborne! This massive expansion builds on the already incredible foundation of Monster Hunter: World, throwing you into the new, frigid region of Hoarfrost Reach. Prepare for a challenging new hunting experience where you’ll utilize the densely packed environment to your advantage, taking on numerous monsters that engage in turf wars and prey on each other. With all 14 weapon types receiving new mechanics, there’s always a fresh way to approach the hunt.
This guide is here to help you conquer the challenges of Iceborne. We’ll cover everything you need to master the new hunting mechanics, navigate the diverse locale of Hoarfrost Reach, and overcome the toughest new monsters. Whether you're aiming to collect every item, perfect your combat with specific weapon types, or simply survive the harsh new environments, we've got you covered.
Strategy Guide (PS4) by GfaqCodebreak
Monster Hunter World: Iceborne Strategy Guide covering Main Quests, Weapons, Armor, Items/Crafting, Bestiary, and more. Updated February 2018.
- 1Navigate through the Main Quest, including Optional Quests, Resource Center, Arena Quests, and Events.
- 2Explore detailed sections on all weapon types: Great Swords, Light Bowguns, Heavy Bowguns, Insect Glaive, Switch Axe, Bow, Dual Blades, Great Hammers, Hunting Horn, Long Swords, Charge Blade, Sword and Shield, Lance, and Gun Lance.
- 3Learn about Armor, Fixed Items, Specialized Tools, Palico companions, and effective Builds.
- 4Understand Items and Crafting, covering Potions, Traps, Ammunition, and Miscellaneous items.
- 5Consult the Bestiary for information on Larger Monsters, Smaller Monsters, Endemic Animals, and Poogie.
- 6Discover The Canteen, Trophies/Achievements, and access a Video Playlist.
- Refer to the Table of Contents for specific section navigation.
- The guide was updated on 02/28/2018 and was a FAQ of the Month winner in February 2018.
- This guide is structured to follow the Main Quest and provides detailed breakdowns of all major game systems.
Optional Quests
Monster Hunter World: Iceborne Optional Quests offer replayable challenges for currency (z) and rewards. Learn about A Thicket of Thugs, Butting Heads with Nature, and more.
A Thicket of Thugs
Players can earn 720 z for completing this quest again. They must slay 7 Jagras enemies. Jagras are generally resistant to water-based attacks. They are weaker to fire and lightning elemental attacks. This is the first slaying quest in the game and will become the first optional quest. Players may replay it for the 720 z at any time continuously.
Butting Heads with Nature
Slaying 12 Kestodon is the goal in this quest within a 50-minute time limit. Players can faint up to three times before failing the quest. The reward will be 720 z. Players can slay both male and female Kestodons to complete the optional quest.
The Great Glutton
This is the hunting quest repeated from earlier. Players can choose to do this quest again via the Optional quests at the quest board or the handler. Players must hunt a Jagras within the time limit and under the required faint conditions. This quest becomes available after completing the main story version.
Campsite Crasher
This quest becomes available after defeating the Kulu-Ya-Ku near the Northeast Campsite at the Ancient Forest location. Players can replay this quest called Campsite Crasher and defeat the Kulu-Ya-Ku again under the required conditions.
Scatternut Shortage
In this optional quest, you must take on the Pukei-Pukei. Players can receive this Optional Quest after defeating the Pukei-Pukei at the Ancient Forest in the main stories assigned quests segment. Once that has been completed players may fight the Pukei-Pukei again at their leisure in the Scatternut Shortage Optional Quest.
Mired in the Spire
After defeating the Barroth for the first time, during the "best kind of quest". Players can replay the Barroth segment or hunt in Mired in the Spire. Players must meet the requirements and hunt the Barroth. Please note these quests are already marked as completed because they are practical if not completely identical to the main story versions.
The Piscine Problem
Players will have to hunt a Jyuratodus in this Optional Quest. If you are having trouble or forgot how to take down a Jyuratodus, please see our in-depth Bestiary section under Larger Monsters. This quest is only available after completing Sinister in the Swamp.
Snatch The Snatcher
This is the first capture quest that is optional yet is not part of the main quest. Capturing to me is rather difficult especially for newer players. Players should know most importantly that there are capturing supplies in the Supply Box at the start of these quests always. For example, players will get 8 Tranq Bombs and 2 Trap Tools always. Trap Tools can be converted with other materials to make pitfall or shock traps.
In this Optional Capture Quest, you must capture the Kulu-Ya-Ku of the Wildspire Waste region. Since there is little to no indicator on the map on how weak a monster is, or the heads up display (HUD (heads-up display — the on-screen icons showing health, ammo and the minimap)), players have to go by their gut and game knowledge. If the monster is walking slowly or Limping this is a huge sign you may need to lay down the trap.
I have personally caught two monsters at the moment, both Kulu-Ya-Ku and for this Optional quest, I suggest you do the same for me until I update this information. Use the Pitfall Trap when you see the Kulu-Ya-Ku limping and have damaged it enough times. Players should save the second Trap tool to make another Pitfall Trap if the first fails. Players may only hold one Pitfall Trap at a time but can stash the resources (Trap Tools) in their supply box at camps.
In conclusion, it should work like so. The Monster takes a ton of damage and begins running or limping away. The player puts down the pitfall trap and the monster is at that point instantly captured and you win. If that doesn't work, you apparently didn't deal enough damage to the Kulu-Ya-Ku and in that case, try again. I will have the Shock Trap analysis up in a day or two, stay tuned daily for updates.
The Current Situation
This Optional Quest will semi-repeat the quest where you hunted the Tobi-Kadachi during the games Main Questline. Players have this quest already completed but they may want to try it again. If so as a refresher, remember that the Tobi-Kadachi is weak against Water elemental attacks and it is also very susceptible to Poison Attacks. Throwing poisoned meat on the ground may be a viable outlook on things.
Poison Bombs are also very useful as are Poison Coated Arrows and of course Poison Throwing Knives from the Slinger. The Jyuratodus set for the Palico also adds Water Elemental Damage with its weapon. This can cause extra damage to the Tobi-Kadachi. Players should take note that the Madness Pangas are Dual Blades we can acquire very early on, this is also a great method of beast vs beast on the Tobi-Kadchi.
One Helluva Sinus Infection
Anjanath is the main focus in this Optional Quest. This quest can be completed for a second time via the Optional Quest menu at the Quest notice board. Players can take on the Anjanath again via the menu. Remember this quest is not necessary to complete and players would probably be better off facing an Anjanath via Investigation. However, if you want to replay the Anjanath early or the Investigation is unavailable this is always a constant option. Players will still earn carvings and rewards, yet the results are far better during an Investigation.
Strategy Guide (PS4) by GfaqCodebreak (2)
Dive into Monster Hunter World: Iceborne with this comprehensive strategy guide. Learn about quests, weapons, armor, crafting, monsters, and more to become a master hunter.
Hey there, hunter! So, you're diving into Monster Hunter World: Iceborne, huh? Awesome choice! This game is massive, and honestly, it's a bit of a grind. It's got a steep learning curve, so you'll need some serious dedication to really get into it. But if you're someone who loves farming and perfecting your gear, you're going to have an absolute blast. If you're just looking for a quick shooter fix, this might not be the game for you right now. Monster Hunter World is packed with cool characters, fearsome monsters, and a deep progression system. You can level up tons of weapons, your trusty Palico companion, and your own hunter. It's easily one of the most in-depth games out there. If that sounds like a lot, maybe just peek at this guide to see what it's all about.
This guide is going to cover everything I personally get up to in the game, with original artwork, text, and even some cool videos from my own playthroughs. I'm aiming to make this guide as detailed as possible, so you'll find info on pretty much everything. I'll be using a mix of my own art, official game art, and some cool stuff from DeviantArt. If you've got any ideas or artwork you think would be a great addition, feel free to shoot me an email!
You'll be able to jump between sections easily using the table of contents. We'll start with the Main Quests needed to beat the game, then move on to the side quests. After that, we'll dive deep into weapons, armor, items, tools, and so much more. This game is huge, so expect this guide to be pretty extensive. Get ready for what I'm calling 'The Hardcore Guide' to Monster Hunter World!
Bonus Tips from the Week:
I've tucked some cool tips I've found right here in the intro. If you discover something awesome, let me know! For now, these are locked to this page, but if they get popular, maybe I'll make a dedicated section later.
Farming Respawn Times Explained:
Ever wonder how long it takes for things to pop back up in Monster Hunter World? I've got a video that breaks down the respawn timers for everything – bugs, small monsters, big monsters, you name it. It's pretty wild how detailed it is, especially compared to older games. Monster Hunter World takes it a step further than even games like Zelda: Breath of the Wild by showing these timers right on your World Map. For instance, if you pick up a Herb, you can check the map for that area. If the Herb icon is grayed out, it means it's been picked and is on a respawn timer. Wait a bit, and you'll see it start to turn green again from the bottom up. Every item and monster has its own timer, so a Herb might respawn faster than a Godbug. This is super handy for farming the materials you need to craft gear to take down those tough monsters. Check out the video below to see it in action!
(Video unavailable - please visit YouTube to search for more videos)
Ready to move on? Next up is the Main Quest!
Strategy Guide (PS4) by GfaqCodebreak (3)
Monster Hunter World: Iceborne Events Guide details how to access special event quests and their availability. Learn about limited-time activities.
- 1Access the Quest Board.
- 2Select the 'Events' option.
- 3Choose an available Event Quest to undertake.
- Event Quests are often time-limited, so check the availability window.
- Participating in Event Quests can yield unique rewards and materials not easily obtained elsewhere.
- Keep an eye on the Events section as new quests are added periodically.
100% Human-Written. AI Fact-Checked. Community Verified. Learn how AntMag verifies content