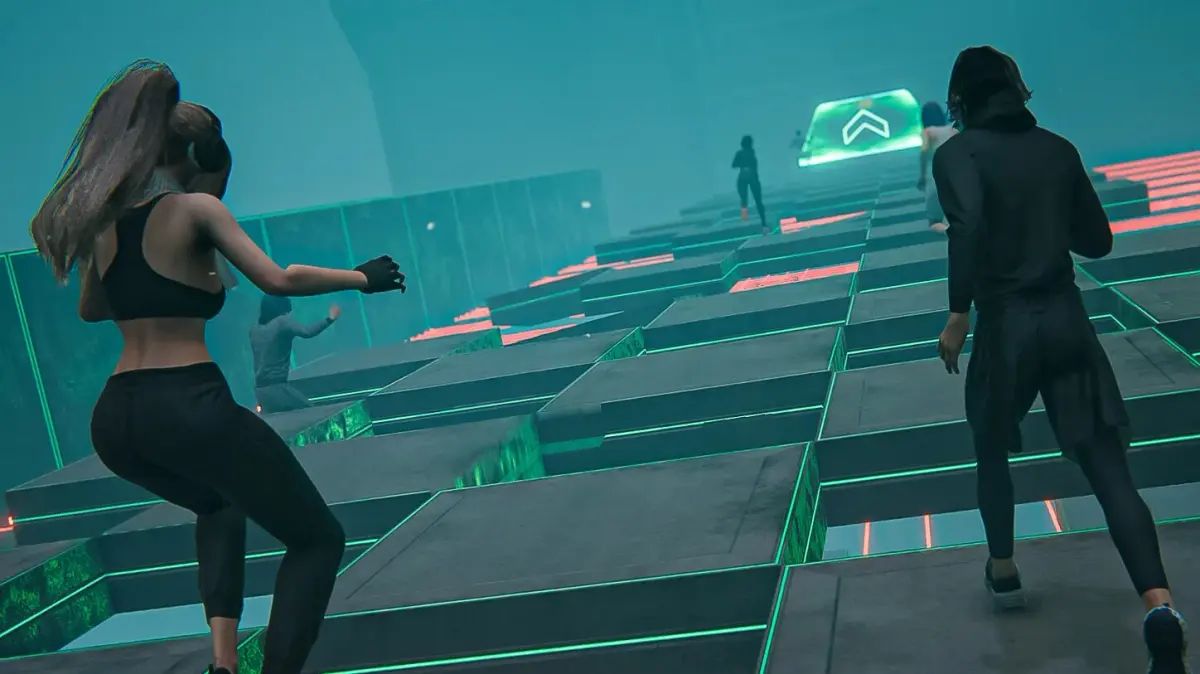
Welcome to LASERS, a mind-bending sci-fi horror experience from Straight Back Games. As a single-player or online co-op adventure, you'll navigate treacherous test chambers, manipulating lasers and time portals to solve complex puzzles. Master the use of your portal gun and time-bending mechanics to overcome obstacles and uncover the secrets within the facility.
This guide will help you conquer the game's challenging test chambers, specifically focusing on the intricate laser puzzles. We'll walk you through solutions for chambers like Test Chamber 13 and Test Chamber 14, detailing how to use portals to redirect lasers, utilize time portals to affect the past and future, and strategically place reflector cubes to hit all necessary nodes. Get ready to achieve victory and master every stage.
Getting Started
Navigate Test Chambers 13, 14, and 15 in Portal Reloaded by mastering laser redirection and time portals. Follow our step-by-step guide to solve these challenging puzzles.
Getting Started
Navigate Test Chambers 13, 14, and 15 in Portal Reloaded by mastering laser redirection and time portals. Follow our step-by-step guide to solve these challenging puzzles.


Controls & UI — LASERS Guide
Master LASERS controls and user interface. Learn every input, on-screen element, and menu function to achieve lightning-speed reactions and precise vehicular m.
Welcome, aspiring Laser Racer, to the crucial section on Controls & UI. This guide will meticulously break down every input, every on-screen element, and every menu you'll encounter in LASERS. Understanding these fundamentals isn't just about knowing which button to press; it's about developing an intuitive connection with your vehicle, allowing you to react with lightning speed and precision when every millisecond counts.
From the subtle nuances of steering to the critical information conveyed by your HUD, mastering this section will transform you from a fumbling novice into a fluid, responsive pilot. We'll cover the default keybindings for PC, offer advice on customization, and dissect the various user interface elements that provide vital real-time feedback during your high-octane races. Prepare to internalize these mechanics, as they are the bedrock upon which all your future victories will be built.
Default PC Controls
LASERS on PC offers a highly customizable control scheme, but we'll start with the default keyboard and mouse bindings. While a gamepad is often preferred by many for racing games, the keyboard offers precise digital input that can be advantageous for certain maneuvers, especially when combined with mouse-based camera control. Familiarize yourself with these core actions:
- W: Accelerate - Your primary forward thrust. Holding this down is essential for maintaining speed.
- S: Brake/Reverse - Tapping will apply brakes; holding will engage reverse. Crucial for tight turns and recovering from overshoots.
- A: Steer Left - Initiates a left turn. Combine with acceleration for smooth cornering.
- D: Steer Right - Initiates a right turn. Combine with acceleration for smooth cornering.
- Spacebar: Boost - Consumes a portion of your energy bar for a temporary burst of speed. Timing boosts is critical for overtaking and escaping hazards.
- Left Shift: Drift - Initiates a controlled slide, allowing for sharper turns without losing too much speed. Mastering drifting is a key skill in LASERS.
- Left Mouse Button: Fire Primary Weapon - Unleashes your equipped primary weapon. Aiming is typically automatic or assisted.
- Right Mouse Button: Fire Secondary Weapon/Ability - Activates your equipped secondary weapon or special ability. These often have cooldowns or limited charges.
- Mouse Movement: Camera Control (Look Around) - Allows you to freely look around your vehicle, providing better situational awareness.
- Tab: Scoreboard/Race Info - Toggles the display of current race standings, lap times, and other vital statistics.
- Esc: Pause Menu - Accesses game options, restarts, and exits.
Pro Tip: While the default bindings are a good starting point, don't hesitate to experiment with custom keybinds in the "Options > Controls" menu. Many players rebind Boost or Drift to mouse buttons for quicker access.
The Heads-Up Display (HUD)
Your HUD is your window into the race, providing critical real-time information without obstructing your view of the track. Understanding each element is vital for making informed decisions on the fly:
| HUD Element | Location | Function | Strategic Importance |
|---|---|---|---|
| Speedometer | Bottom-center | Displays your current vehicle speed in units per second. | Monitor for optimal speed through corners and straightaways. |
| Energy Bar | Bottom-left | Indicates available energy for Boost and certain abilities. Replenishes over time or via pickups. | Crucial for managing Boost usage; never let it deplete completely unless necessary. |
| Weapon/Ability Icons | Bottom-right | Shows your equipped primary and secondary weapons/abilities, including ammo counts or cooldowns. | Track weapon availability for offensive and defensive maneuvers. |
| Lap Counter/Position | Top-left | Displays current lap number out of total laps, and your current race position. | Essential for understanding race progress and your standing against opponents. |
| Mini-Map | Top-right | Provides an overhead view of the track, showing your position, opponents, and upcoming turns. | Use for anticipating corners, spotting opponents, and identifying shortcuts. |
| Damage Indicator | Around vehicle icon (bottom-center) | Flashes or changes color to indicate damage taken by your vehicle. | Alerts you to potential risks; seek repairs if damage is critical. |
Pro Tip: While the Mini-Map is invaluable, avoid staring at it. Use quick glances to orient yourself, but keep your primary focus on the track ahead.
The Controller — LASERS Walkthrough
Navigate the challenging 'Lasers' section of the Portal Reloaded walkthrough. Learn how to use portals and time portals to solve Test Chambers 13, 14, and 15.
This guide covers Test Chambers 13, 14, and 15 of the Portal Reloaded walkthrough, focusing on the use of lasers and time portals.
Test Chamber 13:
- Place portals as shown in the image.
- Use a portal to move the laser sideways and a time portal to move it into the future.
- You can take damage from the laser to travel into the future.
- Once in the future, rearrange portals without affecting the present.
- Position portals so the laser goes directly into the target to exit the chamber.
Test Chamber 14:
- Start by taking a time portal to the present.
- Summon a reflector cube from the switch in the center and position it in the present as shown.
- Use a portal to bring a laser through the first node, then use it to reflect the laser into the next two nodes.
- Travel to the future.
- Use portals as shown to bring a laser into the present through the time portal, ensuring it passes through the node.
- Pick up the reflector cube from the future and bring it to the present via a time portal.
- Ensure the reflector cube in the present hits all three nodes; adjust as necessary.
- If the future reflector cube was moved, travel back to the future to retrieve it and bring it to the present.
- Place the future reflector cube at the end of the nodes to reflect the laser into the receiver, completing the chamber.
Test Chamber 15:
- Go through the particle field to the left.
- Shoot a portal where the laser hits the wall and place a time portal on the opposite wall.
- Travel through the time portal to move into the future, bypassing the particle field.
- Head to the other side of the room and use another time portal to return to the present, now on the other side of the particle field.
- Place a new portal on the upper wall so the laser hits the first receiver.
- Travel back to the future and place a portal on the small wall in the laser room to shoot at the receiver.
- Return to the present; the laser should be hitting the first receiver, powering an elevating platform.
- Stand on the platform and shoot a time portal behind the node to raise the platform further, allowing you to summon a reflector cube.
- Place the reflector cube on the lip above the second receiver.
- Travel into the future.
- Pick up the future reflector cube and enter the laser room.
- Place a time portal in the laser room to bring the future reflector cube to the present, positioned to reflect the laser into the second receiver through the node.
- To get to the other side of the particle field without going through it, use a portal on the other side or a time portal. You need to be in the present on the other side.
- Climb the stairs and use a portal on the upper wall to hit the third receiver.
- Move the reflector cube onto the switch to complete the test chamber.
Beginner Tips
Learn essential beginner tips for mastering LASERS in Portal Reloaded. Navigate test chambers, utilize time portals, and solve puzzles with this guide.
This guide focuses on the 'Lasers' section of Portal Reloaded, covering Test Chambers 13, 14, and 15. It details how to use portals and time portals to manipulate lasers and reflector cubes to solve puzzles.
Test Chamber 13:
- Place portals as shown in the image to redirect the laser.
- Use a time portal to move the laser into the future. You may take some damage to do this.
- Once in the future, rearrange portals to direct the laser into the target.
- Proceed through the door.
Test Chamber 14:
- Travel to the present using a time portal.
- Summon a reflector cube from the center switch and position it as shown.
- Use a portal to bring a laser through the first node, then use the reflector cube to direct it into the next two nodes.
- Travel to the future.
- Use portals to bring a laser into the present through the time portal, ensuring it passes through the node.
- Retrieve the reflector cube from the future and bring it to the present via a time portal.
- Position the present reflector cube to hit all three nodes. Adjust as necessary.
- If the future reflector cube was moved, return to the future to retrieve it and bring it back to the present.
- Place the future reflector cube to reflect the laser into the receiver, completing the chamber.
Test Chamber 15:
- Enter the particle field on the left. Place a portal where the laser hits the wall and a time portal on the opposite wall.
- Travel through the time portal to the future to bypass the particle field.
- Head to the other side of the room and use another time portal to return to the present, now on the other side of the particle field.
- Place a portal on the upper wall above the laser room so the laser hits the first receiver.
- Travel to the future and place a portal on the small wall in the laser room to shoot the receiver.
- Return to the present. The laser should still be hitting the first receiver, powering an elevating platform.
- Stand on the platform and place a time portal behind the node to raise the platform further, allowing you to summon a reflector cube.
- Place this reflector cube on the lip above the second receiver.
- Travel to the future. Retrieve the future reflector cube and run into the laser room.
- Use a time portal in the laser room to bring the future reflector cube to the present. Position it to reflect the laser to the second receiver through the node.
- To get to the other side of the particle field without going through it, use an existing portal or a time portal. You need to be in the present on the other side.
- Climb the stairs and use a portal on the upper wall to hit the third receiver.
- Move the reflector cube onto the switch to complete the test chamber.
Similar guides you might like


100% Human-Written. AI Fact-Checked. Community Verified. Learn how AntMag verifies content