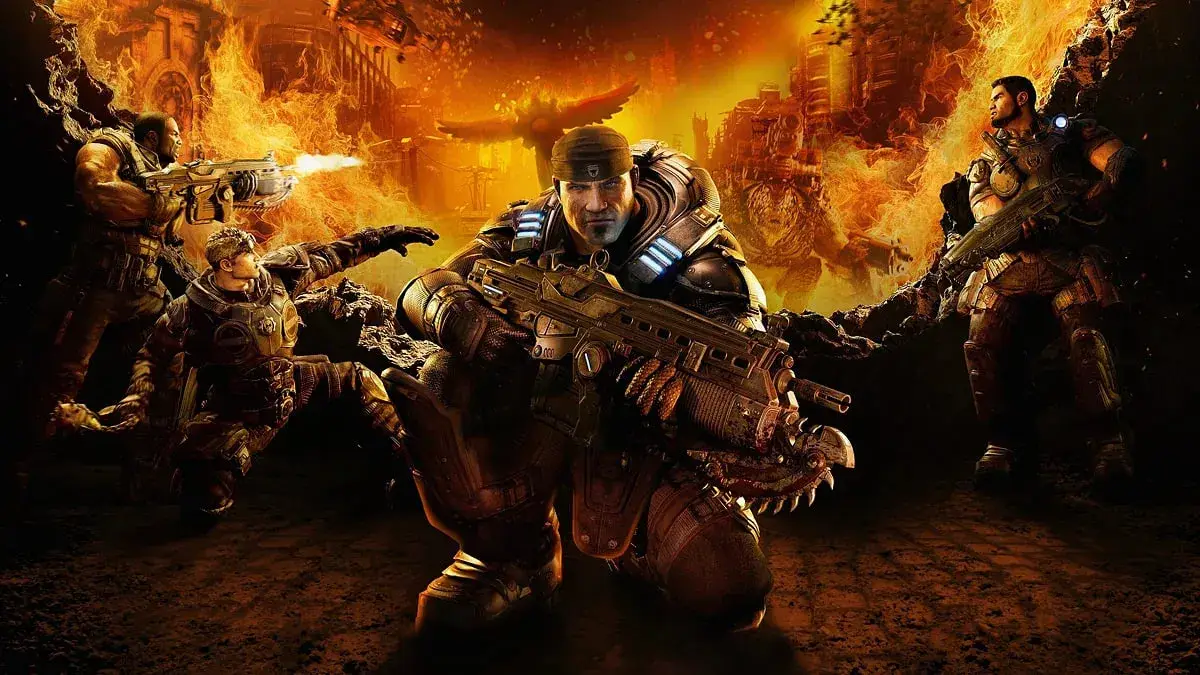
Welcome to Gears of War: Reloaded, the definitive third-person shooter experience from The Coalition. Released in 2025 for PC, PlayStation 5, and Xbox Series S/X, this installment throws you into the boots of Delta Squad. Master essential mechanics like the Active Reload system and understand your tactical role as you fight through intense campaign acts against overwhelming odds. If you enjoy challenging co-op campaigns and deep shooter mechanics, you'll feel right at home.
This guide is your ultimate companion to conquering Gears of War: Reloaded. We'll walk you through every campaign act, ensuring you don't miss a single COG Tag. We'll also provide strategies for tough encounters, including the notorious Imulsion Factory showdown, and help you achieve that coveted Gold Medal status across all missions. Get ready to dominate.
Part 1
Detailed walkthrough and guide for Part 1 of Gears of War: Reloaded, covering mission steps, controls, enemies, weapons, and general tips for players.
- 1Ashes Overview
- 214 Years After E-Day
- Straight Into The Fight
- 3Tutorial
- 4Trial By Fire
- 5Fish In A Barrel
- 6Knock Knock
- 7Hammer
- 8Wrath
- 9China Shop
- Berserker (1)
- General Tips and Tricks
- Weapon-Related
- Enemy-Related
- Other
Part 2
Detailed walkthrough for Part 2 of Gears of War: Reloaded, covering mission steps, objectives, and tips to help you progress through the game.
Walkthrough:
- Version 1.0: Act 5, including RAAM, is finished. The ending script is written. Some Achievements are edited. Various small additions. The FAQ is complete, with remaining tasks including finishing sections, wrapping up, and correcting errors.
- Version 0.9: Various things added. Act 4 is added.
- Version 0.8: Notes added to Achievements. A Thank You is included. Act 3 is finished.
- Version 0.7: Major update. Updated website list. Updated Achievements list with Insane Tips. Added Insane Notes to the end of every Chapter. FAQ is more organized. Act 2 is added.
- Version 0.6: Various updates and small additions throughout the FAQ. The FAQ is at an estimated halfway mark, with half of the main walkthrough written. Goal to finish the FAQ in two to four days. Version 0.9 will be uploaded after writing most incomplete sections (e.g., Co-Op), followed by version 1.0.
- Version 0.4: Basic set-up written. Some sections written. First chapter complete. Intros and Outros written. Much of the
Part 3
Learn essential Gears of War: Reloaded mechanics like taking cover, active reloads, and how to defeat Locust and Boomer enemies. Master combat to survive!
Alright, let's dive into Part 3 of our Gears of War: Reloaded guide. This section is all about mastering the core combat mechanics – specifically, how to stay alive by using cover effectively and understanding the enemies you'll be facing. Think of cover not just as a suggestion, but as your best friend in Sera. If you don't use it, you're going to have a really bad time, especially on higher difficulties.
First off, let's talk about the controls that are crucial for survival. You've got your basic actions mapped out:
- B Button: This is your melee button. If you've got the Lancer equipped, holding down B will rev up that sweet chainsaw – perfect for close-quarters encounters.
- X Button: This is your universal 'Interact' button. Use it to open doors, activate switches, pick up items, or even switch weapons.
- Y Button: This is your 'Points of Interest' button. When the game highlights something important, like a bridge control or a specific enemy weak point, pressing Y will focus the camera on it. It's also how you'll find Dom when you get separated.
- Right Bumper (RB): This is for reloading. If you time your presses just right, you can pull off an 'Active Reload,' which gives you a bonus. We'll get into that more later, but for now, know that timing is key.
- Left Bumper (LB): This brings up your objectives list and shows you where your squadmates are and their status. Always good to keep an eye on this.
- Right Trigger (RT): This is your primary fire button – use your weapon.
- Left Trigger (LT): This brings up your targeting reticule, allowing for more precise aiming.
Taking Cover: It's More Than Just Hiding
Unlike in some other shooters where you can just soak up bullets, in Gears of War, Marcus Fenix is surprisingly fragile. Even on the easiest setting, a well-placed grenade or a headshot can end things quickly. That's why cover is absolutely essential. You need to put something between you and the enemy fire whenever possible.
The good news is that your health regenerates, but only when you're not taking damage. This means when you're hurt, your first instinct should be to get to cover and stay there until you're back in fighting shape. Remember this: if you're low on health, find cover!
Often, an overturned table or a pile of debris is all that stands between you and a messy end. You can shoot from behind cover, but your accuracy will suffer. For precise shots, you'll want to use the Left Trigger (LT) to pop out, aim carefully, and then get back to cover ASAP. Don't linger out in the open, or you'll regret it.
How to Take Cover and Move
Pretty much anything can serve as cover. To get behind it, just walk up to an object or wall and press the A button. Marcus will automatically snap to the nearest cover. While you're in cover, you can move around by using the Left Stick. Pulling the stick away from the cover will make you
Part 4
Learn how to deal with Kryll, Reavers, and Wretches in Gears of War: Reloaded, including their appearances and weaknesses.
Kryll
Kryll appear in Acts 2 and 5 of Gears of War: Reloaded. They are invincible to usual methods and will kill you almost instantaneously if they touch you. They resemble bats and will disintegrate you very fast if you go into the dark, so you must stay in the light and roll from light source to light source. In Act 5, they form a shield for the final boss. In the chapter "Burnt Rubber" at the end of Act 2, they can be killed.
Reavers
Reavers fly swiftly, making them a hard target. The Torque Bow is an excellent weapon to use against them, and one is often found near a fight with Reavers. The Turret is the best weapon, though it's only available once. Aim for the Locust riding the Reaver, as killing the Locust kills the Reaver. They mainly appear in Act 5.
Wretches and Luminous Wretches
Wretches can be killed with a few bullets from the Lancer or a blast from the Shotgun. You can sometimes get them stuck behind a wall for an easy kill. Luminous Wretches are similar, but when killed with anything except the chainsaw, they explode, so watch out.
- On Insane difficulty, Reavers and the Turret section on the train are exceedingly difficult. Playing in Co-Op can make it more manageable.
- On Insane, Wretches are a major pain due to one-hit kills, speed, and increased damage resistance.
- Luminous Wretches explode when killed, making shotguns less effective. It is best to take them out from a distance.
- On Insane, the pistol becomes useful for shooting Luminous Wretches from a distance, especially after trading the Lancer for a Longshot.
- The Torque Bow is useful against General RAAM. To use it, hold R and release to fire. Holding R too short results in a weak shot, while holding it too long causes the bow to fire automatically.
- For Hardcore and lower difficulties, a recommended weapon setup is Shotgun, Bolo Grenades, Magnum, and Lancer.
- Shotguns are useful for close-range encounters and are faster than the chainsaw.
- Bolo Grenades are useful for sealing Locust Emergence Holes and for groups of enemies.
- The Magnum is the most powerful pistol.
- The Lancer is powerful and reloads quickly, good for picking off enemies at a distance. The chainsaw is useful in emergencies.
- The Longshot is a good alternative to the Lancer and is the weapon to use on Insane.
Similar guides you might like

100% Human-Written. AI Fact-Checked. Community Verified. Learn how AntMag verifies content