Navigate Portal Reloaded's laser puzzles! This guide breaks down Test Chambers 13, 14, and 15, covering time portals, reflector cubes, and tricky laser redirection.
Alright, let's tackle these laser test chambers in Portal Reloaded. They can get a bit tricky with the time portals, but we'll get through them together.
Test Chamber 13
We're starting off in Test Chamber 13. Your first goal is to set up your portals just like in the image. You'll use one portal to move the laser sideways, and then a time portal to send it into the future. Don't worry if you take a little damage from the laser; it's part of the process to get into the future.
Once you're in the future, you can rearrange the portals without messing with the ones in the present. Just get them set up so the laser hits the target directly. Once that's done, you can head through the exit door for this chamber.
Test Chamber 14
For Test Chamber 14, we'll start by zipping back to the present using a time portal. First, grab a reflector cube from the switch in the middle of the room. We need to place this cube in the present, in the spot shown in the image. Then, use a portal to guide a laser through the first node, and use that laser to bounce into the next two nodes. After that, it's time to jump to the future.
Now, in the future, use your portals to guide a laser back into the present, making sure it goes through the node. Grab the reflector cube from the future and bring it back to the present through a time portal. If the reflector cube in the present isn't hitting all three nodes, you'll need to adjust its position. If you moved the future reflector cube, you might need to go back to the future to grab it again and bring it to the present.
Finally, place the future reflector cube at the end of the nodes so it bounces the laser into the receiver, just like in the picture. This will finish up Test Chamber 14.
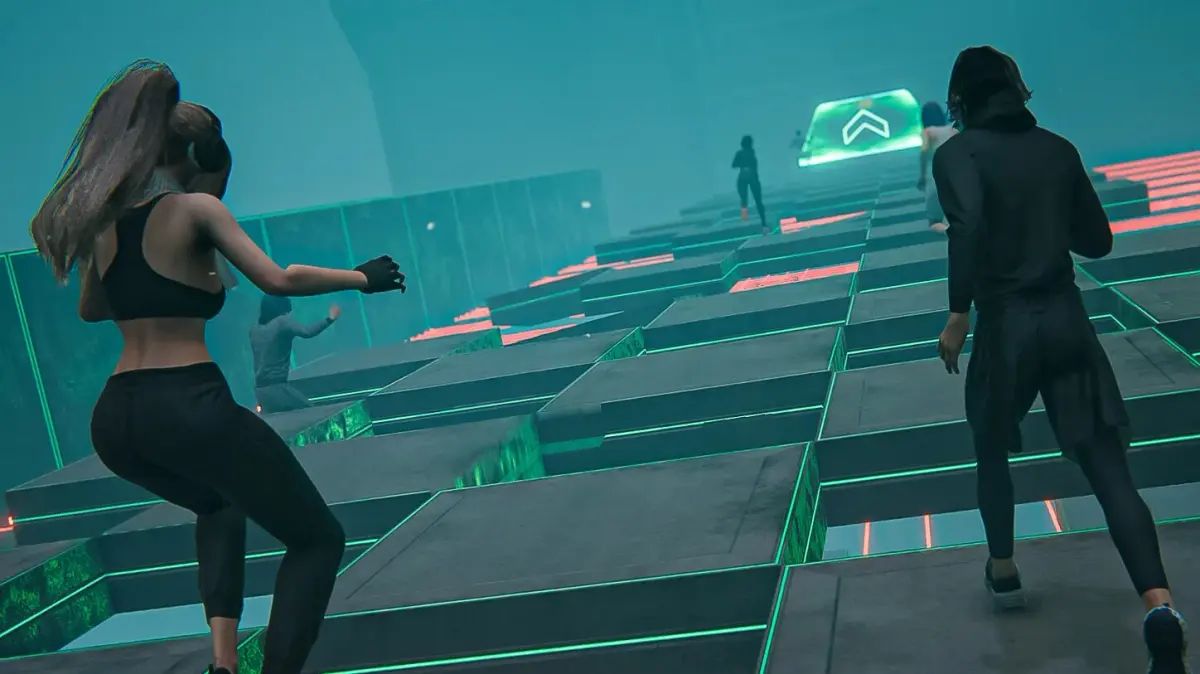
Test Chamber 15
Test Chamber 15 is a bit of a marathon with lots of steps and frequent time portal hopping. To start, head through the particle field on the left. Place one portal where the laser is hitting the wall, and then put a time portal on the opposite wall, as shown in the image. We need to get to the other side of that particle field without losing our portals, so jump through the time portal to warp into the future. The particle field won't be there in the future, so you can walk across freely. Head to the far side of the room and use another time portal to return to the present, putting you on the other side of the particle field.
Now, place a new portal on the upper wall above the laser room. This should direct the laser to the first receiver, as seen in the image. Jump back to the future and place a portal on the small wall in the laser room, aiming it at the receiver. This is shown in the right image. Now, let's return to the present. The laser should still be hitting the first receiver up top. You'll notice the receiver and the node are powering up an elevator platform near the switch. Stand on this platform and shoot a time portal behind the node, just like in the next image.
This action will raise the platform you're on, allowing you to summon a reflector cube! Place this future reflector cube on the small ledge above the second receiver. Now, travel to the future by placing your time portal wherever it's convenient. Grab the future reflector cube and head back into the laser room. You'll need to place another time portal in here to bring that future reflector cube back into the laser room in the present. Position it so it bounces the laser into the second receiver through the node, as shown in the next image.
Now, we need to get to the other side of the particle field without going through it. If you've got a portal on the other side, just use it to pass through with the laser, or use a time portal to get around. Make sure you're in the present on the far side of the particle field. Climb the stairs and place a portal on the upper wall to hit the third receiver. Finally, move the reflector cube onto the switch, just like in the image below, to complete this test chamber.
100% Human-Written. AI Fact-Checked. Community Verified. Learn how AntMag verifies content