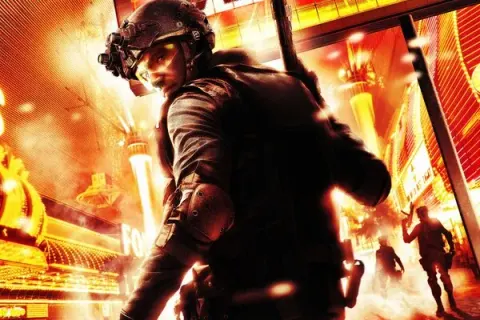
Welcome to Counter-Strike, a legendary team-based tactical shooter where two teams, Terrorists and Counter-Terrorists, clash in objective-based scenarios. Whether you're planting the bomb as a T or defusing it as a CT on iconic maps, mastering weapon recoil, movement, and coordinated team play is key to victory. This guide is for anyone looking to dive into the intense, strategic firefights that have defined this classic FPS for decades.
This AntMag.NET hub will equip you with the knowledge to excel. We cover fundamental weapon handling, advanced movement techniques like surfing, and essential team strategies for both factions. Whether you're aiming to conquer bomb defusal maps or simply want to improve your aim and understand competitive play across PC and Xbox, this guide provides the walkthroughs and tips you need to become a seasoned operative.
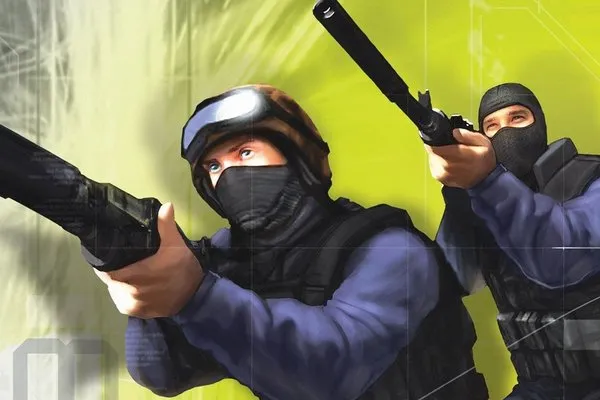
Primary Rifles (Terrorist Side)
Counter-Strike Terrorist primary rifles guide. Learn to effectively use the AK-47 and other rifles to dominate bomb sites and secure rounds.
The Terrorist side in Counter-Strike boasts a selection of powerful primary rifles, each offering distinct advantages for various economic situations and playstyles. Mastering these weapons is crucial for dominating the battlefield, whether you're pushing a site, holding an angle, or attempting a clutch.
AK-47: The Terrorist Icon
The AK-47 is undeniably the most iconic and frequently chosen primary rifle for the Terrorist side. Its unparalleled versatility and raw power make it a staple in virtually every round where the economy allows. Understanding its nuances is fundamental to T-side success.
Key Characteristics:
- One-Shot Headshot Potential: The AK-47's most significant advantage is its ability to deliver a one-shot headshot kill against armored opponents at any range. This makes it an incredibly lethal weapon in the hands of a skilled player, capable of instantly turning the tide of a firefight.
- High Damage Output: Beyond headshots, the AK-47 boasts excellent body shot damage, ensuring that even if you don't land a headshot, you're still dealing significant damage to your opponents.
- Manageable Recoil Pattern: While initially appearing challenging, the AK-47's recoil pattern is consistent and predictable. It primarily pulls upwards before veering slightly left and then right. Dedicated practice in aim maps (e.g., "recoil_master" or "aim_botz") is essential to master its spray control.
- Versatility: Effective at all ranges, the AK-47 truly excels in medium-range engagements where its accuracy and damage can be fully leveraged. It's equally viable for aggressive pushes, holding defensive angles, or engaging in long-range duels.
- Economic Impact: Priced at $2700, the AK-47 is an investment, but one that consistently pays dividends due to its high kill reward and overall effectiveness.
Strategic Application:
- Entry Fragging: While the Galil can be a budget entry weapon, a well-placed AK-47 burst can secure an entry kill and open up a site for your team.
- Holding Angles: The one-shot headshot capability makes the AK-47 terrifying for Counter-Terrorists pushing into your crosshair. Pre-aim common angles and be ready to tap or burst.
- Clutch Potential: In clutch situations, the AK-47's high damage and instant kill potential make it the ideal weapon to turn a disadvantageous situation into a round win.
- Learning Spray Control: Dedicate time to learning the AK-47's spray pattern. Start by firing 5-7 bullet bursts, focusing on controlling the initial vertical climb, then gradually extend to full sprays.
Galil AR: The Budget Beast
The Galil AR serves as the Terrorist's reliable budget rifle. It's an excellent choice for force buys, eco rounds where you want more firepower than a submachine gun, or when your team's economy is strained. While not as powerful as the AK-47, it offers a compelling combination of fire rate and affordability.
Key Characteristics:
- Affordability: At $1800, the Galil AR is significantly cheaper than the AK-47, making it a go-to option for force buys or when you need a rifle but can't afford the full buy.
- High Rate of Fire: The Galil boasts a higher rate of fire compared to the AK-47, allowing for quicker bullet output in close-quarters engagements.
- Lower Damage Output: It lacks the one-shot headshot capability against armored opponents, requiring at least two headshots or multiple body shots to secure a kill.
- Manageable Recoil: The recoil pattern is generally easier to control than the AK-47, making it more forgiving for newer players or those under pressure.
- Best for Close to Medium Range: Its higher fire rate and slightly less accurate first shot make it most effective in closer engagements, where you can leverage its bullet spam potential.
Strategic Application:
- Force Buys: When your team is on a force buy, the Galil is often the best rifle option, providing more utility and kill potential than an SMG or pistol buy.
- Entry Fragging on a Budget: Its high rate of fire makes it suitable for aggressive entry fragging, especially when paired with flashes, allowing you to overwhelm opponents.
- Holding Close Angles: In tight spaces or around corners, the Galil's rapid fire can be very effective.
- When to Choose Over AK-47:
- Economy: The primary reason. If your team's money is low, but you still need rifle power, the Galil is the answer.
- Aggressive, Close-Quarters Playstyle: If you prefer to push aggressively into close-range engagements and rely on sustained fire rather than precise taps, the Galil can be a strong choice.
- Team Synergy: If your team is coordinating a fast, aggressive push on a site, multiple Galils can create a wall of bullets to suppress and eliminate defenders.
- Learning Curve: For newer players still struggling with the AK-47's recoil, the Galil offers a more forgiving learning experience while still being a rifle.
SG 553 (Krieg 553): The Scoped Powerhouse
The SG 553, often referred to as the "Krieg," is the Terrorist side's scoped rifle. While less frequently seen than the AK-47 or Galil, it offers unique advantages, particularly for players who prefer a scoped option and are willing to invest a bit more economically.
Key Characteristics:
- Scoped Magnification: The primary distinguishing feature is its 1.5x scope, which provides enhanced accuracy and target acquisition at longer ranges.
- One-Shot Headshot Potential (Armored): Like the AK-47, the SG 553 can deliver a one-shot headshot against armored opponents at any range, making it incredibly lethal.
- High Damage and Accuracy: When scoped, the SG 553 is exceptionally accurate, especially for its first few shots. It boasts high damage output, comparable to the AK-47.
- Unique Recoil Pattern: The recoil pattern is distinct and can be challenging to master, especially when unscoped. It tends to be more vertical initially, with a strong pull to the left.
- Higher Price Point: At $3000, the Krieg is the most expensive Terrorist primary rifle, making it a full-buy option that requires a healthy economy.
- Slower Movement Speed: Like all scoped rifles, movement speed is slightly reduced when the scope is active.
Strategic Application:
- Long-Range Engagements: The scope makes the SG 553 ideal for holding long angles, picking off enemies from a distance, or engaging in sniper-like duels against CT AWPers or Auto Snipers.
- Aggressive Peeking: With practice, You can learn to quick-scope or pre-scope angles, allowing for very aggressive peeks with high accuracy.
- Holding Power Positions: On maps with long sightlines (e.g., Dust II Long A, Mirage A Ramp), the Krieg can be devastating when holding a power position.
- Countering CT Snipers: Its one-shot headshot potential and scope allow it to effectively challenge CT snipers, especially if you can get the first shot off.
- When to Choose the SG 553:
- Personal Preference: Some players simply prefer the scoped playstyle and find it more comfortable for precise aiming.
- Map and Site Specifics: On maps or sites with long, open areas, the Krieg can provide a significant advantage.
- Team Composition: If your team lacks an AWP or needs more long-range presence, a player skilled with the Krieg can fill that role.
- Economy: Only consider the Krieg when your economy is strong enough to afford it comfortably, as its higher price means a greater economic setback if lost.
Comparison Table: Terrorist Primary Rifles
| Feature | AK-47 | Galil AR | SG 553 (Krieg) |
|---|---|---|---|
| Price | $2700 | $1800 | $3000 |
| One-Shot Headshot (Armored) | Yes | No | Yes |
| Rate of Fire | Moderate | High | Moderate |
| Recoil Difficulty | Medium (Predictable) | Easy | Medium (Unique) |
| Effective Range | All (Excels Medium) | Close to Medium | All (Excels Long) |
| Special Feature | Iconic, Versatile | Budget-Friendly | 1.5x Scope |
| Role | Primary All-Rounder | Force Buy, Entry | Long-Range, Scoped Play |
Common Pitfalls and Tips:
- Over-reliance on Spray: While spraying is crucial, don't forget the power of tapping and bursting, especially with the AK-47 and SG 553 at longer ranges.
- Ignoring Economy: Don't force buy an AK-47 if it cripples your team's economy for subsequent rounds. Sometimes a Galil or even an SMG is the smarter play.
- Neglecting Practice: Each rifle has a unique feel and recoil pattern. Consistent practice on aim maps is the only way to truly master them.
- Misusing the Scope (SG 553): Don't stay scoped in constantly with the Krieg. Only use it when necessary for long-range engagements or precise peeks, as it reduces your situational awareness and movement speed.
- Underestimating the Galil: While cheaper, the Galil is a formidable weapon in the right hands, especially in close-quarters combat. Don't dismiss its potential.
By understanding the strengths and weaknesses of each Terrorist primary rifle, and practicing their unique characteristics, you'll be well-equipped to make informed decisions and dominate your opponents in Counter-Strike.
Countering a Dominant AWPer
Learn effective strategies and tactics to counter a dominant AWPer in Counter-Strike. This guide provides tips on positioning, utility usage, and team play to overcome skilled opponents.
- 1Identify the AWPer's Position: Pay attention to common AWPing spots on the map and listen for the distinctive sound of the AWP.
- 2Gather Information: Use utility like flashes, smokes, and molotovs to gain information about their position without exposing yourself directly.
- 3Coordinated Pushes: Attack as a team. A single player is an easy target for an AWPer. Overwhelm them with multiple angles of attack simultaneously.
- 4Utility Usage:
- 5Smokes: Use smokes to block sightlines and create safe passage for your team to advance or cross dangerous areas.
- 6Flashes: Pop flashes over or around common AWPer positions to disorient them and create an opening for a push.
- 7Molotovs/Incendiaries: Flush an AWPer out of a common holding spot by throwing incendiary grenades into their position.
- 8Exploit Predictable Angles: If the AWPer consistently holds a specific angle, use utility or coordinated pushes to catch them off guard or force them to reposition.
- 9Play Off-Angles: Don't peek the same angles repeatedly. Surprise the AWPer by approaching from unexpected positions.
- 10Trade Kills: If a teammate is caught by the AWPer, be ready to trade the kill immediately. This prevents the AWPer from gaining map control and confidence.
- 11Force Them to Reposition: Use nades and coordinated pushes to make their current position untenable, forcing them to move to a less advantageous spot.
- 12Avoid Duels: Unless you have a significant advantage (e.g., a clear pick with a rifle, superior positioning), avoid direct duels against an AWPer in their preferred range.
- Communicate with your team about the AWPer's location and your intentions.
- Practice your aim and crosshair placement to win crucial duels when opportunities arise.
- Understand common AWPer positions on each map.
- Don't be afraid to rotate and attack from a different direction if a lane is heavily controlled by the AWPer.
- Consider using weapons with a higher rate of fire or better close-quarters capabilities to challenge an AWPer in tighter spaces.
Advanced Movement Techniques
Master Counter-Strike's advanced movement techniques. Perfect your strafing and counter-strafing for accurate peeks and superior battlefield control.
Advanced Movement Techniques
Master Counter-Strike's advanced movement techniques. Perfect your strafing and counter-strafing for accurate peeks and superior battlefield control.
Executing a Site Take
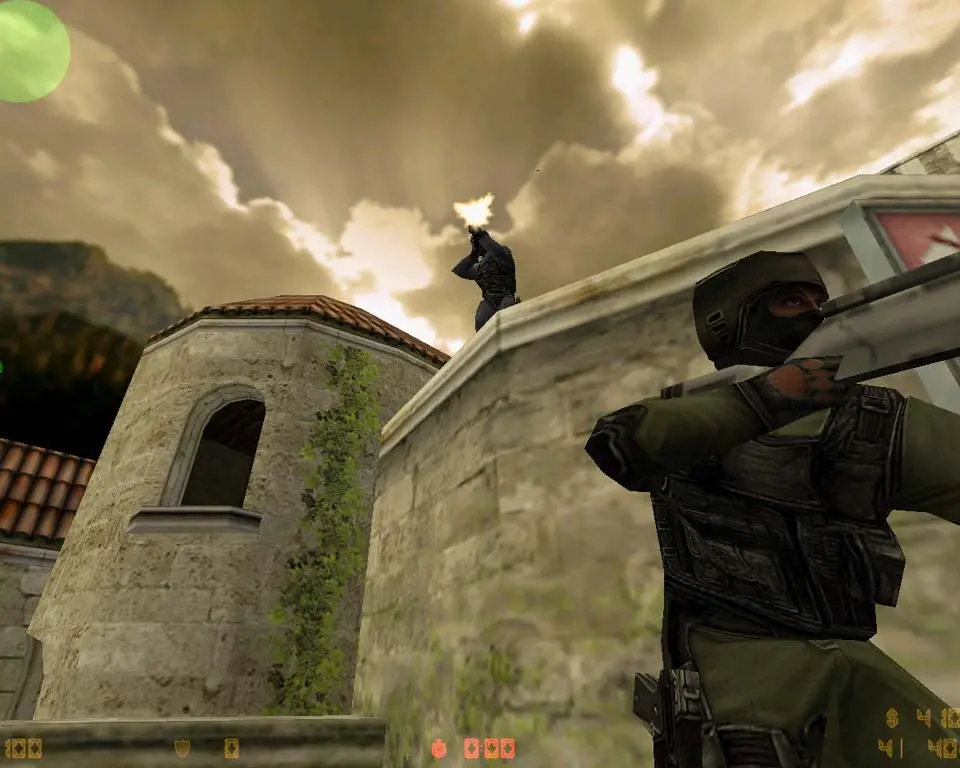
Coordinate a bomb site take in Counter-Strike. Learn roles like entry fragger and support player utility usage for effective site execution.
Executing a site take involves a coordinated push onto a bomb site. This typically starts with 'entry fraggers' leading the charge, supported by 'support players' throwing utility (smokes, flashes, molotovs) to block vision, clear angles, and flush out defenders. The 'lurker' might create a distraction or flank from another angle. Once on site, the 'bomb planter' should plant the C4 in a defensible position. After planting, the objective shifts to 'post-plant defense,' holding angles and preventing the CTs from defusing. Communication is key: call out enemy positions, utility usage, and your intentions.
Similar guides you might like

100% Human-Written. AI Fact-Checked. Community Verified. Learn how AntMag verifies content