Your Etrian Odyssey HD walkthrough continues! Learn how to navigate B2F's dangerous Verdant In-Between and B3F's Marble Orchard, including FOE strategies and item locations.
Alright, welcome back! We're diving into Part 6 of our Etrian Odyssey HD adventure, and things are really starting to heat up as we tackle B2F and B3F. These floors are packed with new threats and some tricky navigation, so let's break it down so you don't waste precious resources.
B2F: The Verdant In-Between [W002]
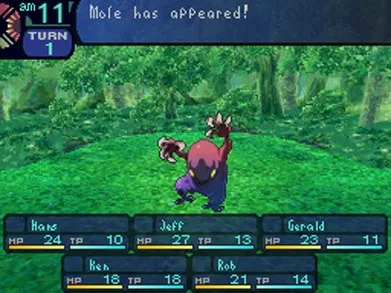
As soon as you step onto B2F, you're greeted by some new monsters: Venomfly, Hare, Fender, and the FOEs Ragelope and Kuyutha. The Venomfly's poison can be annoying, dealing 20-25 damage per turn, but thankfully it wears off after combat. Focus on taking down the Hare and Fender quickly, as they can smack your front row for 20-35 damage.
The first FOE you'll likely see is the Ragelope. It looks like a Fender but hits way harder, capable of confusing your party or just dealing 40+ damage. Your best bet is to avoid these if possible. If you have to fight one, an Alchemist using Poison can be effective, but make sure to keep your HP topped up. You'll want to be around level 7-9 before attempting to fight one. The Kuyutha is even more dangerous, hitting harder than the Ragelope. Poison might not work well on it, so stick to elemental attacks like Fire, Ice, or Volt.
Head east initially. There's a point you can
100% Human-Written. AI Fact-Checked. Community Verified. Learn how AntMag verifies content