Learn Warhammer: Vermintide 2 map layouts, critical paths, and Tome/Grimoire locations. Master objectives for efficient team movement and survival.
Mastering the intricate layouts of Vermintide 2's maps is paramount for survival and success, especially on higher difficulties. This section provides detailed walkthroughs, highlighting critical paths, enemy spawn points, and the locations of vital items like Grimoires and Tomes. Understanding these elements will allow your team to move efficiently, manage threats, and secure valuable loot.
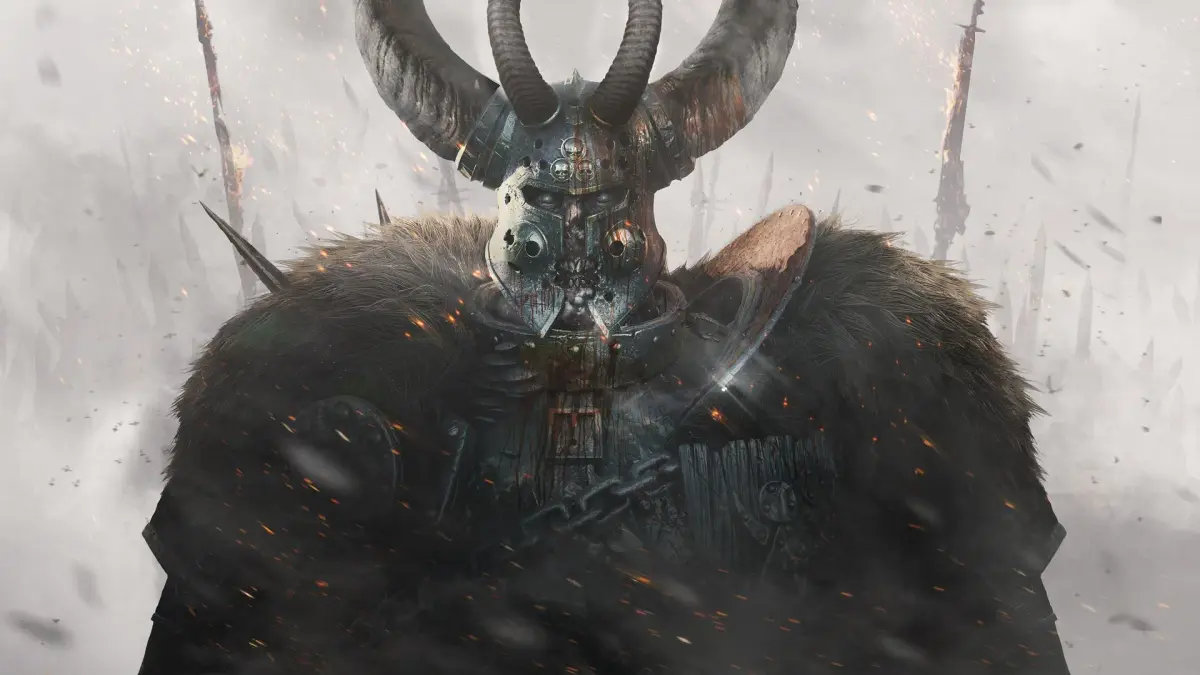
The Horn of Magnus
The Horn of Magnus is often the first map new players encounter, serving as an excellent introduction to Vermintide 2's core mechanics. It features a mix of urban combat and open-area defense.
- Initial Ascent: The mission begins in the burning streets of Ubersreik. Push through the initial Skaven patrols. Keep an eye out for the first Tome located shortly after the first major engagement, often found on a wooden platform or inside a small building to the left of the main path.
- Market Square: This open area is a common choke point. Expect multiple waves of Skaven, including potential specials like Packmasters and Gutter Runners. Utilize the market stalls for cover and funnel enemies into chokepoints.
- Brewery & Sewers: After the market, you'll enter a brewery. The path through here is relatively linear. The second Tome is typically found within the brewery itself, often on a barrel or shelf in a side room before descending into the sewers. The sewers are tight and dangerous; watch for ambushes from Clan Rats and Stormvermin.
- Courtyard Defense: Exiting the sewers leads to a courtyard where you must defend a supply cart. This is a prolonged defense event. Position your team to cover all entry points. A common strategy is to have ranged careers cover the high ground while melee careers hold the ground level.
- Final Ascent to the Horn: The path to the Horn of Magnus involves climbing through more burning buildings. The first Grimoire is notoriously hidden in this section. Look for a precarious jump or a hidden ledge off the main path, often requiring a coordinated effort or specific character abilities to reach.
- Horn Activation: The final objective requires activating the Horn. This triggers a massive horde and often a Boss encounter (e.g., Rat Ogre, Stormfiend). Utilize the elevated positions around the Horn for kiting and ranged attacks. The second Grimoire is usually found near the Horn itself, often on a small ledge or behind a pillar, requiring a careful search during the chaos.
Against the Grain
Against the Grain is a more open map, focusing on escorting a cart through farmlands and a barn. It's known for its wide-open spaces and potential for flanking maneuvers by the enemy.
- Farmhouse Approach: The mission starts in a small village. Clear the initial Skaven patrols. The first Tome is often located in one of the small houses or sheds near the starting area, sometimes requiring a short detour from the main path.
- Cart Escort - Fields: The main objective involves escorting a cart across vast fields. This section is prone to ambushes from all directions. Stick close to the cart to keep it moving. Special enemies like Gutter Runners and Globadiers are particularly dangerous in these open areas.
- Windmill Area: A small detour to a windmill can yield the first Grimoire. It's typically found on the upper levels of the windmill, requiring some platforming. Be wary of enemies spawning inside the windmill itself.
- Barn Defense: Upon reaching the barn, you'll need to defend it while the cart is prepared. This is a multi-stage defense. The barn offers good chokepoints, but enemies will also try to flank from the sides and above. The second Tome is often found within the barn, perhaps on a hay bale or a wooden platform.
- Cart Escort - Final Stretch: The final escort section continues through more fields towards a bridge. The second Grimoire is usually located near the end of this stretch, often under the bridge or on a small, hidden path just before it.
- Bridge Crossing: The mission concludes with crossing a large bridge. Expect a final, intense horde and potentially a Boss encounter. Utilize the bridge's narrowness to your advantage, but be mindful of Packmasters and Hookrats that can pull players off the edge.
Righteous Stand
Righteous Stand takes place within a grand temple, featuring intricate architecture and multiple levels. It demands careful navigation and awareness of verticality.
- Temple Entrance: The mission begins outside the temple. Fight through the initial Skaven forces. The first Tome can often be found in the immediate vicinity of the temple entrance, sometimes on a broken pillar or a small alcove.
- Main Hall & Altar: Progress through the temple's grand halls. These areas are wide and can be challenging to control. Expect heavy resistance and multiple Special spawns. The first Grimoire is often located in a hidden room or a high ledge within the main hall, requiring a keen eye and sometimes a well-placed jump.
- Library/Archives: A section of the temple often features a library or archive. This area can be confusing with multiple paths. The second Tome is typically found here, often on a bookshelf or a desk in a less-traveled corner.
- Ritual Chamber: The objective involves disrupting a ritual. This is a multi-stage event with waves of enemies and potentially a Boss. The chamber often has elevated platforms and cover points that can be used strategically.
- Crypts/Underground Passages: After the ritual, you'll descend into the crypts. These areas are dark and cramped, perfect for Ambushers and Assassins. The second Grimoire is usually found deep within the crypts, often behind a destructible wall or in a very secluded corner.
- Ascent to the Bell Tower: The final objective is to ring a bell. This involves a climb through the temple's upper levels. Expect intense resistance, including Stormvermin patrols and Chaos Warriors. The bell tower itself is a small, exposed area, making the final defense challenging.
Remember, these are general guidelines. Enemy spawns, item locations, and event triggers can have slight variations between runs. Always communicate with your team, stay aware of your surroundings, and adapt your strategy to the situation at hand. Good luck, and may Sigmar guide your blade!
100% Human-Written. AI Fact-Checked. Community Verified. Learn how AntMag verifies content