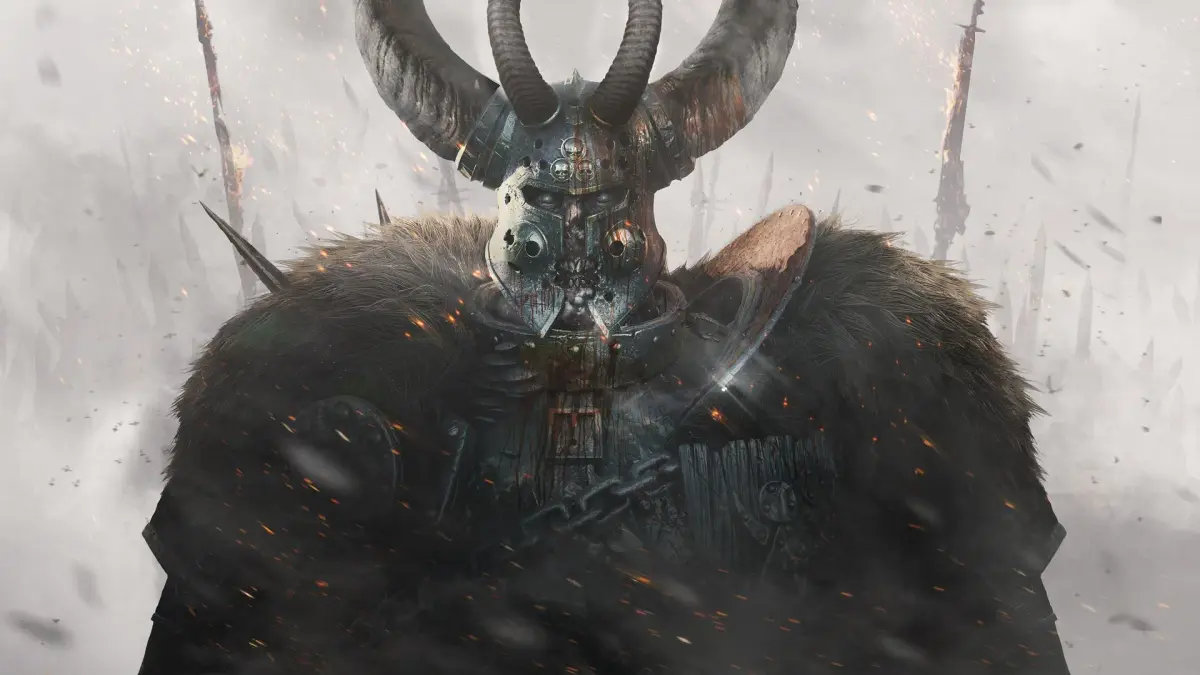
Survive the Righteous Stand in Warhammer: Vermintide 2. Master defensive positioning and enemy wave management in Helmgart's war-torn streets and church.
The Righteous Stand mission plunges the Ubersreik Five into the heart of Helmgart, forcing them to navigate war-torn streets before making a desperate last stand within the hallowed (and soon to be desecrated) walls of a local church. This mission is a crucial learning experience for defensive positioning and managing waves of diverse enemy types, culminating in a challenging boss encounter. Mastering its intricacies is key to progressing through Vermintide 2's higher difficulties.
Mission Objectives
- Objective 1: Traverse the streets of Helmgart.
- Objective 2: Reach the church and secure the area.
- Objective 3: Defend the church from the Skaven and Chaos onslaught.
- Objective 4: Defeat the final boss and escape.
Key Enemies & Threats
- Hordes: Skaven Slaves, Clanrats, Marauders.
- Elites: Stormvermin, Chaos Warriors, Plague Monks, Berserkers.
- Specials: Gutter Runner, Packmaster, Blightstormer, Warpfire Thrower, Ratling Gunner, Leech.
- Monsters: Rat Ogre (guaranteed final boss), Stormfiend, Chaos Spawn, Bile Troll (random spawns).
Walkthrough: Navigating Helmgart
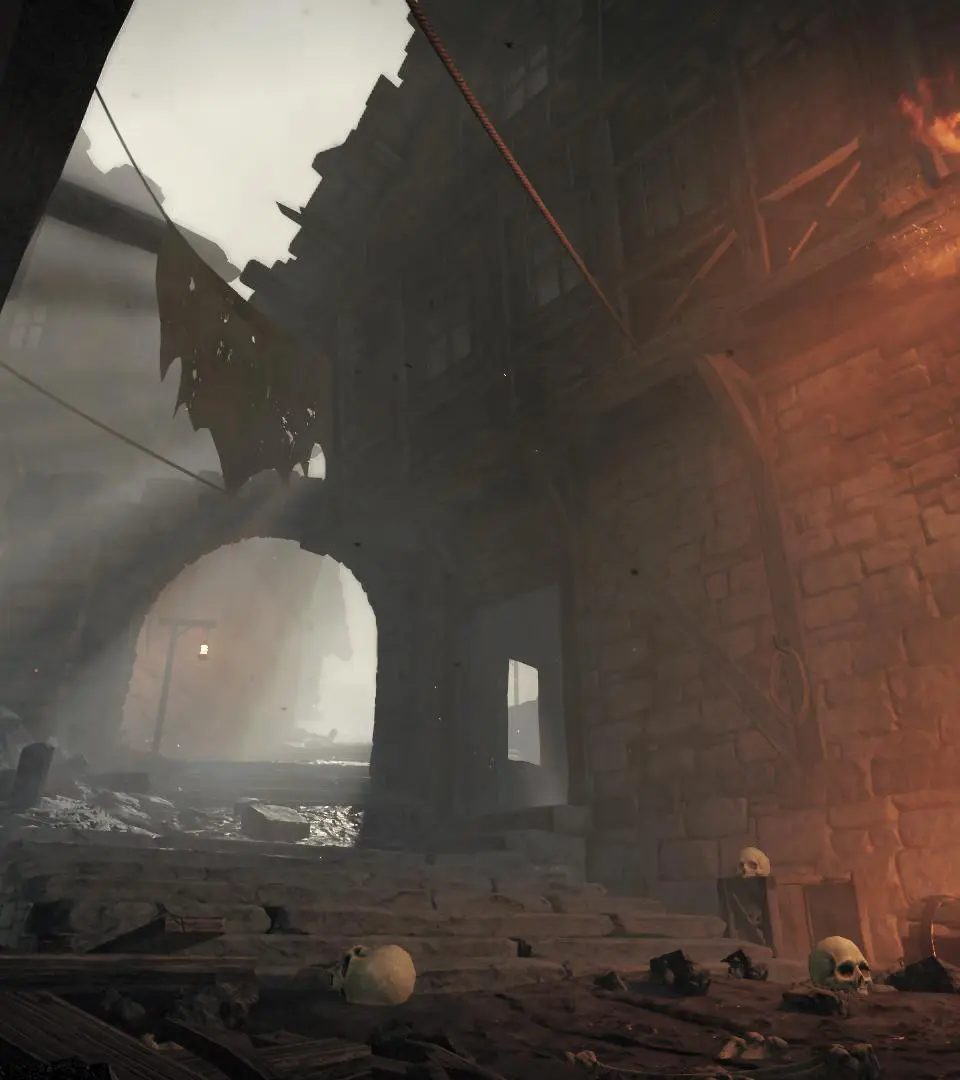
The Initial Streets & Alleyways
The mission begins in a relatively open street. Stick together and push forward. Expect immediate resistance from Skaven Slaves and Clanrats. The path will lead you into a series of tighter alleyways and courtyards. These areas are prime locations for Special spawns, particularly Gutter Runners and Packmasters, so maintain situational awareness.
- Optimal Path: Follow the main path, staying close to walls to limit flanking opportunities.
- Horde Triggers: The first major horde often triggers after passing through the initial archway leading into the narrower streets. Another common trigger is after dropping down into the first small courtyard area.
- Environmental Hazards: Keep an eye out for explosive barrels (red) in the streets. These can be used to your advantage against dense hordes but can also harm allies if detonated carelessly.
The Bridge & Marketplace
You'll eventually cross a small wooden bridge. This is a common ambush point for Specials. Beyond the bridge lies a more open marketplace area. This section can be challenging due to its open nature, making it harder to funnel enemies. Utilize any available cover, like market stalls, to break line of sight from ranged enemies.
- Tome 1 Location: After crossing the wooden bridge and entering the marketplace, look for a small alcove or stall on the left side, often obscured by debris. The Tome is usually found on a crate or shelf within this alcove.
- Strategy: Prioritize eliminating ranged specials (Ratling Gunners, Warpfire Throwers) that often spawn on elevated positions around the marketplace.
Approaching the Church
The path to the church involves navigating more winding streets. You'll pass through a gate and ascend a short set of stairs. This area often features a mix of Skaven and Chaos enemies, including the occasional Chaos Warrior. Be prepared for a mini-horde as you approach the church entrance.
- Grimoire 1 Location: Before entering the church proper, after ascending the stairs and passing through the final gate, look to your immediate right. There's often a small, broken-down cart or a pile of rubble. The Grimoire is typically hidden behind or on top of this.
The Church Defense: Final Stand
Securing the Nave
Upon entering the church, you'll find yourselves in the nave, the main body of the church. Your first task is to clear out the initial enemies. This area is relatively open, but offers some natural choke points.
- Initial Strategy: Clear the immediate area. Do not rush to the altar. Take a moment to replenish supplies from the crates usually found near the entrance or along the side pews.
Utilizing Church Choke Points
The church offers excellent defensive positions, crucial for surviving the waves of enemies. Communication is paramount here.
- The Altar & Sanctuary: The raised platform around the altar is the primary defensive position. It offers a clear view of the main entrance and the side aisles.
- Advantages: Elevated position, limited entry points for melee enemies (stairs). Good for ranged characters to pick off specials.
- Disadvantages: Can be overrun if not properly defended. Blightstormers can easily target this area.
- Strategy: Designate one or two melee characters to hold the stairs leading up to the altar, while ranged characters focus on specials and thinning out the horde from above.
- Side Aisles & Confessionals: The narrow side aisles running parallel to the nave can be used as secondary choke points if the altar becomes too crowded or if you need to reposition. The small confessional booths can offer temporary cover but are easily surrounded.
- Advantages: Very narrow, excellent for funneling enemies into a single line for cleave weapons.
- Disadvantages: Easy to get trapped, limited visibility.
- Strategy: Use these for brief periods to thin out a particularly dense horde, then fall back to the altar. Avoid getting isolated here.
- The Entrance: While not a primary defensive point, the main entrance can be briefly held if necessary, but it's generally too exposed for prolonged defense.
- Specials: Always the highest priority. Gutter Runners, Packmasters, and Blightstormers can quickly incapacitate or separate teammates. Call out their locations immediately.
- Elites: Stormvermin and Chaos Warriors should be focused down, especially if they are pushing your choke points.
- Hordes: Manage the main horde with cleave weapons and area-of-effect abilities. Don't let them overwhelm your frontline.
- Tome 2 Location: Inside the church, often found on a pew or a small table in one of the side rooms or alcoves off the main nave. Check both sides of the church. One common spawn is near the entrance, to the left or right, behind some debris.
- Grimoire 2 Location: This Grimoire is usually located in the upper levels of the church. Look for stairs or ladders leading up to a balcony or a broken-down loft area. It's often perched precariously on a ledge or a broken beam. This requires a coordinated effort and careful platforming, often best attempted during a lull in the fighting or by a nimble character like Kerillian or Victor Saltzpyre.
- Boss Mechanics: The Rat Ogre is a straightforward monster. It has high health, deals massive damage with its melee attacks, and can charge.
- Strategy:
- Kiting: Have one agile character (e.g., Kerillian, Sienna with high mobility) kite the Rat Ogre around the church, drawing its attention.
- Focus Fire: The rest of the team should focus all ranged and melee damage on the Rat Ogre's head (its weak point).
- Crowd Control: Use abilities that stun, stagger, or slow the Rat Ogre to create openings for damage.
- Environmental Advantage: The pillars and pews in the church can be used to break line of sight and briefly block the Ogre's charges.
- Horde Management: Be aware that smaller hordes and Specials will continue to spawn during the boss fight. Don't let them overwhelm the kiter or the damage dealers. Prioritize specials immediately.
- Recommended Loadouts: Characters with high single-target damage (e.g., Bounty Hunter, Waystalker, Ironbreaker with Drakegun for stagger) excel here. Melee characters with good armor penetration are also valuable.
- Final Push: Stick together and push to the extraction point. Don't get complacent after the boss fight.
- Communication: Call out Specials, monster spawns, and low health.
- Positioning: Utilize the church's natural choke points, especially the altar.
- Target Priority: Specials > Elites > Monsters > Hordes.
- Resource Management: Save healing and bombs for critical moments, especially the final defense and boss fight.
- Team Composition: A balanced team with good melee, ranged, and crowd control is ideal.
Horde Management & Special Priority
During the defense, waves of enemies will pour in from all directions. Prioritize targets:
Common Pitfall: Getting spread out. Stick together as a team. A single isolated player is a dead player.
Grimoire 2 & Tome 2 Locations (During Defense)
These collectibles are often found within the church itself, but retrieving them during the frantic defense can be risky.
The Final Boss: Rat Ogre
After enduring several waves, a Rat Ogre will burst through one of the church walls, signifying the final phase of the mission.
Escape
Once the Rat Ogre is defeated, the mission isn't quite over. You'll need to make your way to the escape point, usually located outside the church or through a newly opened path. Expect one final, smaller horde or a few straggler elites and specials on your way out.
Summary & Tips for Success
By following these detailed strategies and understanding the flow of the Righteous Stand, the Ubersreik Five can successfully defend the church and live to fight another day!
100% Human-Written. AI Fact-Checked. Community Verified. Learn how AntMag verifies content