Navigate Into the Nest's dark labyrinth in Warhammer: Vermintide 2. Learn strategies for this claustrophobic mission filled with vermin and traps.
Into the Nest: Comprehensive Walkthrough and Strategy Guide
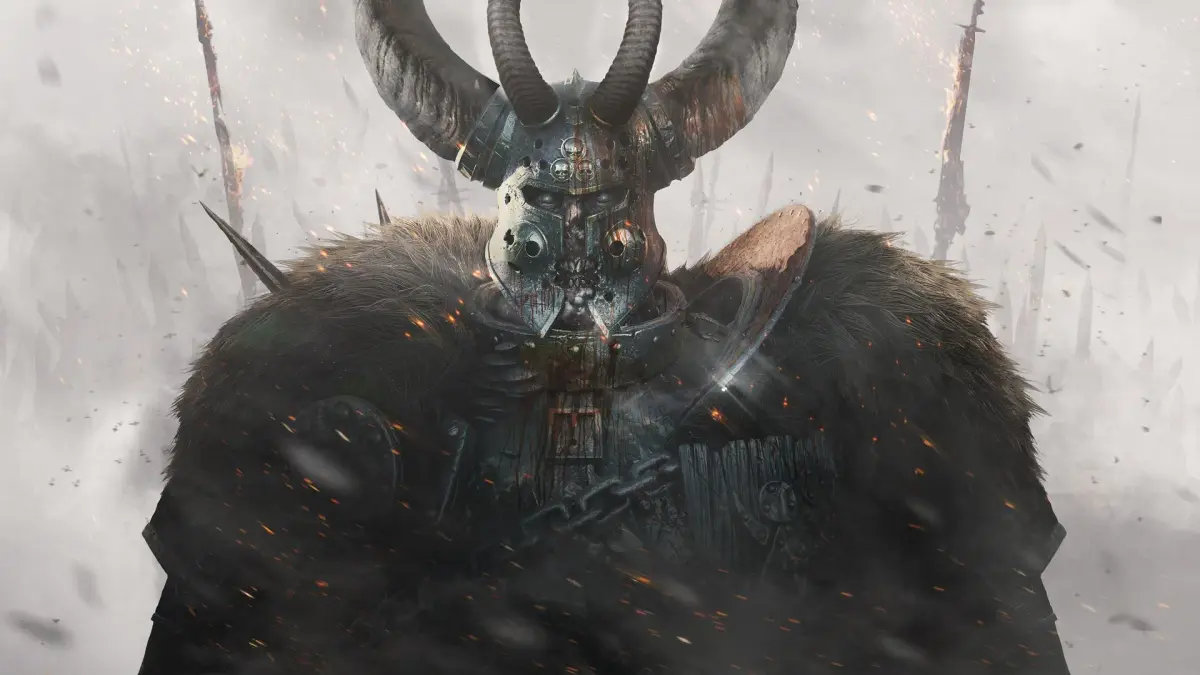
Descend into the suffocating depths of a massive Skaven nest, a labyrinthine environment teeming with vermin and insidious traps. This mission, Into the Nest, is renowned for its oppressive darkness and claustrophobic corridors, demanding meticulous navigation, constant environmental awareness, and unwavering teamwork. Prepare for relentless close-quarters combat against overwhelming odds.
Mission Objectives & Key Threats
- Primary Objective: Infiltrate the Skaven nest and destroy the warpstone cache.
- Key Enemy Types: Skaven Slaves, Clanrats, Stormvermin (often in patrols or ambushes), Gutter Runners (Assassins), Packmasters, Warpfire Throwers, Globadiers. Be prepared for multiple Monster spawns, including Rat Ogres, Stormfiends, and Bile Trolls, especially during objective phases.
- Environmental Hazards: Numerous pressure plate traps, swinging axes, spike pits, gas clouds, and treacherous ledges. Darkness significantly reduces visibility, making headshots and special targeting more challenging.
Recommended Loadouts & Team Composition
Due to the tight corridors and frequent horde spawns, area-of-effect (AoE) crowd control and strong single-target damage are paramount. Consider the following:
- Frontline Tank (e.g., Ironbreaker, Foot Knight): Essential for holding chokepoints, drawing aggro, and providing temporary relief from hordes. Shields are highly recommended for blocking incoming projectiles and pushing through dense groups.
- Horde Clearer (e.g., Pyromancer, Shade, Zealot): Characters with strong AoE attacks or abilities to quickly thin out large groups of Skaven. Flamethrowers, Beam Staff, or Cleave-heavy melee weapons excel here.
- Special/Monster Killer (e.g., Bounty Hunter, Waystalker, Slayer): Crucial for quickly eliminating dangerous specials like Globadiers and Warpfire Throwers, and for burning down Monsters. Crossbows, Handguns, and long-range bows are effective.
- Support/Utility (e.g., Battle Wizard, Witch Hunter Captain): Can provide buffs, debuffs, or additional crowd control. Battle Wizard's Conflagration Staff is excellent for choke points.
General Tip: Always have at least one character capable of dealing with armored enemies (Stormvermin) efficiently, as they appear frequently in patrols and ambushes.
Detailed Walkthrough & Strategy
Phase 1: Descent into the Warrens
- Initial Descent: The mission begins with a long, winding descent. Stick together. The first few corridors are relatively safe, but be wary of small groups of Clanrats.
- First Trap Corridor: After the initial descent, you'll enter a wider corridor with a noticeable pressure plate trap on the floor. This triggers a swinging axe trap from the ceiling. Designate one player to disarm it (if applicable) or have everyone jump over it carefully. More importantly, this corridor often triggers the first horde. Position yourselves with your backs to a wall or a corner to prevent being surrounded.
- The Grimoire 1 Path: Shortly after the first trap corridor, you'll come to a large open cavern with multiple paths. Look for a path leading downwards, often marked by a wooden ramp or a hole in the floor. This leads to a lower section with a pressure plate trap that triggers a spike pit. Carefully navigate this area. The first Grimoire is usually found on a ledge or a small alcove in this lower section, often requiring a jump or a drop-down. Be prepared for a small ambush when collecting it.
Phase 2: The Warpstone Mines
- Mine Cart Area: You'll eventually reach an area with mine carts and tracks. This section is often patrolled by Stormvermin. Use the carts and pillars for cover. Be extremely cautious of Globadiers here, as their gas can quickly overwhelm the team in the confined spaces.
- Tome 1 Location: In the mine cart area, look for a side tunnel or a small cave-in that requires a slight detour. The first Tome is typically found at the end of this short path, often guarded by a few Skaven.
- The Grinding Gears: Progress through a section with large, rotating gears. These are environmental hazards that can deal significant damage if you get caught. Time your movements carefully. This area is a common trigger for Packmasters and Gutter Runners, who can easily separate players.
- The Dark Chasm: After the gears, you'll cross a rickety bridge over a deep chasm. This is a notorious ambush point. Expect a horde and multiple specials (often a Warpfire Thrower or Globadier) to spawn. Stay together, manage the bridge's narrowness, and prioritize specials.
Phase 3: The Warpstone Cache
- Approaching the Cache: You'll enter a larger, more open cavern filled with glowing warpstone crystals. This area is heavily guarded. Expect constant pressure from Clanrats and Slaves, along with frequent Stormvermin patrols.
- Tome 2 Location: In the warpstone cache cavern, search the perimeter. The second Tome is often hidden behind some warpstone formations or on a raised platform accessible via a small jump or a hidden ramp. It's usually in a less obvious corner of the main chamber.
- Activating the Cache: To destroy the cache, you'll need to interact with a specific mechanism (often a lever or a series of warpstone nodes). Activating it will trigger a prolonged defense sequence.
- Defense Sequence Strategy:
- Chokepoints: Identify strong defensive positions. There are usually 1-2 main entrances for the Skaven.
- Monster Spawn: A Monster (Rat Ogre, Stormfiend, or Bile Troll) will almost always spawn during this phase. Designate your monster killer to focus it down immediately.
- Special Priority: Globadiers and Warpfire Throwers are extremely dangerous in this confined space. Prioritize them above all else.
- Team Cohesion: Do NOT split up. The sheer volume of enemies will overwhelm isolated players. Use your ultimate abilities strategically for crowd control or monster damage.
- Explosives: Save bombs for the Monster or for clearing particularly dense horde waves.
- Grimoire 2 Location: During the defense sequence, or immediately after it, the second Grimoire can be found. It's typically located on a precarious ledge or a hidden alcove high up in the warpstone cavern, often requiring a difficult jump or a specific path that opens up during the event. Be extremely careful when retrieving it, as falling is a common pitfall.
Phase 4: Escape
- Post-Cache Collapse: After the cache is destroyed, parts of the nest will begin to collapse. The path forward will open, often through a newly created hole or a previously blocked passage.
- Final Gauntlet: The escape route is usually a linear path filled with smaller hordes and a few lingering specials. Expect a final push of enemies as you near the exit. Maintain formation and push through.
- Extraction: Reach the extraction point (often a lift or an exit portal) to complete the mission. Be prepared for a final small ambush just before the extraction is complete.
Common Pitfalls & How to Avoid Them
- Splitting Up: The most common cause of failure. The tight corridors and overwhelming numbers punish isolated players severely. Stick together at all times.
- Ignoring Specials: Globadiers, Warpfire Throwers, and Gutter Runners can quickly wipe a team if not dealt with immediately. Always prioritize them.
- Trap Blindness: Many traps are subtle. Always be looking at the ground for pressure plates and listen for the distinct sounds of swinging axes or spike pits. Designate a player to scout slightly ahead if necessary.
- Falling Off Ledges: Several sections have precarious ledges, especially when retrieving Tomes/Grimoires. Take your time with jumps and be aware of enemy pushes that can knock you off.
- Wasting Resources: Save healing items and bombs for critical moments, especially the final defense event and any Monster encounters.
By following these detailed strategies and maintaining strong team cohesion, your party will be well-equipped to navigate the treacherous depths of Into the Nest and emerge victorious, with all valuable Grimoires and Tomes in hand.
100% Human-Written. AI Fact-Checked. Community Verified. Learn how AntMag verifies content