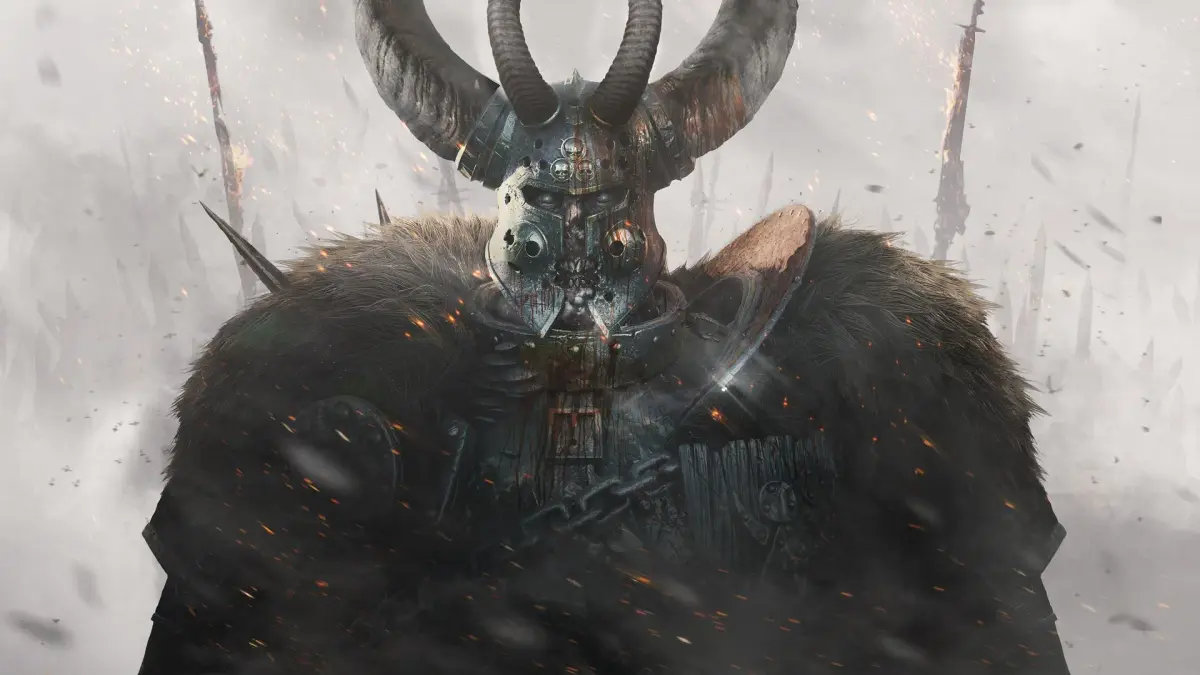
Survive treacherous encounters in Warhammer: Vermintide 2 by mastering Enemy Patrols and Ambush Mechanics. Learn strategies for facing rat swarms and specials .
Mastering the art of anticipating and reacting to enemy patrols and ambushes is paramount to survival in the treacherous lands of Vermintide 2. These dynamic threats can quickly overwhelm an unprepared party, turning a smooth run into a desperate struggle. This section will delve into the mechanics behind these encounters, offering actionable strategies and specific examples to help you and your team emerge victorious.
Understanding Patrols
Patrols are groups of elite enemies that traverse specific routes across a map. They are often heralded by distinct audio cues, giving observant players a crucial heads-up. Ignoring these warnings can lead to catastrophic consequences, as a patrol can easily reinforce an existing horde or special enemy encounter.
Identifying Patrols
- Audio Cues: Listen for the distinct marching sounds and guttural chants of the enemy faction.
- Skaven Patrols: Characterized by the rhythmic thud of many feet and the chittering of Clanrats, often accompanied by the deeper growls of Stormvermin.
- Chaos Patrols: Identified by the heavy, deliberate footsteps of Chaos Warriors and the chanting of Chaos Fanatics.
- Visual Cues: While less common for initial detection, you may spot patrols from a distance, especially in open areas like the Agnar's End or the expansive plains of The Blightreaper.
Engaging or Avoiding Patrols
The decision to engage a patrol or avoid it depends heavily on your team's current resources, health, and the surrounding environment.
- Prioritize Awareness: Always be listening. If you hear a patrol approaching, immediately communicate its presence to your team.
- Assess the Situation:
- Low Resources/Health: If your team is low on healing supplies (e.g., Healing Draughts, Medical Supplies) or has several downed players, avoiding the patrol is often the safest option.
- Existing Threats: Never engage a patrol while simultaneously fighting a horde or multiple special enemies (e.g., a Packmaster and a Blightstormer). This is a recipe for a wipe.
- Strategic Engagement (If Necessary):
- Chokepoints: use narrow corridors or doorways to funnel the patrol, allowing your front-line careers (e.g., Ironbreaker Bardin, Foot Knight Kruber) to control the crowd while ranged careers (e.g., Waystalker Kerillian, Bounty Hunter Victor) focus fire on elites.
- Ultimates and Bombs: Save powerful career skills (e.g., Sienna's Flamestorm, Kruber's Paced Strikes) and Bombs (e.g., Fire Bomb, Incendiary Bomb) for patrols to quickly thin their ranks, especially against heavily armored units like Stormvermin or Chaos Warriors.
- Focus Fire: Designate targets. For Skaven patrols, prioritize Stormvermin. For Chaos patrols, focus on Chaos Warriors. Eliminating these armored threats first reduces incoming damage significantly.
- Evasion Tactics:
- Stealth: Careers with stealth abilities (e.g., Shade Kerillian, Witch Hunter Captain Victor with Flense) can sometimes sneak past patrols entirely.
- Environmental Obstacles: Use ledges, drops, or even specific map features to break line of sight and allow the patrol to pass. On Skittergate, for instance, there are several side paths that can be used to bypass patrols in the main hall.
Ambush Mechanics
Ambushes are sudden, often overwhelming, enemy spawns that occur at specific trigger points or after certain objectives are completed. Unlike patrols, they offer little to no warning and demand immediate, coordinated action.
Common Ambush Triggers
- Objective Completion: Many ambushes are tied to completing a primary objective. For example, after activating the bell in Bell of the Damned, a large horde and several specials will often spawn.
- Entering Specific Areas: Certain rooms or corridors are designed as ambush zones. The narrow bridge section in Against the Grain after the first grimoire is a prime example, often spawning multiple specials and a horde.
- Picking Up Key Items: Grimoires and Tomes can sometimes trigger minor ambushes, adding an extra layer of risk to collecting these valuable items.
Surviving Ambushes
- Maintain Formation: When an ambush triggers, resist the urge to scatter. Stick together, ideally with your front-line careers holding a defensive position.
- Identify and Prioritize Specials: The moment an ambush begins, identify any special enemies (Globadiers, Assassins, Leechers, etc.) and call them out. Ranged careers should immediately focus fire on these threats to prevent them from disabling or damaging your team.
- use Environmental Advantages:
- Backs to Walls: Prevent enemies from flanking you by positioning yourselves with your backs against a wall or in a corner.
- High Ground: If available, taking the high ground can provide a tactical advantage, allowing ranged characters to pick off enemies more easily and making it harder for melee enemies to reach you.
- Resource Management: Ambushes are often where your bombs and potions (e.g., Strength Potion, Speed Potion) shine. Don't hesitate to use them to clear out large groups or quickly dispatch dangerous elites.
- Communication is Key: Constant communication about enemy positions, health status, and special enemy callouts is vital for surviving intense ambushes.
Advanced Tips for Both Patrols and Ambushes
- Talent Synergies: Build your careers with talents that complement your team's ability to handle large groups or armored enemies. For instance, a Unchained Sienna with Kaboom! can be devastating against patrols, while a Zealot Victor with Holy Fortitude can tank significant damage during an ambush.
- Weapon Choices: Ensure your team has a balanced mix of weapons capable of both crowd control (e.g., Flamestorm Staff, Greataxe) and single-target damage for elites (e.g., Handgun, Longbow).
- Map Knowledge: Familiarize yourself with common patrol routes and ambush trigger points on each map. This knowledge is your greatest asset in predicting and preparing for these encounters. Consult our Maps section for detailed layouts and potential threat zones.
100% Human-Written. AI Fact-Checked. Community Verified. Learn how AntMag verifies content