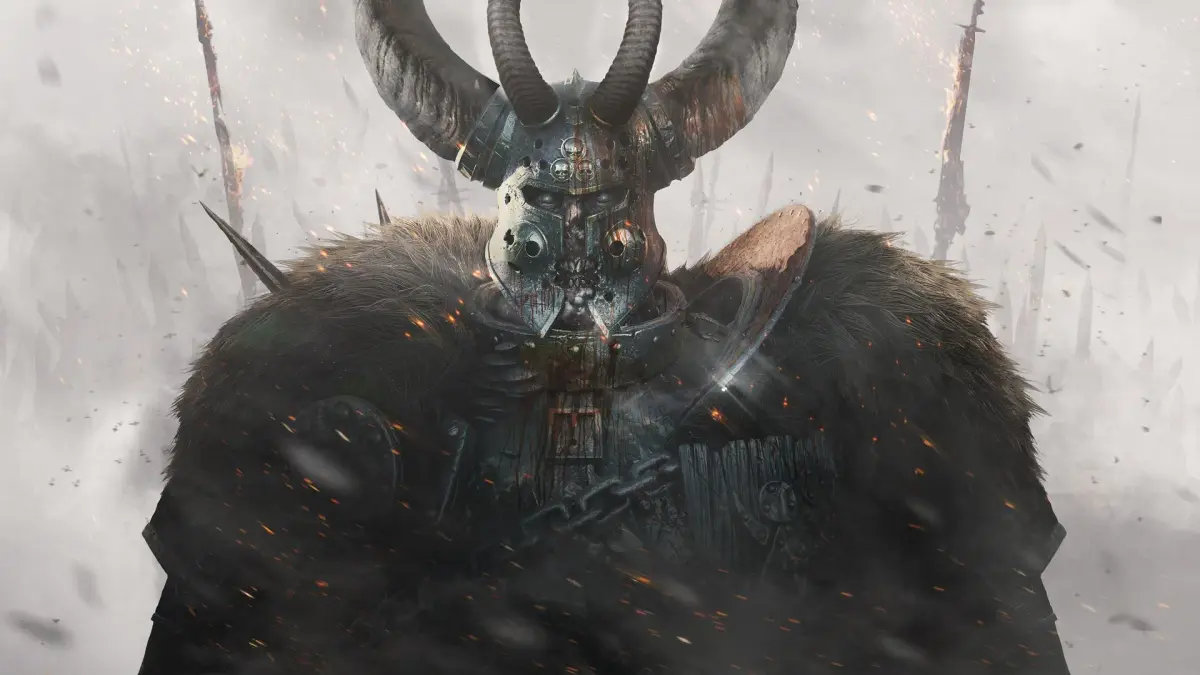
Understand Warhammer: Vermintide 2's Director System. Learn how it dynamically adjusts enemy spawns and special frequency based on player performance.
Understanding how Vermintide 2 generates its challenges is crucial for survival, especially on higher difficulties like Legend and Cataclysm. The game employs a sophisticated "Director System" that dynamically adjusts enemy spawns, special enemy frequency, and even item placement based on your team's performance, current health, and overall progress through a map. This isn't a static experience; every run is unique, demanding adaptability and keen awareness.
The Director's Influence
The Director acts as an invisible Dungeon Master, constantly evaluating the state of your party. Here's how it generally operates:
- Difficulty Scaling: The higher the chosen difficulty, the more aggressive the Director. You'll encounter larger hordes, more frequent elite patrols, and a higher density of Special enemies.
- Player Performance: If your team is breezing through a section with full health and minimal damage taken, the Director will likely ramp up the pressure. Conversely, if your team is struggling, low on health, and downing frequently, it might offer a brief reprieve or fewer immediate threats.
- Resource Management: The Director also influences where healing items (Draughts of Restoration, Medical Supplies) and ammunition pickups are placed. If your team is low on resources, it might spawn more opportunities to replenish them, though these are never guaranteed.
- Threat Events: These are pre-scripted events within each map (e.g., holding a position, activating a mechanism) that trigger specific, often intense, enemy waves. The Director still influences the composition and intensity of these waves.
Understanding Spawn Mechanics
Enemies in Vermintide 2 don't just appear randomly. They adhere to specific spawn points and patterns, even with the Director's dynamic adjustments.
Horde Spawns
Hordes are the bread and butter of Vermintide 2 combat. They consist primarily of Skaven Slaves, Clanrats, or Chaos Fanatics and Marauders. The Director determines their size and frequency.
- Sound Cues: Always listen for the distinct horn blasts (Skaven) or war cries (Chaos) that signal an incoming horde. This gives you precious seconds to find a defensible position.
- Flanking Routes: Hordes often attempt to flank your team. Be aware of multiple entry points into an area, such as the side alleys in Horn of Magnus or the cave entrances in Against the Grain.
- Chokepoints: Utilize narrow passages and doorways to funnel hordes, making them easier to manage with area-of-effect weapons like the Flamestorm Staff or the Grenade.
Special & Elite Spawns
These are the enemies that can quickly turn the tide of battle. The Director dictates their frequency and sometimes their type based on your team's needs and current threat level.
- Special Spawn Points: While dynamic, Specials often appear from specific locations on a map. For example, a Packmaster might consistently emerge from the same side door in The Screaming Bell, or a Blightstormer from a distant rooftop in Halescourge. Learning these common points allows for pre-aiming and quick elimination.
- Elite Patrols: These groups of heavily armored enemies (Stormvermin, Chaos Warriors, Bestigors) can appear at almost any point. Listen for their distinctive marching sounds and the "clanking" of their armor.
- Prioritization: Always prioritize Specials. A Gutter Runner can down a player instantly, a Blightstormer can split your team, and a Ratling Gunner can suppress an entire area.
- Sound is Key: Each Special has a unique audio cue. Train your ears to identify a Packmaster's chain rattle, a Warpfire Thrower's hiss, or a Leech's gurgle.
Monster Spawns
Monsters (Rat Ogre, Bile Troll, Stormfiend, Chaos Spawn, Minotaur) are significant threats that typically spawn at specific, but not always guaranteed, points in a map. The Director often ensures a monster encounter at least once per mission on higher difficulties.
- Anticipation: Certain areas are notorious for monster spawns. For instance, the large open area before the final event in Fort Brachsenbrücke is a common monster arena. The long bridge in Athel Yenlui is another prime spot.
- Preparation: When entering known monster zones, ensure your team has full health, ammunition, and is ready to deploy bombs or ult abilities.
- Environmental Awareness: Use the environment to your advantage. Kiting a monster around pillars or through doorways can limit its attack options and create openings for your team.
Actionable Strategies for Managing Spawns
Mastering the Director System isn't about predicting every spawn, but about being prepared for anything.
- Maintain Situational Awareness: Constantly scan your surroundings, not just directly in front of you. Enemies can spawn behind you or from unexpected angles.
- Listen Actively: Audio cues are your most powerful tool. They provide early warnings for hordes, specials, and patrols, allowing your team to react proactively.
- Stick Together (Mostly): While splitting up for objectives can be necessary, generally staying within coherency range of your team is vital for mutual support and managing overwhelming numbers.
- Conserve Resources: Don't waste healing or ammunition on trivial threats. The Director will punish teams that are low on resources when a major threat emerges.
- Identify Chokepoints and Safe Zones: Learn the maps. Know where you can funnel enemies, where you can safely revive a downed ally, and where you might be exposed to ranged specials.
- Adapt Your Playstyle: If the Director is throwing everything at you, switch to a more defensive posture. If you're cruising, push forward efficiently to avoid unnecessary prolonged engagements.
- Communicate: Call out special spawns, elite patrols, and monster appearances immediately. "Packmaster left!" or "Stormvermin patrol ahead!" can save a run.
By understanding the Director's mechanics and applying these strategies, you'll transform from a reactive player into a proactive survivor, ready to face whatever the treacherous lands of the Old World throw at you.
100% Human-Written. AI Fact-Checked. Community Verified. Learn how AntMag verifies content