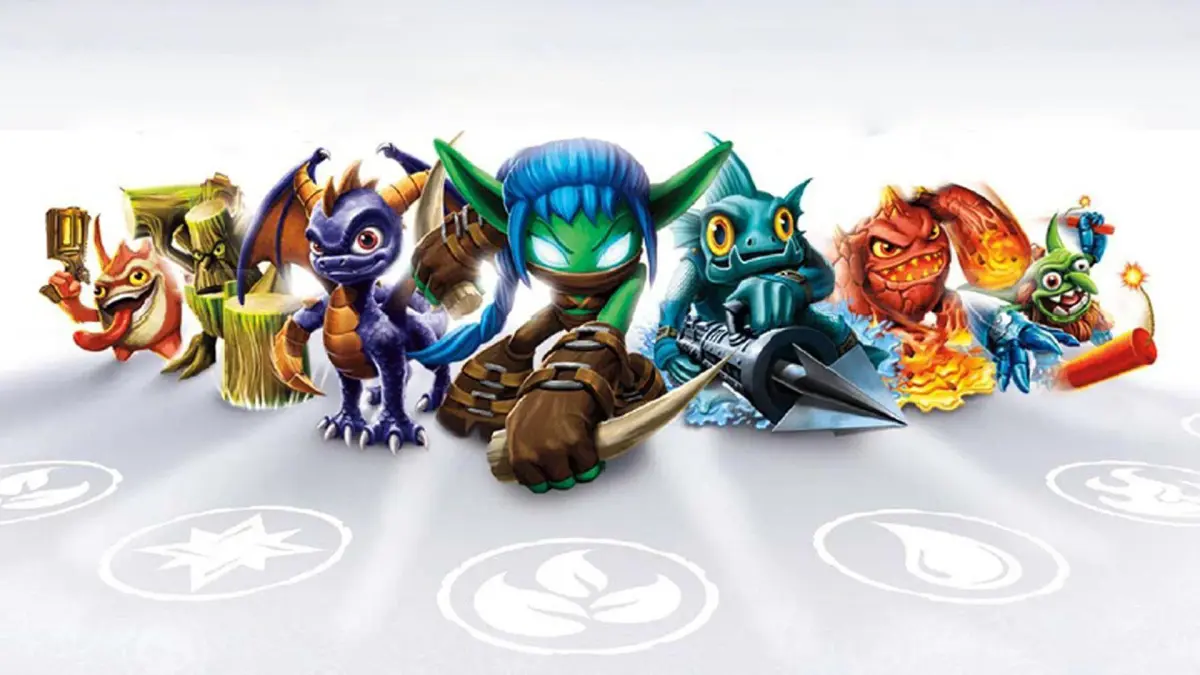
Welcome to Skylanders: Spyro's Adventure, a thrilling platformer where you bring toys to life using the Portal of Power to battle evil and save Skylands. You'll explore vibrant worlds, defeat Kaos's minions, and collect magical items. It's a fantastic adventure for anyone looking to jump into the unique world of Skylanders.
This guide is here to help you conquer every objective, from disabling defenses to activating ancient runes. We'll cover how to set up your Portal of Power and ensure you unlock all the legendary treasures scattered throughout the game. Get ready to explore every nook and cranny of Skylands!
Part 9
Skylanders: Spyro's Adventure Part 9 walkthrough covers The Last Stand and Cap'n Flynn's Ship, including Winged Sapphires and Auric's shop.
- 1From the ramp room, throw the key from the ledge beneath the Crystal to reach it.
- 2Use the key to open the Present in the left corridor at the start for a Police Siren Hat.
- 3Exit the cave and return to the main path.
- 4Finish any remaining enemies and enter the turret.
- 5Point the reticle at the circle and fire at the three padlocks to open the gate.
- 6If you have a Fire Skylander, drop down the far side to a cave below.
- 7In the Boiling Cavern, use any Skylander on the lava.
- 8Shake open the Present to get the Biter Hat.
- 9Return to the main path.
- 10Bounce up to a row of blocks and meet Persephone.
- 11Push the left block forwards three times, then get on the other side and push it back into line with the other two.
- 12Go up the wooden slope to the right.
- 13Smash and grab the Soul Gem for Hot Head, "Hot Rod", if you have a Giant Skylander. If not, you need an Earth Skylander and a fast Skylander to smash it.
- 14Go back to the Under Mines area and grab the bomb.
- 15Quickly rush outside and throw the bomb south-east to smash the wall.
- 16Carry on to where Persephone was and grab the Winged Sapphire.
- 17Cross over the block bridge you made.
- 18Jump into the turret and shoot the Windmill to the right of the locks, as well as the locks themselves.
- 19Shoot any Drow Archers that appear and the caravan they emerge from.
- 20Pick up the Luck-O-Tron Wheel of Health inside the Windmill.
- 21Pick up the Compass to finish the third and final section of the level.
- 22After a chat with Auric, you are free to roam Cap'n Flynn's Ship.
- 23Persephone's Cabin is to the left.
- 24Cali is on the deck and offers Heroic Challenges.
- 25Cali's Room is next to Cali and opposite Persephone's; inside is the Luck-O-Tron, where you can use one of the Wheels found to boost Experience or Food.
- 26Flynn's Cabin is on the deck; inside, Breakstone will explain how to customize the ship with Legendary Treasures.
- 27Go to the front of the ship on the Main Deck and go around the left side to find a Winged Sapphire.
- 28Go to the rear of the ship and through the door into the Access Tower.
- 29In the Access Tower, find a path up to the Crow's Nest and a door blocked by Mabu.
- 30At the bottom of the Access Tower is a Lock Puzzle. Solve it by entering: Right, Left x 2, Right x 3, Left, Right.
- 31Go through the opened door to find Auric in the Game Room.
- 32Auric sells items including the Luck-O-Tron Bulb #2 for 200 gold, Cyclops Square for 1000 gold, Flip the Script for 1000 gold, Bowler Hat for 120 gold, Balloon Hat for 120 gold, Happy Birthday! for 120 gold, and Lock Puzzle Key for 500 gold.
- 33The Luck-O-Tron Bulb allows the use of two wheels.
- 34The hats are platform-exclusive from Spyro's Adventure.
- 35The Lock Puzzle Key allows skipping a Lock Puzzle.
- 36The PvP Battle Mode Arena is from the first game and only needs to be unlocked once per save file.
- 37Camo's Heroic Challenge from Spyro's Adventure can only be unlocked by purchasing it from Auric as there is no Series 2 toy for Camo.
- 38Auric's Store is a good place to spend excess gold from Series 1 toys.
- 39Items purchased from Auric will remain available until bought.
- You can use any Skylander on lava, not just Fire ones.
- The Luck-O-Tron can eventually fit four wheels.
- The Lock Puzzle Key remains in your possession until used at a Lock Puzzle.
Part 10
Complete walkthrough for Part 10 of Skylanders: Spyro's Adventure, covering Chapter 3: Rumbletown, including objectives, collectibles, and strategies for Sky Drifter's Jetty, Stink Breeze Point, and Moldy Retreat.
- 1Sky Drifter's Jetty:
- Push a stack of three blocks to the right once.
- 2Defeat the Armored Lance Master and Root Runner to open the Monster Gate.
- 3Proceed to Stink Breeze Point.
- 4Stink Breeze Point:
- Drop off the edge to find a bombable wall (requires a bomb found later or a Giant's smash).
- 5Open the Present for the Pilgrim Hat.
- 6Interact with Spoooky for a Skystones game (save for later).
- 7Pick up the key via the south exit.
- 8If no Undead Skylander is available, jump down the ledge next to the bombable wall to get the key.
- 9Navigate back up to the totem blocks. Push the top block off to the left to access a cave.
- 10Moldy Retreat:
- Defeat the three Root Runners and the Life Spell Punk.
- 11Collect the Luck-O-Tron Wheel from the Monster Gate.
- 12Return to the locked gate and proceed through.
- 13Defeat the Life Spell Punk and two Armored Lance Masters.
- 14Talk to Quigley.
- 15Push blocks to access a cave: push the south block left twice, then push it down off the side.
- 16Cavern of Echoing Nibbles:
- Defeat the two Root Runners and collect the Treasure Chest behind one.
- 17Return to the blocks. Push the bottom of the three remaining blocks left once, the right one up once, and the top left block left as far as possible.
- 18Quigley's Grotto:
- Continue pushing the block left until it stops, then push it up to fill a gap, allowing access to the Story Scroll.
- 19Defeat the Root Runner.
- 20Talk to Quigley.
- 21Drop off the left side to find a life bridge over a gap filled with coins.
- 22Follow the bridge into a wide open area for an ambush.
- Armored Lance Masters require their armor to be smashed off before they can be damaged.
- Bombable walls can be opened with bombs found later in the level or by using a Giant Skylander.
- The Luck-O-Tron Wheel provides bonus damage.
- If you cannot hit distant Archers, ignore them and proceed to the blocks.
- Pilgrim Hat
- Luck-O-Tron Wheel
- Story Scroll
- Winged Sapphire
- Legendary Treasure
- 4 Treasure Chests
- 2 Hats
Part 11
Complete Skylanders: Spyro's Adventure Part 11 walkthrough, covering Shadow Grove, The Practice Pit, and Noggin-knock Village.
- 1In Shadow Grove, three evil versions of Stealth Elf will appear. They attack by running in a straight line with daggers up, then vanishing and reappearing. Move out of the way and attack them as they pass, or during their brief pause after attacking.
- 2Be cautious as the other clones may attack while you are focused on one.
- 3Upon defeating a clone, the game will slow down, showing it exploding into experience and food.
- 4Kill all three clones to open the Monster Gates. Do not use either gate for now.
- 5Approach the line of coins across an empty space; a life bridge (a temporary platform) will appear.
- 6Go up past a couple of blocks and kill a Root Runner.
- 7Drop behind the blocks. Push the right block down once. Push the left block left. Get around the other side of the right block and push it into place next to the left block to form a bridge.
- 8Cross the block bridge, and another life bridge will appear. Cross this to reach a bomb.
- 9Take the bomb back along the life bridge and over the blocks. Throw it upwards to the left at a wall blocking a Present. You cannot reach the Present yet.
- 10Go back to the bomb and throw it at the floating reddish-brown sphere directly north of you. This opens the gate to your left.
- 11Go through the opened gate, and a life bridge will appear.
- 12On the left, across this bridge, is a Lock Puzzle. The solution is: Right x 2, Left, Right x 3, Left x 8, Right x 4.
- 13Pick up the Winged Sapphire as a reward.
- 14Turn around and drop down, following the path of coins. Use the bounce pad (a springy platform) to get up to the area with the walled-off Present. If you blew up the wall (or have a Giant Skylander to do so), your Carrot Hat awaits. If you did not blow up the wall, you can drop off to the right and try using the bomb again.
- 15Use the teleporter (a device that instantly transports you) to return to the start of the area.
- 16Make your way back to the very start of the life zone and continue north, past the blocks you moved earlier.
- 17Kill the Archer. If you clear some debris, a Bounce Pad will take you up to a small collection of coins.
- 18The bomb on the ground here is for the undead area before. If you did not have a Giant Skylander, take the bomb and quickly drop straight down the ledges. You should easily make it to the undead area to blow up the wall and get the hat.
- 19Go left along the path and enter a small circular area with enemies. This area is called The Practice Pit.
- 20After killing the Armored Lance Masters and the Drow Archer, you will meet Brock. He will send in a few waves of enemies for you to defeat.
- 21Go right through the opened gate and down to the right onto a wooden section. Enter the first building, Toebiter's House.
- 22Kill the Armored Lance Master and the Life Spell Punk to open the Monster Gate and grab the key.
- 23Go left to another nearby house, Weed Whisper Home.
- 24After killing the Chompies and their Root Runner, you should attempt the Lock Puzzle. The solution is: Right x 2, Left x 3.
- 25Open the Treasure Chest and leave the building.
- 26Kill the enemies outside and grab the key up top next to the Life Spell Punk.
- 27If you drop off to the left to a ridge above The Practice Pit, you can enter another building, the Guarded Tower.
- When fighting the Stealth Elf clones, focus on dodging their charge attacks and striking during their openings.
- The block puzzle requires careful positioning to create a stable bridge.
- If you miss the Carrot Hat on your first pass, you can backtrack to find another bomb.
- Brock's challenges in The Practice Pit are designed to test your combat skills.
- The Lock Puzzle in Weed Whisper Home is simpler than the one in Shadow Grove.
Part 12
Complete Skylanders: Spyro's Adventure Part 12 walkthrough, including Flap Jack Inn, Bridge Belly Dumps, and Toebiter's Keep. Find Hot Dog's Soul Gem.
- 1Kill the Drow Archers guarding Quigley and speak to him. He wants to play Skystones, but you need to return later with more advanced stones.
- 2Go back out and enter the practice pit. Head north to the locked gate and enter the building to the left, the Flap Jack Inn. This location is needed for the 'All Areas Found' objective but contains nothing else of real interest.
- 3Proceed through the locked gate into the Watching Tower.
- 4You can hit the switch here, but it's best to wait until you've completed other tasks. Go down to the gate and push the blocks to form a bridge: push the near block right, then the far block down. Move the near block back left, then forward over the far block.
- 5The reward for this is the Legendary Treasure "Eagle Pilot Roof House".
- 6Go back up to the switch and quickly run down through the opened gate. Kill the Archers and Spell Punk to open the Monster Gate and access the bridge.
- 7In Bridge Belly Dumps, ignore the house next to the locked gate for now; you'll need to enter it later with a key.
- 8Go right and push the two blocks off the side to form a bridge. Push the block on the other side once, go around, and push the block behind it off the side. Go back around and push that previous block again, then over the block you just pushed off to reach a key.
- 9Take the key and drop off the side near the blocks you just walked over. Push the left block up until it stops, then left as far as it will go.
- 10With the key, enter the house next to the locked gate on your left. Do not open the locked gate yet.
- 11Inside Sour Sink Lodge, use the key on the locked gate. Behind it, you will find Hot Dog's Soul Gem "Ding Dong Ditch" and another key.
- 12Use this second key on the locked gate outside.
- 13Push the set of three blocks down to form a bridge. Push the third block all the way across the platform and off the other side to create a bridge with the block you positioned earlier.
- 14Kill all Root Runners and Archers to open the Monster Gate. Cross the bridge to the right.
- 15In Toebiter's Keep, instead of opening the gate, go south to a large circular area to find Auric's Store.
- 16Auric's Store sells: Elemental Elixir Charm (400 gold), Elf Hat (250 gold), Fancy Hat (250 gold), Birthay Hat (250 gold), Regeneration Power Up (100 gold), Lock Puzzle Key (500 gold), and Fairy Dust (50 gold).
- 17The Elemental Elixir Charm permanently increases healing in elemental areas from 5 to 20 health.
- 18The Regeneration Power Up grants your Skylanders health regeneration for 90 seconds, healing 10 health every five seconds.
- 19Fairy Dust allows a single purchase of one upgrade from Persephone. You need to buy another Fairy Dust for each subsequent upgrade. This item only appears if you have upgrades remaining.
- 20Head further south to a Giant Jump spot. Jump off and smash through the ground into the Lost Well.
- 21In the Lost Well, find coins and a Treasure Chest. Exiting leads to a Giant spot with a Feat of Strength to clear fallen logs in Loglifter's secret place.
- 22In Loglifter's secret place, find the final Treasure Chest, completing the Collections objective.
- 23Bounce up and make your way to the gate with the two switches near Auric. Consider buying a Regeneration Power Up if low on health.
- 24Prepare for an Arena Battle. Falling off the edge deals minor damage.
- 25Round 1 consists of Chompies and Drow Lance Masters. Defeat four waves.
- 26Round 2 features a heated central area that damages anyone standing on it, including enemies. More enemy types are added.
- Return to Quigley later for Skystones once you have advanced stones.
- The Elemental Elixir Charm is a one-time purchase that significantly boosts healing in elemental areas.
- The Regeneration Power Up is useful for sustained health recovery during battles.
- Fairy Dust is required for each individual Skylander upgrade purchase.
- Use the heated central area in Round 2 of the Arena Battle to your advantage against enemies.
Similar guides you might like
100% Human-Written. AI Fact-Checked. Community Verified. Learn how AntMag verifies content