Learn how to navigate the introductory 'The Ship' sequence in Salt and Sacrifice, including optional boss strategies, trophy tips, and enemy encounters.
This is the introductory sequence of the game. Use this time to get a feel for the controls and mechanics.
Head right from the start. Breakable urns and boxes usually contain gold. You'll encounter an NPC who speaks to you, followed by an attack from a Marauder. These early Marauders have around 35 HP. You can defeat them by attacking or dodging/blocking. Alternatively, you can run past them and climb the nearby ladder.
Beyond the first Marauder, you'll find a ladder. Climb it to see several Marauders fighting NPCs. The NPCs will die as you approach. You can fight the Marauders one by one, or run past them to the end of the area. The Marauders will pursue you to the boss area. If you wish to fight the introductory boss and earn a PSN trophy, it's recommended to defeat all the Marauders.
Defeating the optional Prologue boss rewards a PSN trophy, significant experience (around 10 levels), and materials for high-tier weapon upgrades. However, these materials are not essential until late-game, and experience can be farmed.
If you are not interested in fighting the optional boss, simply run to the deck of the ship and allow yourself to be killed.
Trophy Opportunity - The Unspeakable Deep
This trophy is exclusive to the Prologue and can only be obtained when creating a new character. The fight is most challenging for new players unfamiliar with the boss's attacks.
Preparation: Before the boss fight, reduce your equipment weight to below 25% by unequipping most or all armor and using only a single weapon with both hands. You can unequip gear via the Menu (press L3 to open, Triangle to unequip selected gear).
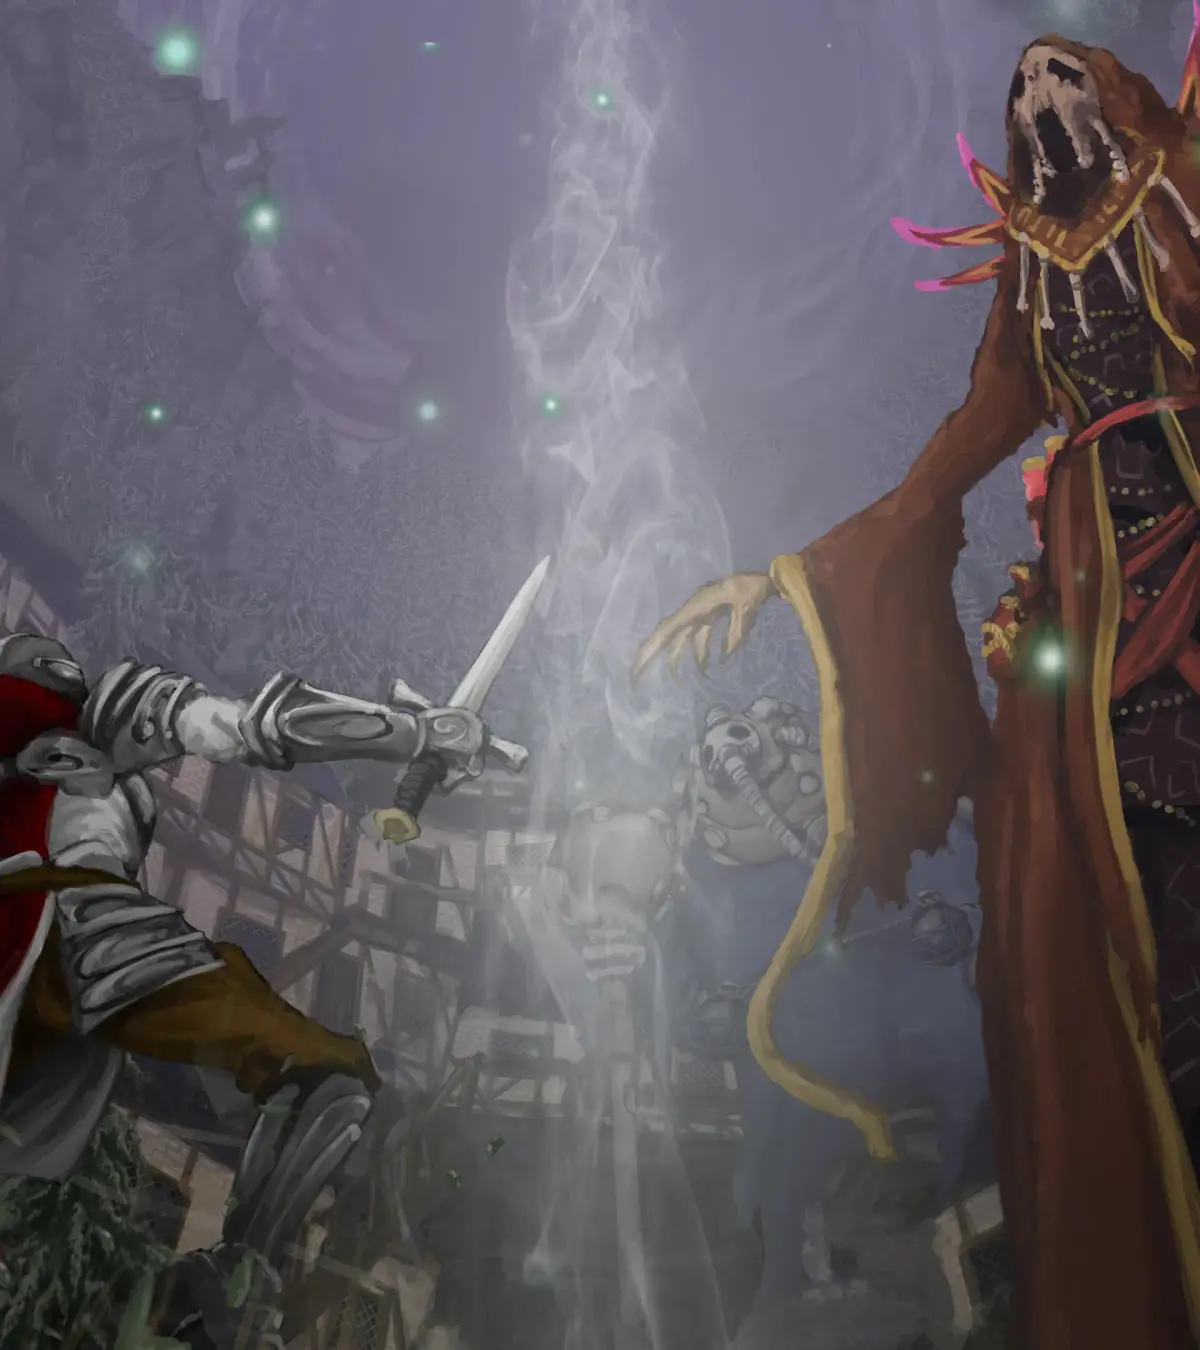
Boss - The Unspeakable Deep (Optional)
Attacks:
- Lunge: The boss leaps towards you. Avoid by rolling towards or through the boss as it lands. A ground shockwave follows the landing.
- Single Fist Slam: The boss slams a fist down, creating a damaging ground shockwave in both directions. Avoid by rolling towards or through the boss.
- Double Fist Slam: The boss slams both fists down, covering a wider area and faster than the single slam. Damaging shockwaves emit from both directions. Avoid by rolling towards or through the boss; the smaller dodge window requires precise timing.
Strategy:
- Reduce Equipment Load: Ensure your equipment load is under 25% to enable quick dodges.
- Attack Once, Then Dodge: Approach the boss without attacking and immediately roll as it begins an attack (often a Lunge, sometimes a Single Fist Slam). A successful roll should place you behind the boss. Attack once (or twice if confident with stamina management).
- Repeat: After attacking, the boss will turn to attack again. Repeat the process: roll behind it, attack once, and continue this cycle.
- Patience: Avoid overconfidence, as two hits can be fatal. The fight can take 3-5 minutes.
- Wall Awareness: Be cautious when the boss is near walls, especially at low HP. Attacks close to the wall can make shockwaves impossible to dodge due to limited space.
- Increased Attack Frequency: The boss's attacks become more frequent as its HP depletes, but the core strategy remains the same.
Notes:
- Class Recommendation: The Pauper class with its Pitchfork is recommended for its starting damage output (approx. 15 per hit). Other classes typically deal 5-6 damage per hit. However, the boss is beatable with any class.
- Item Usage: Items like Grenades can be used sparingly, but prioritize dodging.
- Trophy Focus: If only aiming for the trophy, unequip all gear to achieve <25% burden at the start and run past the Marauders. You will need to roll past those engaged with NPCs.
100% Human-Written. AI Fact-Checked. Community Verified. Learn how AntMag verifies content