Party Animals battle guide. Understand the physics-based skirmishes and unique strengths and weaknesses of each character in Party Animals.
Character Strengths & Weaknesses: Mastering the Arena
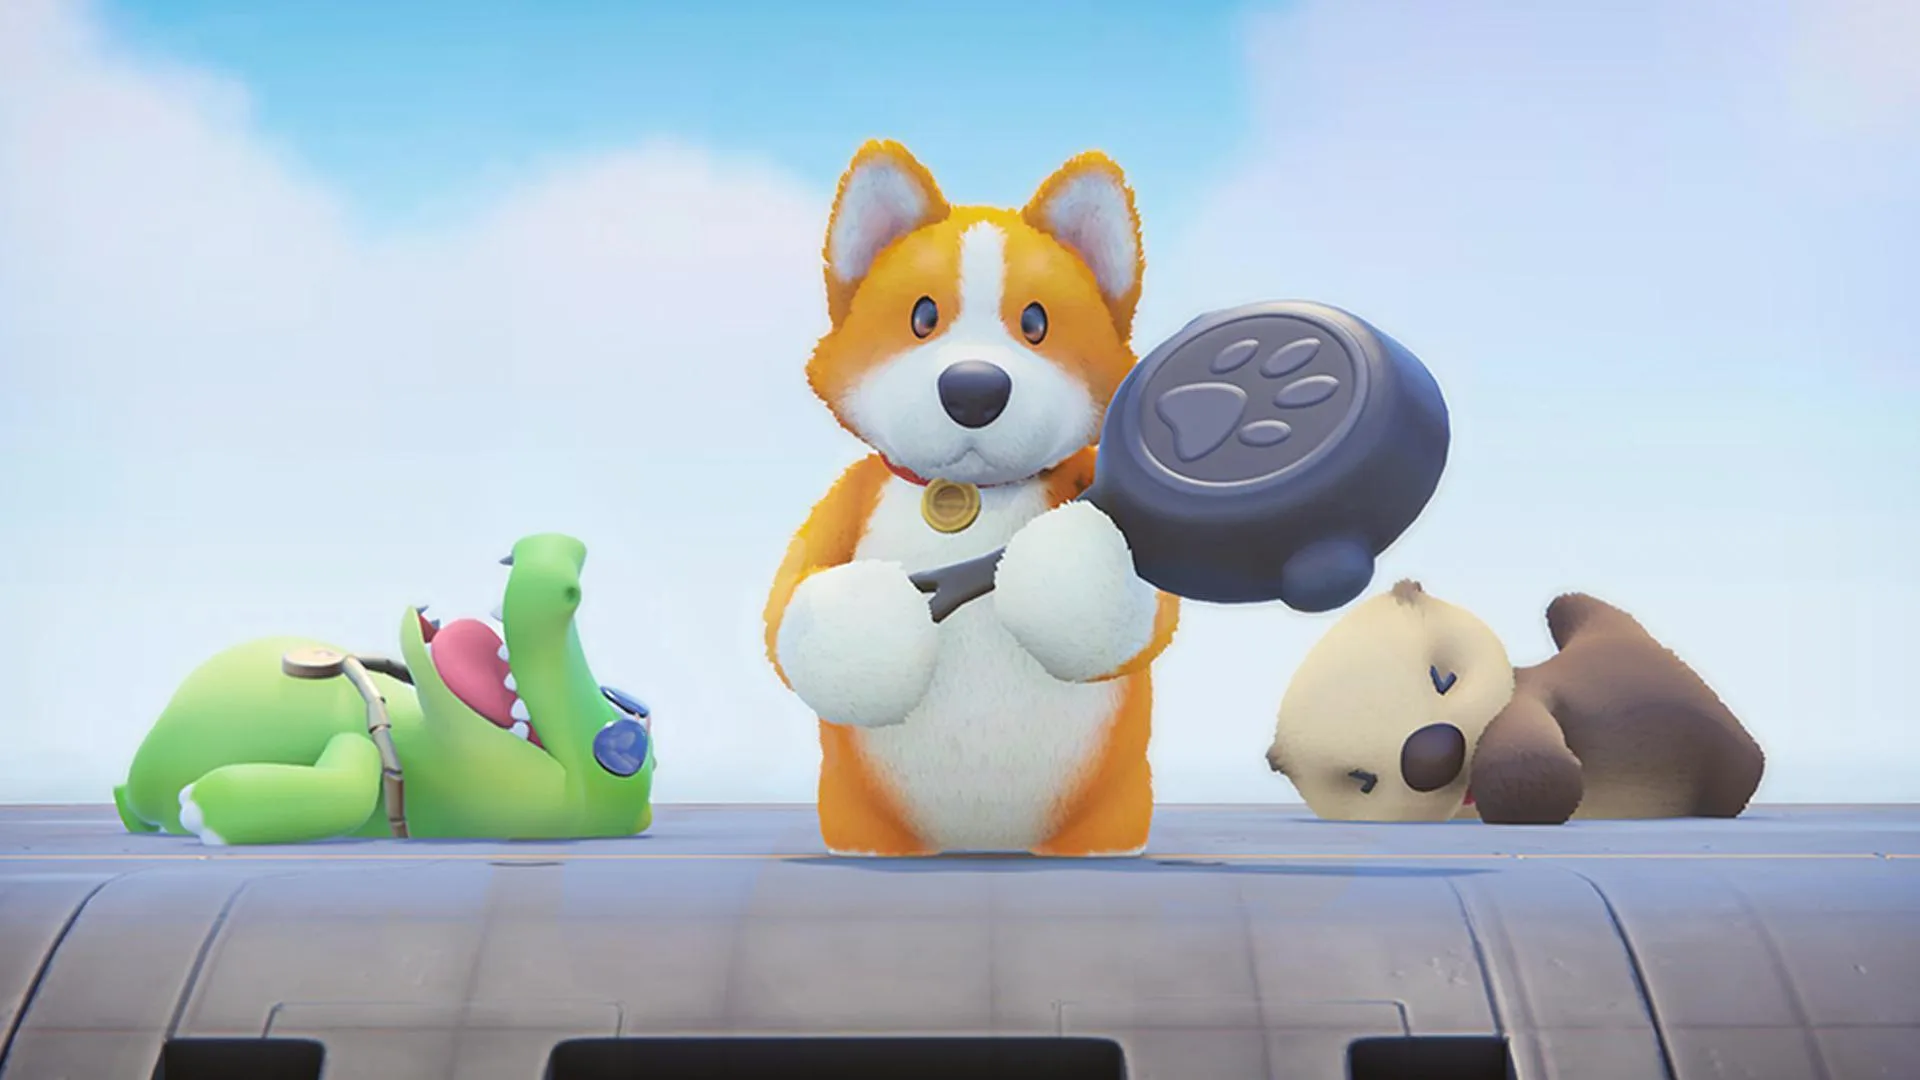
Welcome, Party Animals! Unlike traditional RPGs, Party Animals doesn't feature a bestiary or enemies in the conventional sense. Instead, your adversaries are other players, and your "boss battles" are the frantic, physics-based skirmishes that define the game. Success hinges on understanding the unique strengths and weaknesses of each playable animal character, mastering their distinct movesets, and exploiting environmental hazards. This guide will equip you with the knowledge to dominate every arena, whether you're brawling for candy or battling on a submarine.
Understanding Character Archetypes
Each animal in Party Animals falls into a general archetype, though individual characters within these archetypes can have subtle differences. Recognizing these will help you choose the right fighter for your playstyle and anticipate your opponents' tactics.
- Heavy Hitters: Slower, but capable of delivering devastating blows. Excellent for knocking out opponents quickly or breaking through defenses.
- Agile Strikers: Faster, more nimble, and excel at hit-and-run tactics. Great for dodging attacks and quickly repositioning.
- Balanced Fighters: A good mix of speed and power, offering versatility in various situations.
Detailed Character Breakdown & Strategy
the specifics of each character, outlining their unique attributes, optimal strategies, and potential pitfalls.
Nemo (Dog)
Archetype: Balanced Fighter
- Strengths:
- Versatility: Nemo has a well-rounded stat distribution, making him adaptable to most situations.
- Good Grappler: Excels at grabbing and throwing opponents, especially off ledges.
- Decent Recovery: Can often recover from being stunned faster than heavier characters.
- Weaknesses:
- No Extreme Specialization: Lacks the raw power of heavy characters or the extreme speed of agile ones.
- Predictable Attacks: His standard attacks can be easily anticipated by experienced players.
- Recommended Strategy:
- Mix It Up: Don't rely on just one attack. Combine punches, kicks, headbutts, and throws.
- Environmental Awareness: Use Nemo's grappling ability to throw opponents into hazards like train tracks, ice holes, or off cliffs.
- Team Player: Nemo is an excellent support character in team modes, capable of stunning enemies for teammates or rescuing downed allies.
- Common Pitfalls: Getting caught in a heavy character's combo or trying to outrun agile opponents in open spaces.
Macchiato (Cat)
Archetype: Agile Striker
- Strengths:
- Speed & Agility: Macchiato is one of the fastest characters, making him excellent for dodging and quick repositioning.
- Quick Attacks: His punches and kicks are fast, allowing for rapid combos and interruptions.
- Small Hitbox: Can be harder to hit than larger characters.
- Weaknesses:
- Low Damage Output: Individual attacks don't hit as hard as heavier characters.
- Vulnerable to Grapples: Can be easily grabbed and thrown if caught.
- Less Knockback: Struggles to knock out opponents with raw force alone.
- Recommended Strategy:
- Hit-and-Run: Dash in, land a few quick hits, and dash out before opponents can retaliate.
- Target Stunned Enemies: Capitalize on opponents who are dazed to land multiple hits.
- Pushing & Shoving: Use his speed to push opponents towards environmental hazards or off ledges, especially in maps like "Broken Bridge" or "Typhoon."
- Weapon Master: Macchiato excels with fast weapons like shovels or lollipops, allowing him to maintain pressure.
- Common Pitfalls: Getting cornered by heavy characters or attempting to go toe-to-toe in a slugfest.
Harry (Duck)
Archetype: Agile Striker / Tricky Fighter
- Strengths:
- Excellent Recovery: Harry's unique ability to flap his wings allows for incredible recovery when knocked off platforms. This is a game-changer.
- Deceptive Reach: His headbutt can have surprising range.
- Good for Item Play: Can quickly pick up and throw items.
- Weaknesses:
- Lower Health/Stamina: Can be knocked out relatively easily if caught.
- Less Direct Damage: Relies more on environmental KOs and item usage.
- Recommended Strategy:
- Flap Recovery Mastery: Practice using the jump button repeatedly after being launched to regain control and return to the platform. This is Harry's defining trait.
- Item Focus: Prioritize grabbing weapons or throwable items. Harry's agility makes him great at delivering these.
- Opportunistic KOs: Wait for opponents to be near edges or hazards, then use quick shoves or headbutts to send them flying.
- Common Pitfalls: Forgetting to use his recovery, leading to easy KOs. Trying to out-punch heavier characters.
Ottis (Gorilla)
Archetype: Heavy Hitter
- Strengths:
- Raw Power: Ottis delivers some of the highest damage and knockback in the game.
- High Health/Stamina: Can take a lot of punishment before being dazed.
- Devastating Throws: His throws are incredibly powerful, especially when fully charged.
- Weaknesses:
- Slow Movement: Ottis is one of the slowest characters, making him vulnerable to agile opponents.
- Large Hitbox: Easier to hit and target.
- Slow Attack Wind-up: His powerful attacks have a noticeable wind-up, making them easier to dodge.
- Recommended Strategy:
- Charge Attacks: Master charging his punches and throws for maximum impact. A fully charged throw can instantly KO a weakened opponent.
- Cornering Opponents: Use his size to push enemies into corners or against walls, limiting their escape options.
- Patience: Don't rush in blindly. Wait for openings, then unleash powerful combos.
- Area Denial: Use his wide swings to control space and prevent smaller characters from getting too close.
- Common Pitfalls: Getting outmaneuvered by faster characters, whiffing charged attacks, or being thrown off ledges due to his weight.
Winston (Corgi)
Archetype: Balanced Fighter / Grappler
- Strengths:
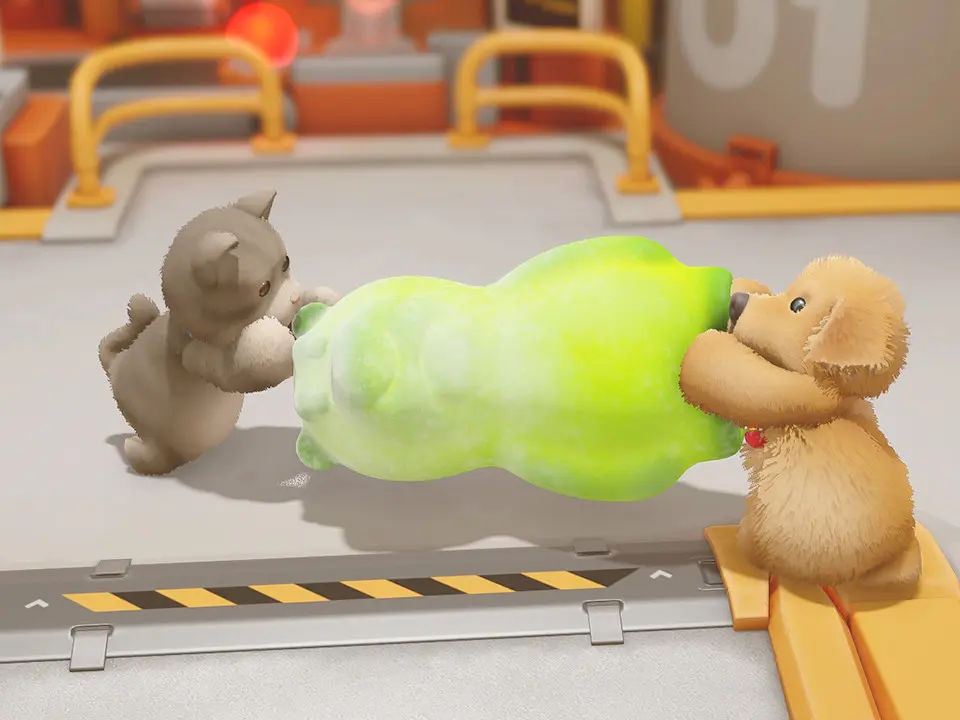
- Strong Grappling: Winston is a master of grabs and throws, capable of holding onto opponents for extended periods.
- Good Stamina: Can endure a fair amount of punishment.
- Decent Speed: Not as fast as Macchiato, but quicker than Ottis.
- Weaknesses:
- Lacks Raw Punching Power: Relies heavily on throws and environmental KOs.
- Vulnerable During Throws: Can be interrupted if not careful.
- Recommended Strategy:
- Grapple & Throw: This is Winston's bread and butter. Grab opponents, charge your throw, and launch them into hazards or off the map.
- Team Play: In team modes, Winston can hold an opponent in place, allowing a teammate to land free hits.
- Weapon Disarming: Use grabs to disarm opponents holding weapons.
- Common Pitfalls: Trying to win punch-for-punch against heavy characters, or getting stunned while attempting a grapple.
Valiant (Alligator)
Archetype: Heavy Hitter / Unique Attacks
- Strengths:
- Powerful Tail Whip: Valiant's unique tail whip attack has a wide arc and significant knockback, excellent for crowd control.
- Strong Bite: His bite attack can stun and deal good damage.
- Good Durability: Can withstand sustained attacks.
- Weaknesses:
- Slow Movement: Similar to Ottis, Valiant is not particularly fast.
- Predictable Attacks: His tail whip, while powerful, can be telegraphed.
- Large Hitbox: Easy target.
- Recommended Strategy:
- Tail Whip Control: Master the timing and range of the tail whip. Use it to clear space, knock multiple opponents away, or send them flying off ledges.
- Bite & Grapple: Combine bites with grapples to set up powerful throws.
- Defensive Play: Use his durability to absorb hits, then retaliate with a well-timed tail whip.
- Common Pitfalls: Getting surrounded, missing tail whips and being left vulnerable, or being outmaneuvered by faster characters.
Tiagra (Tiger)
Archetype: Agile Striker / Combo Specialist
- Strengths:
- Fast Attacks: Tiagra's claw attacks are incredibly quick, allowing for rapid-fire combos.
- Good Dash: Her dash is effective for closing distances or escaping quickly.
- High Stun Potential: Can quickly daze opponents with a flurry of hits.
- Weaknesses:
- Lower Individual Hit Damage: Relies on landing multiple hits rather than single powerful blows.
- Vulnerable to Grapples: Can be easily grabbed if she gets too close without stunning the opponent.
- Recommended Strategy:
- Combo Focus: Practice chaining together multiple claw attacks and kicks to keep opponents stunned and unable to retaliate.
- Dash & Attack: Use her dash to initiate engagements or to quickly reposition for an attack from behind.
- Target Weakened Opponents: Tiagra excels at finishing off dazed enemies.
- Common Pitfalls: Getting caught by a heavy character's charged attack, or trying to trade blows with characters like Ottis or Valiant.
Barbie (Rabbit)
Archetype: Agile Striker / Jumper
- Strengths:
- Exceptional Jump Height: Barbie can jump higher than any other character, allowing her to reach elevated platforms and avoid ground-based attacks.
- Quick Movement: Very agile and fast on her feet.
- Drop Kicks: Her aerial attacks, especially drop kicks, can be surprisingly effective.
- Weaknesses:
- Low Health: Barbie is quite fragile and can be knocked out quickly.
- Low Direct Damage: Relies on environmental KOs and precise aerial attacks.
- Vulnerable in the Air: While she can jump high, she can also be easily juggled if caught mid-air.
- Recommended Strategy:
- Aerial Dominance: Use her jumps to gain positional advantage, avoid ground hazards, and surprise opponents with drop kicks.
- Hit-and-Run: Jump in, land a quick hit, and jump out.
- Platform Advantage: Utilize maps with multiple levels to her advantage, constantly moving between them.
- Common Pitfalls: Getting caught on the ground by heavier characters, or being juggled in the air by well-aimed attacks.
General Combat Strategies for All Characters
- Master the Grab: Grabbing is a fundamental mechanic. Use it to disarm opponents, throw them into hazards, or set up for powerful charged attacks. Remember you can charge your throw for more distance and damage.
- Dodge & Roll: The dodge roll is your best friend for avoiding incoming attacks and repositioning. Learn its timing and use it frequently.
- Headbutts & Dropkicks: These are powerful, often underutilized attacks. Headbutts are great for stunning, and dropkicks (performed by jumping and attacking) can launch opponents.
- Environmental Hazards: Every map is a weapon. Learn where the trains, ice holes, falling platforms, and other dangers are, and actively try to push or throw opponents into them.
- Weapon Usage: Weapons like shovels, lollipops, and even bananas can turn the tide. Learn which weapons are best for which characters and situations. Shovels offer good reach and knockback, while lollipops are fast.
- Teamwork (Team Modes): In team battles, coordinate with your allies. Focus fire on a single opponent, rescue stunned teammates, or hold an enemy while your partner delivers the finishing blow.
- Stun Management: When you're dazed (stars above your head), mash buttons to recover faster. When an opponent is dazed, capitalize on the opportunity to land free hits or a powerful throw.
- Edge Guarding: If an opponent is hanging from a ledge, you can often kick their hands to make them fall, or wait for them to climb up and immediately attack.
- Practice Makes Perfect: The physics-based combat takes time to master. Spend time in practice mode or casual matches to get a feel for each character's weight, momentum, and attack timings.
Item & Weapon Guide
Items are crucial in Party Animals. Knowing what each item does and when to use it can be the difference between victory and defeat.
| Item/Weapon | Description | Strategy | Best Used By |
|---|---|---|---|
| Shovel | Long reach, decent knockback. | Good for keeping opponents at bay or knocking them off ledges. Can also be used to dig in certain maps. | Balanced, Heavy Hitters |
| Lollipop | Fast attacks, moderate knockback. | Excellent for quick combos and stunning opponents. Good for agile characters. | Agile Strikers |
| Banana | Throwable, creates a slip hazard. | Throw at opponents to make them slip and fall, creating an opening for an attack or environmental KO. | All (especially Agile Strikers for quick throws) |
| Baseball Bat | Good knockback, moderate speed. | A solid all-rounder weapon, effective for launching opponents. | Balanced, Heavy Hitters |
| Crossbow | Ranged weapon, fires projectiles. | Can be tricky to aim but effective for sniping opponents from a distance or interrupting their actions. | All (requires practice) |
| Bomb | Throwable, explodes after a delay. | Great for area denial or knocking multiple opponents off a platform. Can also damage yourself. | All (requires careful timing) |
| Freeze Gun | Fires a beam that freezes opponents. | Temporarily incapacitates enemies, leaving them vulnerable to attacks or environmental KOs. | All (especially in team modes) |
| Boxing Glove | Equippable, enhances punch power. | Increases your punch damage and knockback. Excellent for characters who rely on brawling. | Heavy Hitters, Balanced Fighters |
By understanding each character's nuances, mastering the combat mechanics, and effectively utilizing items and environmental hazards, you'll be well on your way to becoming a true champion in the chaotic world of Party Animals. Good luck, and may the best animal win!
100% Human-Written. AI Fact-Checked. Community Verified. Learn how AntMag verifies content