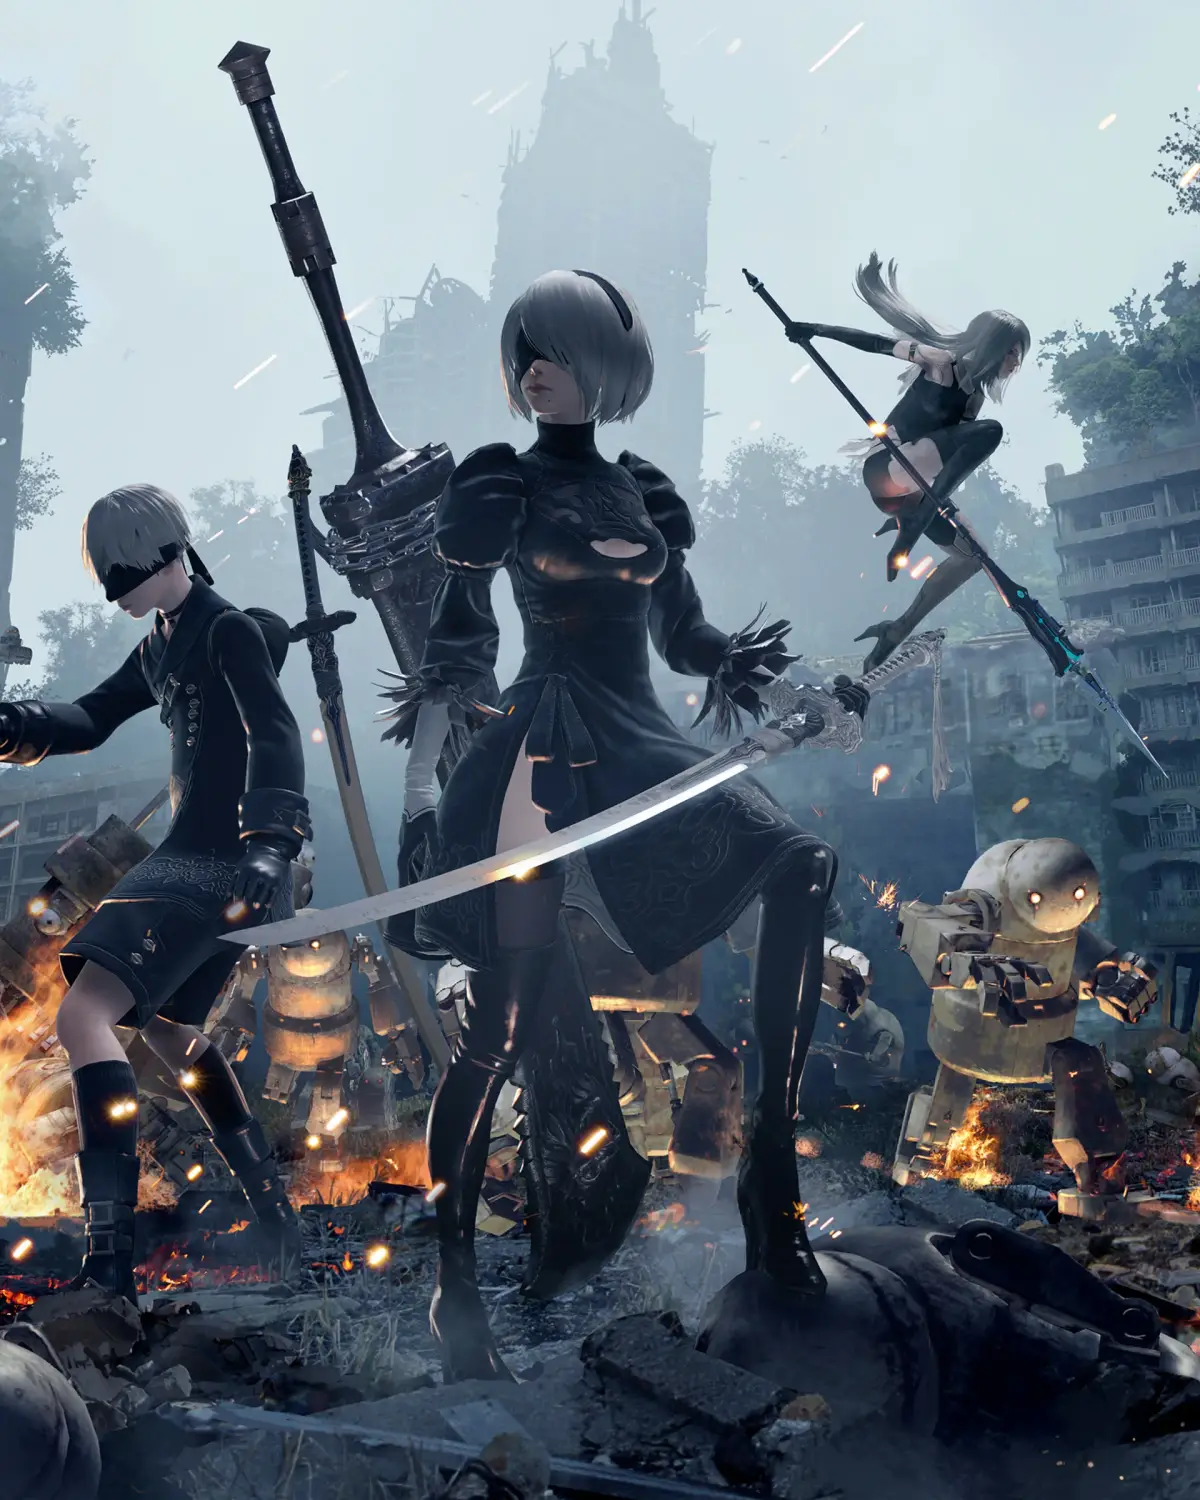
Welcome to NieR: Automata, a game where you play as androids 2B and 9S in a desolate, philosophical world. You'll be engaging in fast-paced, Platinum Games-style combat, switching between melee attacks, ranged pod fire, and stylish dodges as you fight through hordes of machines. The story is rich and complex, exploring themes of existence and consciousness, and it requires multiple playthroughs to fully uncover its secrets.
This guide is here to help you navigate every aspect of this incredible journey. We'll cover all the main story missions, side quests, and crucially, all 26 of the game's endings, including the true 'Final' Ending that requires three playthroughs. Whether you're aiming for 100% completion or just want to make sure you don't miss any crucial story beats or collectibles, we've got you covered.
Story
Learn about the distant future story of Nier: Automata, where androids fight machine lifeforms for Earth.
Invaders from another world attack without warning, unleashing a new type of threat: weapons known as machine lifeforms. In the face of this insurmountable threat, mankind is driven from Earth and takes refuge on the Moon.
The Council of Humanity organizes a resistance of android soldiers in an effort to take back their planet. To break the deadlock, the Resistance deploys a new unit of android infantry: YoRHa.
In the forsaken wasteland below, the war between the machines and the androids rages on. A war that is soon to unveil the long-forgotten truth of this world...
Controls
Confused by Nier: Automata's controls? This guide breaks down Type A, B, and C button mappings for Pod Programs, attacks, evasion, and more. Get a grip on combat!
Alright, let's get you sorted with how to actually *play* Nier: Automata. It can be a bit overwhelming at first with all the different button assignments, especially since there are a few control schemes you can choose from. Don't sweat it, though! We'll break down exactly what each button does for the main control types.
Think of these as different ways to set up your controller. You can usually switch between them in the game's options menu, so if one feels weird, you can always try another. The core actions are the same, but who does what button is what changes.
Type A Controls
This is likely the most standard setup you'll find. It feels pretty intuitive if you've played action games before.
| BUTTON | FUNCTION | |
| L1 Button | Pod Program | |
| L2 Button | Lock-on | |
| L3 Button | Toggle Light | |
| R1 Button | Fire | |
| R2 Button | Evade | |
| R3 Button | Reset Camera | |
| TRIANGLE Button | Heavy Attack | |
| CIRCLE Button | Action | |
| SQUARE Button | Light Attack | |
| CROSS Button | Jump | |
| Touch Pad | Shortcuts (left), System Menu (right) | |
| D-Pad | System Menu |
Type B Controls
This setup swaps a couple of key functions around, most notably how you trigger your Pod Programs and fire your weapons. Some players prefer this for quicker access to certain abilities.
| BUTTON | FUNCTION | |
| L1 Button | Lock-on | |
| L2 Button | Pod Program | |
| L3 Button | Toggle Light | |
| R1 Button | Evade | |
| R2 Button | Fire | |
| R3 Button | Reset Camera | |
| TRIANGLE Button | Heavy Attack | |
| CIRCLE Button | Action | |
| SQUARE Button | Light Attack | |
| CROSS Button | Jump | |
| Touch Pad | Shortcuts (left), System Menu (right) | |
| D-Pad | System Menu |
Type C Controls
This scheme is a bit more unconventional, moving attacks and pod programs to the shoulder buttons. It might take some getting used to, but it could offer a unique flow for your combat.
| BUTTON | FUNCTION | |
| L1 Button | Heavy Attack | |
| L2 Button | Fire | |
| L3 Button | Lock-on | |
| R1 Button | Light Attack | |
| R2 Button | Evade | |
| R3 Button | Reset Camera | |
| TRIANGLE Button | Pod Program | |
| CIRCLE Button | Action | |
| SQUARE Button | Toggle Light | |
| CROSS Button | Jump | |
| Touch Pad | Shortcuts (left), System Menu (right) | |
| D-Pad | System Menu |
No matter which type you choose, remember that the Touch Pad and D-Pad are your go-to for system menus and shortcuts. Don't forget to experiment and find the control scheme that feels best for you!
2B
Learn about YoRHa No. 2 Type B (2B), an all-purpose battle android in Nier: Automata equipped with a sword and Pod tactical support system.
YoRHa No. 2 Type B is officially designated as such. She is an all-purpose battle android deployed as a member of the automated infantry squad known as YoRHa. 2B is equipped with a sword for close-quarters combat and can also attack from a distance using the "Pod" tactical support system. Members of YoRHa forgo names and are identified solely by their codes. Although regulations prohibit them from expressing emotions, each model possesses a unique personality; 2B is characterized as comparatively cool, calm, and collected.
- YoRHa androids are identified by codes, not names.
- 2B utilizes both melee (sword) and ranged (Pod) combat.
- Despite regulations, YoRHa androids exhibit distinct personalities.
9S
Learn about YoRHa No. 9 Type S (9S), the Nier: Automata android specializing in research and hacking, known for his kindness.
9S is a YoRHa android who, while capable of attacking, primarily focuses on research missions. His main strength lies in collecting information, which he achieves mainly through hacking.
Within the YoRHa organization, 9S is noted for his comparatively varied emotional expressions and possesses a kind personality.
- 9S excels at information gathering through hacking.
- He displays more emotional range than other YoRHa units.
- His kindness is a defining characteristic.
Similar guides you might like


100% Human-Written. AI Fact-Checked. Community Verified. Learn how AntMag verifies content