A walkthrough for Lost Sphear's Hush Grove section. Learn how to find the entrance, utilize save points, master fishing, and overcome early-game battles against Mories and Uppa.
On the world map, you will be able to walk around and just doing that for a bit shows there are many items you can pick up, so it’s a good thing to explore and get them all. Once you’ve pilfered all the item points, you will be able to find the entrance to Hush Grove north of Elgarthe; it’s the path leading into the forest on the left side after crossing the bridge.
Upon entering Hush Grove, look around for some items, then venture west to eventually find a save point. You’ll find these in dungeons and towns, which will be useful for saving your game. While on the world map, you can save your game at any time by going into your menu and choosing the bottom option. Lastly, by hitting the Options button on your controller, you have the choice to utilize a Quick Save, which there is only one slot for, unlike regular saves that have multiple slots available.
North of the save point is a merchant that sells items, weapons and armor, but there’s nothing new available. Not much farther north of the merchant is the fishing spot previously talked about, where you won’t find Locke. After a short conversation, you’ll learn how to fish, which is pretty easy and simple. Find a sign with a fish on it, then press X to automatically cast your line. When you see the water sloshing around, hit X to reel in the line and catch a fish. Get one fish, then Kanata will go at it again, with the second catch being Locke, who somehow ended up in the water.
Signs with a fish on it are fishing holes.
Lock will rejoin your party and upon heading back to the exit, you’ll encounter some Mories, sparking a battle. You will get a brief tutorial about moving and the attack ranges of your characters, as well as having the fact you can hit multiple enemies if you aim your red targeting spot correct. This is more noticeable with Locke, who uses a crossbow for a weapon, as his shots are in a straight line. Whatever the case, all you can do in this battle is attack physically and considering the Mories are rather weak, you shouldn’t need to do anything else.
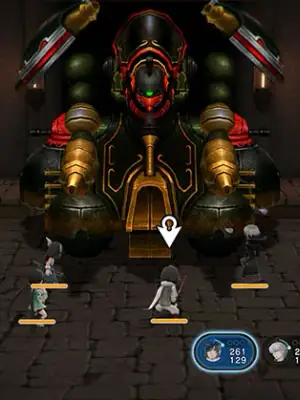
After the battle is over, continue east and you’ll run into another monster, an Uppa. It is during this battle that you will learn about Momentum. During battles, when your ATB is full and you’re not taking an action, a meter around the character’s portrait will slowly fill up. Once it’s full, you will receive a Momentum Charge (MC), which is represented as a blue, filled circle above your HP/MP. When you go and perform a physical attack with a MC, a blue glow will appear at the beginning of the attack and if you push Square during this, then you will use that MC to inflict more damage. Each character can only have three charges at once, so make sure you use them.
The Uppa should go down easily and you might see something called a “Momentum Kill” pop up at the end, should you finish the beast with a Momentum attack. Don’t worry about this right now, but you will gain additional rewards based on what you defeat an enemy with. Once the battle is over, go to the exit for another quick scene, wi
100% Human-Written. AI Fact-Checked. Community Verified. Learn how AntMag verifies content