Master the strategic nuances of Chivalry: Medieval Warfare's Team Objective maps. Learn to coordinate your team and complete vital objectives for victory.
Welcome, aspiring knights and men-at-arms! This section delves deep into the strategic nuances of Chivalry: Medieval Warfare's Team Objective maps. Mastering these objectives is paramount to victory, and a well-coordinated team can turn the tide of even the most desperate battles. Forget aimless hacking and slashing; here, we'll equip you with the knowledge to become a true objective specialist.
Stoneshill (Attackers)
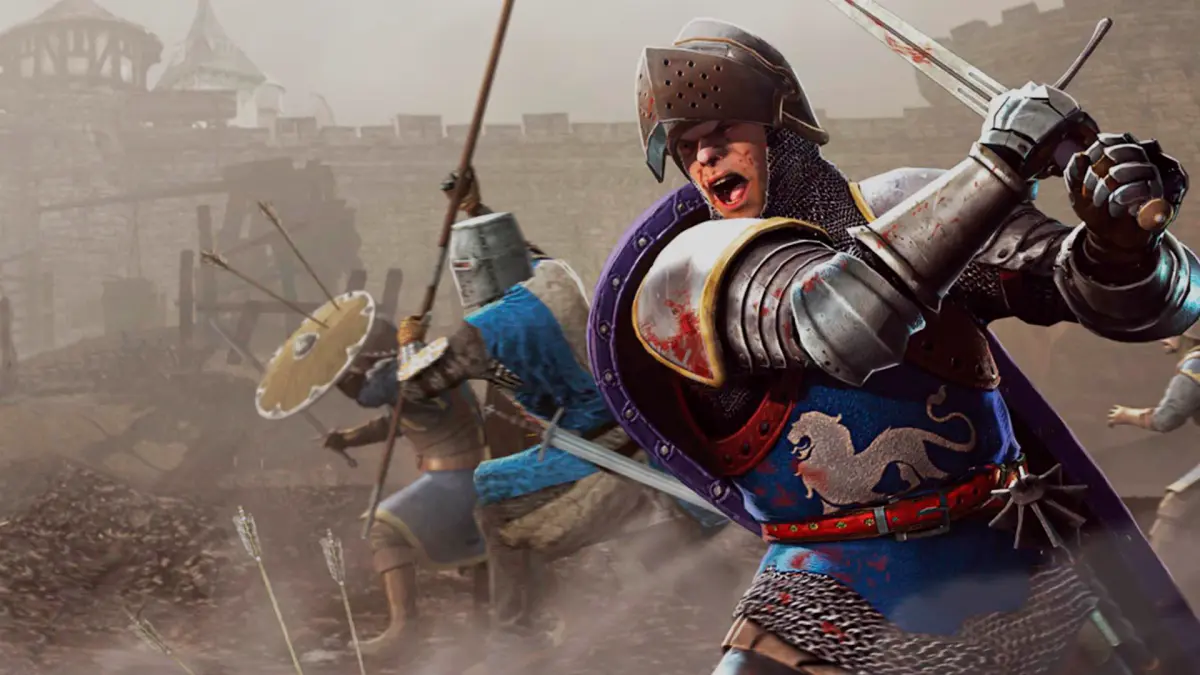
Stoneshill is a classic Team Objective map where the Agatha Knights assault a Mason Order stronghold. As an attacker, your primary goal is to breach the defenses and eliminate the Mason Lord.
Stoneshill (Defenders)
As a Mason defender on Stoneshill, your mission is to repel the Agatha invasion and protect your Lord at all costs. use the environment and your class abilities to create chokepoints and inflict maximum casualties.
- Stage 1: Defend the Village Gates
- Objective: Prevent the Agatha Knights from destroying the two village gates.
- Strategy: Engineers are crucial here for repairing the gates with their toolboxes. Archers should focus on enemy Knights and Vanguards attacking the gates. Place barricades or spike traps in front of the gates to slow down the attackers.
- Key Locations: The two large wooden gates.
- Stage 2: Protect the Houses
- Objective: Prevent the Agatha Knights from burning the four designated houses.
- Strategy: Stay near the houses and kill any attackers attempting to light them with torches. Fire pots (available to some classes) can be devastating against clustered enemies. Engineers can extinguish fires (though this is often less effective than preventing them).
- Key Locations: The four marked houses.
- Stage 3: Destroy the Battering Ram
- Objective: Destroy the battering ram before it reaches the main castle gate.
- Strategy: This is a critical stage. Engineers should place spike traps and barricades in the ram's path. Archers and Vanguards with javelins/throwing axes should prioritize damaging the ram. Fire pots are incredibly effective against the ram and the clustered enemies pushing it. Knights can sally forth to engage the pushers directly.
- Key Locations: The path the battering ram takes from the village to the castle gate.
- Stage 4: Defend the Lord
- Objective: Prevent the Agatha Knights from killing the Mason Lord.
- Strategy: Form a strong defensive line around the Lord. Do not let attackers get close to him. Engineers can place barricades in the throne room to create chokepoints. Knights and Vanguards should focus on body-blocking and engaging the most dangerous enemy players. Archers should pick off high-priority targets.
- Key Locations: The throne room/keep where the Mason Lord is located.
Siege Weapons & Environmental Hazards
Many Team Objective maps feature interactive elements that can turn the tide of battle. Always be aware of your surroundings!
- Ballistas: Powerful, single-shot projectiles. Excellent for taking out high-value targets or damaging siege engines. They have a slow reload.
- Catapults/Trebuchets: Launch large, arcing projectiles. Devastating against groups of enemies or structures. Require multiple players to operate effectively (one to aim, one to load, one to fire).
- Oil Pots/Fire Pots: Found in various locations, especially on defensive maps. Pick them up and throw them to create an area of denial or damage enemies.
- Spike Traps/Barricades: Engineer-built defenses. Spike traps damage enemies who walk over them. Barricades block movement and provide cover.
- Environmental Kills: Look for opportunities to push enemies off ledges, into pits, or under falling objects. These are often instant kills and can be highly demoralizing for the enemy.
100% Human-Written. AI Fact-Checked. Community Verified. Learn how AntMag verifies content