Find all Xenoblade Chronicles 3 World Map locations and learn to navigate the vast regions of Aionios. Master map usage for progression and resource gathering.
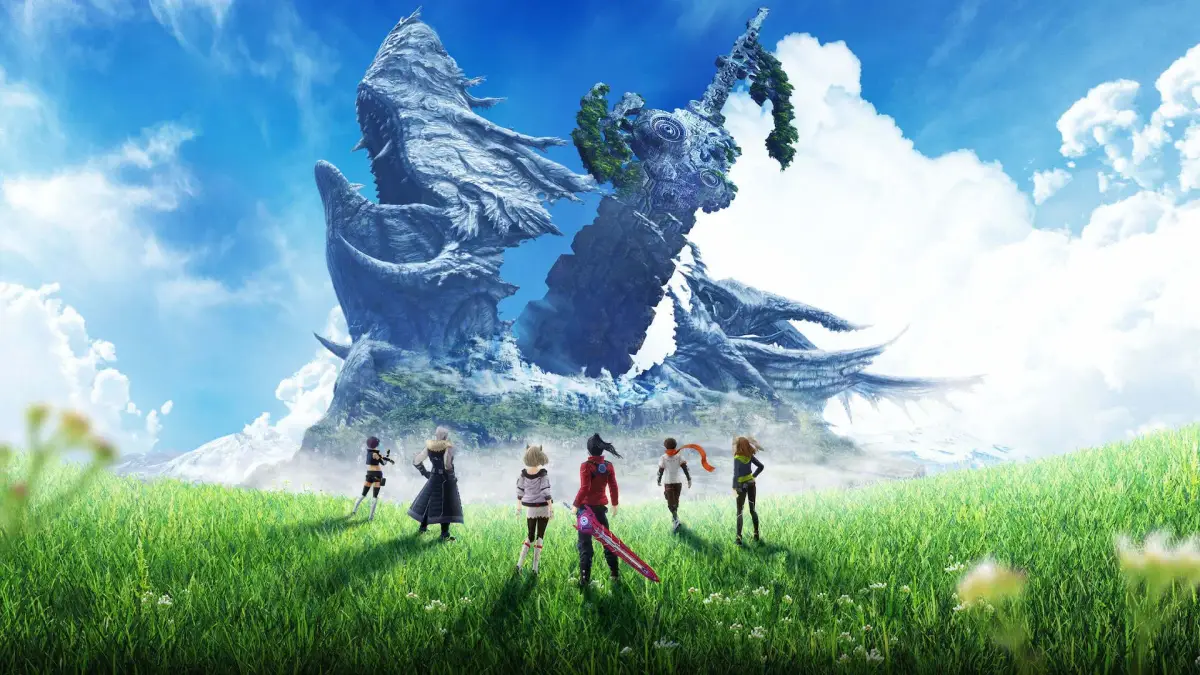
Navigating the vast world of Aionios is a core part of your Xenoblade Chronicles 3 experience. This section will guide you through understanding the World Map, discovering key locations, and efficiently traversing the diverse regions. Mastering map usage is crucial for progression, side quests, and finding valuable resources.
Understanding the World Map Interface
Access the World Map by pressing the Minus (-) button. Here, you'll find a wealth of information:
- Current Location: Your party's position is marked by a blue arrow.
- Fast Travel Points (Landmarks): These are represented by a small icon resembling a flag. Once discovered, you can instantly warp to them from anywhere on the map (outside of combat or specific story segments). Activating every Landmark in a region is highly recommended for efficient exploration and backtracking.
- Quest Markers: Main story quests are typically marked with a large yellow exclamation mark (!), while side quests (Hero Quests, Standard Quests) often appear as smaller blue or green icons.
- Colonies: Major settlements are indicated by a distinct icon, often showing a number representing the Colony's affinity level. These are vital for accepting quests, purchasing items, and engaging with the local populace.
- Supply Drops: These are marked by a crate icon and appear periodically. Reaching them before they despawn grants valuable resources and Nopon Coins.
- Ether Channels: Represented by glowing lines, these indicate paths where your Ferronis can travel.
- Exploration Percentage: In the top right corner of the map, you'll see a percentage indicating how much of the current region you've explored. Aim for 100% to uncover all secrets and Landmarks.
Key Regions and Early Game Navigation
Your journey through Aionios will take you across several distinct regions. Here's a breakdown of early-game areas and what to expect:
Aetia Region
This is where your adventure begins. The Aetia Region is characterized by lush grasslands, rocky outcrops, and the remnants of ancient structures. It serves as an excellent training ground for new players.
- Starting Point: After the initial tutorial, you'll find yourself near Gura Flank.
- First Colony: Colony 9 is your primary hub in this region.
- Actionable Step: Upon reaching Colony 9, speak with all NPCs marked with a speech bubble icon to unlock new quests and gain affinity. Look for the "A Soldier's Duty" quest from a guard near the main gate for an early combat tutorial.
- Item Acquisition: The Quartermaster in Colony 9 sells basic accessories and crafting materials. Stock up on Noponstone and Iron Ore if you plan on crafting early.
- Notable Landmarks:
- Alfgar's Path: A winding trail leading to higher elevations. Keep an eye out for Shiny Lucky Clovers here, a common collectible.
- Eagus Wilderness: An open area with various low-level monsters. This is a good spot to grind for experience and gather common materials like Aetia Leaf.
- Melia's Shrine: A significant story location. Ensure your party is well-equipped before approaching, as a boss battle awaits.
- Environmental Hazards: Be wary of the large, aggressive monsters (often marked with a red aura) that roam certain areas, especially in the Eagus Wilderness. Avoid them until your party is sufficiently leveled.
Fornis Region
Accessible after progressing through the main story in Aetia, the Fornis Region presents a more arid and expansive landscape, featuring vast deserts and ancient ruins.
- Entry Point: You'll typically enter Fornis via a pass from the western side of Aetia.
- First Colony: Colony 4 is a crucial hub in this region.
- Actionable Step: The Hero Quest associated with Colony 4, "The Kindest Heart," is essential for unlocking a new Hero character and their class. Prioritize this quest.
- Item Acquisition: The local Quartermaster often sells unique accessories that boost Agility, useful for evasion tanks. Look for Desert Bloom, a rare collectible found in the sandy areas.
- Notable Landmarks:
- Dannagh Desert: A massive desert area. Navigation can be tricky due to sandstorms that reduce visibility. Use your mini-map frequently.
- Tableland Ferronis Hulk: A crashed Ferronis that often contains valuable items and sometimes a Unique Monster.
- Conflux of the Greatwood: A transition zone between the desert and more forested areas, often home to stronger enemies.
- Exploration Tip: The Fornis Region introduces more verticality. Look for climbing vines or hidden passages to reach elevated areas, which often hide rare collectibles or secret Landmarks.
Efficient Exploration Strategies
To make the most of your time exploring Aionios:
- Activate Every Landmark: This cannot be stressed enough. Fast travel saves immense amounts of time.
- Check Your Collectopedia Cards: As you explore, you'll pick up various collectibles. Check your Collectopedia Cards (accessible from the main menu) to see which items are needed for completion bonuses, which often include Nopon Coins or rare accessories.
- Listen for Nopon: Friendly Nopon often have valuable information about nearby secrets, quests, or rare monster locations.
- Utilize the Mini-Map: The mini-map (displayed in the bottom right corner) highlights nearby enemies, collectibles, and quest objectives, making navigation easier.
- Don't Be Afraid to Run: If you encounter an enemy significantly higher level than your party, it's often best to disengage and return later. Prioritize survival over engaging every foe.
- Scan for Secret Areas: Many regions have hidden caves, ledges, or underwater passages that lead to unique items, powerful enemies, or even secret Landmarks. Keep an eye out for subtle environmental cues.
100% Human-Written. AI Fact-Checked. Community Verified. Learn how AntMag verifies content