Guide for 'Journey to the Castle' in Xenoblade Chronicles 3 Chapter 4, detailing exploration and combat challenges.
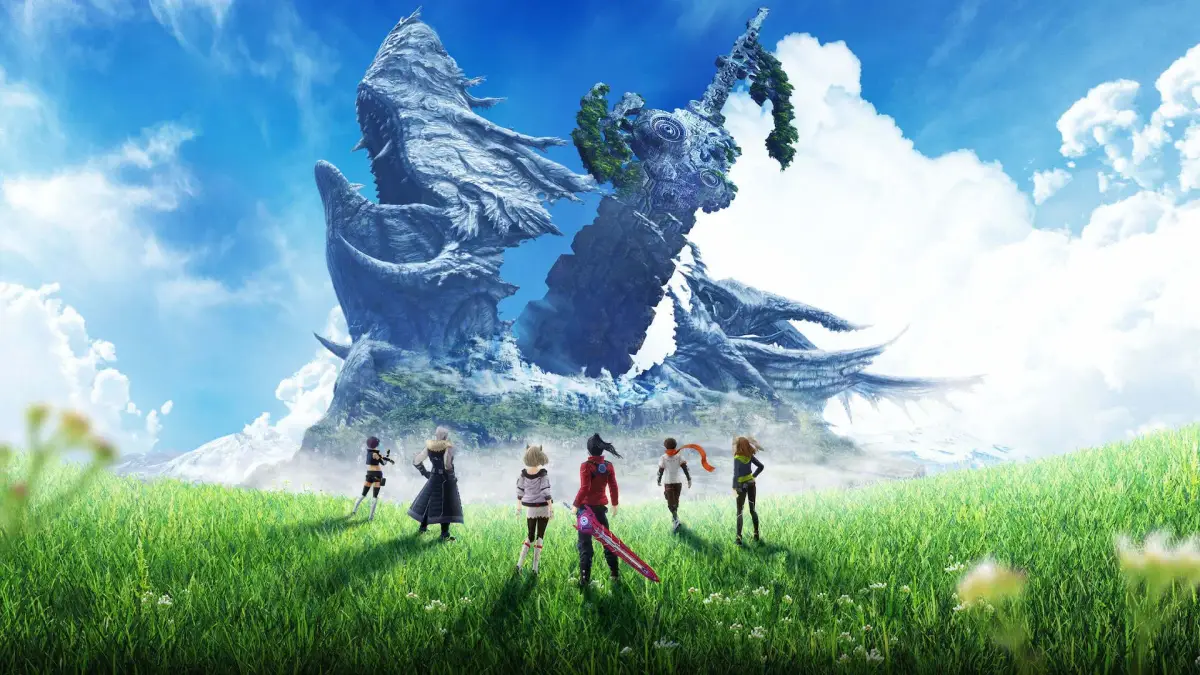
The journey to the Queens' Castles marks a pivotal moment in Xenoblade Chronicles 3, propelling our heroes through some of Aionios's most treacherous and visually stunning landscapes. This section will guide you through the perilous path, detailing specific challenges, enemy encounters, and strategic approaches to ensure your party arrives prepared for the trials ahead. The narrative deepens here, emphasizing the growing desperation and resolve of the party as they uncover the true scale of Moebius's deception.
Navigating the Forerunners' Path: Aetia Region Upper
Your initial steps toward the castle will lead you through the Aetia Region Upper, a stark contrast to the familiar lower plains. Expect rugged, elevated terrain, often shrouded in mist, making visibility a challenge. This area introduces several new enemy types and environmental hazards that demand a shift in your traversal strategy.
- Environmental Hazard: Gusting Winds: Certain elevated pathways are subject to powerful gusts. These can knock characters off ledges if they're not careful. Look for visual cues like swirling air currents. Using the "Dash" command (L3) can help you push through shorter gusts, but for longer stretches, consider alternative routes or waiting for lulls.
- New Enemy Type: Skyfliers: Keep an eye out for Aetia Skyfliers (Level 38-40), aerial units that patrol high above. Their ranged attacks can be disruptive. Prioritize taking them down with Chain Attacks or Arts that have good vertical reach (e.g., Noah's Swordfighter Arts, Mio's Zephyr Arts).
- Specific Encounter: The Whispering Crags Patrol: As you ascend towards the Whispering Crags, you'll encounter a patrol of Agnean Sentinels (Level 39) accompanied by a Gormotti Guard (Level 40). This group often includes a healer, making them a tougher fight. Focus fire on the healer first, then the Gormotti Guard, as they possess powerful launch attacks.
Strategy Tip: Stealth and Avoidance: The Aetia Region Upper is ideal for practicing stealth. Many patrols have predictable routes. use tall grass or rock formations for cover. If you wish to avoid combat and conserve resources, observe enemy patterns and time your movements carefully. Certain paths may seem longer but bypass high-density enemy zones.
The Great Cleft: A Test of Endurance
Beyond the Aetia Region Upper lies the Great Cleft, a massive geological fissure that serves as a natural barrier. Traversing it requires careful platforming and introduces your first mini-boss encounter of this journey.
- Traversal Challenge: Narrow Ledges & Crumbling Paths: The Great Cleft is characterized by precarious narrow ledges and sections of crumbling rock. Always walk, don't run, on these paths. Keep an eye out for glowing cracks, indicating sections that will collapse shortly after you cross them. Dash across these quickly.
- Mini-Boss: Cleft Guardian Volff: At the midpoint of the Great Cleft, guarding a crucial bridge, you'll face the Cleft Guardian Volff (Level 42). This large beast is accompanied by two smaller Volff Pups (Level 40).
Cleft Guardian Volff Strategy:
The Cleft Guardian Volff is a formidable foe with high HP and powerful AoE (Area of Effect) attacks. Its primary weakness is its susceptibility to Break and Topple. Ensure your party has at least two characters capable of inflicting Break (e.g., Noah's Swordfighter, Eunie's Medic Gunner, Lanz's Heavy Guard).
| Enemy | Level | HP (Approx.) | Weakness | Key Attacks |
|---|---|---|---|---|
| Cleft Guardian Volff | 42 | 180,000 | Break, Topple |
|
| Volff Pup | 40 | 45,000 | Pierce, Ether |
|
Recommended Loadout:
- Attacker: Noah (Swordfighter) or Sena (Ogre) for high single-target damage and Break.
- Defender: Lanz (Heavy Guard) or Zeon (Guardian Commander) to draw aggro from the Volff and protect the party.
- Healer: Mio (Zephyr) or Eunie (Medic Gunner) for consistent healing and revival.
- Support/Utility: Taion (Tactician) for debuffs and healing, or a second Attacker for faster DPS.
Battle Strategy:
- Prioritize Pups: While the Volff is the main threat, the Pups can quickly overwhelm your healer. Use AoE Arts or Chain Attacks to eliminate them quickly.
- Break & Topple: Once the Pups are down, focus on inflicting Break on the Cleft Guardian Volff. Follow up with Topple and then Daze/Launch to maximize damage during its vulnerable state.
- Manage Aggro: Ensure your Defender maintains aggro on the Volff. If a DPS or Healer draws aggro, use a Taunt Art or switch to your Defender to regain control.
- Ouroboros Forms: use Ouroboros forms strategically. Noah/Mio's Ouroboros can deal massive damage during Topple, while Lanz/Sena's can provide crucial defense and AoE pressure.
Common Pitfall: Ignoring Pups: Many players make the mistake of focusing solely on the Cleft Guardian Volff. The Pups, though weaker, can quickly chip away at your party's HP and interrupt Arts, making the main fight much harder.
The Royal Road: Approaching the Castle Gates
After overcoming the Great Cleft, you'll find yourself on the Royal Road, a more structured, albeit still dangerous, path leading directly to the castle gates. This area is heavily patrolled by elite Agnian and Kevesi forces.
- Elite Patrols: Expect encounters with Agnian Royal Guards (Level 43) and Kevesi Imperial Soldiers (Level 43-44). These groups often include multiple classes (Attackers, Defenders, Healers), requiring a balanced approach. Target healers first, then high-damage dealers.
- Environmental Hazard: Automated Turrets: Certain sections of the Royal Road are guarded by stationary Automated Turrets (Level 42). These turrets have long-range, high-damage attacks. They are immune to Break and Topple. The best strategy is to quickly close the distance and destroy them, or use cover to avoid their line of sight.
- Item Acquisition: Castle Gate Key Fragment: As you approach the main gate, you'll find a small encampment of Moebius forces. Defeat the Moebius Scout Leader (Level 45) within this encampment to obtain a Castle Gate Key Fragment. This is a crucial story item and cannot be missed.
- Castle Gate Key Fragment (1)
- Nopon Coin (Silver) (2)
- Expert Belt (Accessory: +15% Critical Rate)
- Gold (1200 G)
Missable: Side Quest Trigger: Before entering the castle, ensure you've completed any active side quests in the surrounding regions. Some NPCs or quest chains may become unavailable or change after advancing the main story past this point.
This comprehensive guide should prepare you for the challenges of the "Journey to the Castle" section, ensuring you arrive at your destination with your party intact and ready for the next phase of your adventure.
100% Human-Written. AI Fact-Checked. Community Verified. Learn how AntMag verifies content