Complete walkthrough for Part 31 of Ninja Gaiden Black, covering the Crystal Skull, Jewel of the Demon Seal, Bridge of the Fiends, Test of Valor, Elizabet's Dragon boss, and the Temple of Sacrifice.
Walkthrough
- 1At the bottom of the stairs, grab the Crystal Skull #27 and open the chest for a Life of the Gods.
- 2Use a downward strike on the large step-button to lower a cage. Kill the spawned Gajas, then collect the JEWEL OF THE DEMON SEAL from the body inside the cage.
- 3Continue down the path, defeat the zombies with Scythe combos, and then Obliterate them.
- 4Further down, shoot down the mini-dragons that spawn.
- 5Approach Muramasa's Statue and stock up on items.
- 6Work your way down the Bridge of the Fiends, defeating pink Van Gelfs with easy combos.
- 7Near the Save Statue, eliminate a gang of zombies and Obliterate them to activate the Save Statue and Test Of Valor.
- 8Test Of Valor - Eight of White: Equip the Flails and defeat the Red Gaja and Ghost Fish. Use Ultimates on the Gaja after the Fish are gone. (Note: This test yields no specific reward mentioned, described as a waste of a test).
- 9Continue towards the Outer Temple Entrance. Ignore the step-button near the Save Statue that spawns Gaja for no reward.
- 10Slide down the collapsed pillar.
- 11Around the corner, defeat the zombies with Scythe combos and Obliterate them.
- 12Grab arrows from a dead body and shoot down the appearing mini-dragons.
- 13Further down, defeat the Gaja with Izunas.
- 14Continue up to the temple entrance to trigger a cutscene.
- 15Objective: Obtain the Bone Relief: Activate the large step-button to trigger a boss battle.
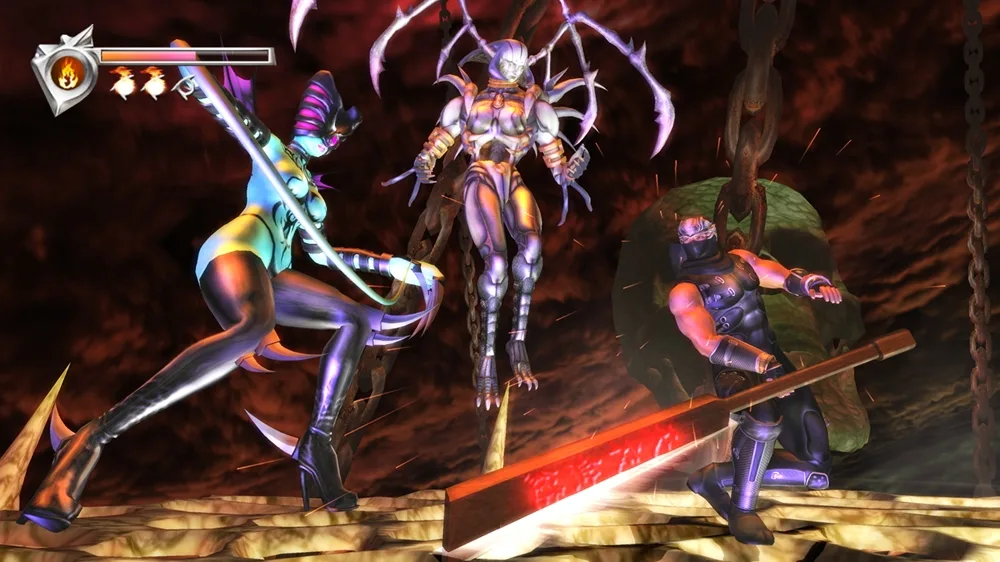
- 16Boss Battle: Elizabet’s Dragon: Fling charged arrows at the dragon until it dies.
- 17Grab the BONE RELIEF from the chest and use it on the glowing wall to open the temple doorway.
- 18Area: The Temple of Sacrifice Stairway
- 19Objective: Defeat All the Black Spider Ninjas: Ascend the stairs, fighting over 40-50 ninjas. Use Ultimate Techniques, the Eclipse Scythe, or Kusari-gama for wide attacks. Equip Tonfas and use their Ultimate Technique for combos. Aim for 200-hit combos.
- 20Clear the bottom and continue up the stairs to defeat another large group of ninjas.
- 21Enter the temple, jump down to find a Muramasa's Statue and a Save Statue. Do not save yet.
- 22Objective: Clear the Temple of Threats: Kick down the large door to fight pink and green Van Gelfs. Use Wind Blades Ninpo and Obliterate them.
- 23Continue to the bottom room, open the two chests with goodies, and then save your game.
- 24Stock up at Muramasa's with health items.
- 25Approach the door at the bottom of the room to trigger a cutscene.
Tips
- The step-buttons activate cages with enemies or items. Some are traps with no reward.
- The Test of Valor on the Bridge of the Fiends is described as unrewarding.
- The battle on the Temple of Sacrifice Stairway can cause significant slowdown due to the number of enemies. Utilizing Ultimate Techniques and wide-area attacks is recommended.
- Consider using the Eclipse Scythe or Kusari-gama for crowd control on the stairs. The Tonfas' Ultimate Technique is also effective for combos.
- Save your game *after* opening the chests in the bottom room of the Temple of Sacrifice.
100% Human-Written. AI Fact-Checked. Community Verified. Learn how AntMag verifies content