Guide Sakuya through Kuon's Yang Phase. Utilize Exorcism Talismans against Giant Worms and win the fight against the Possessed Monk.

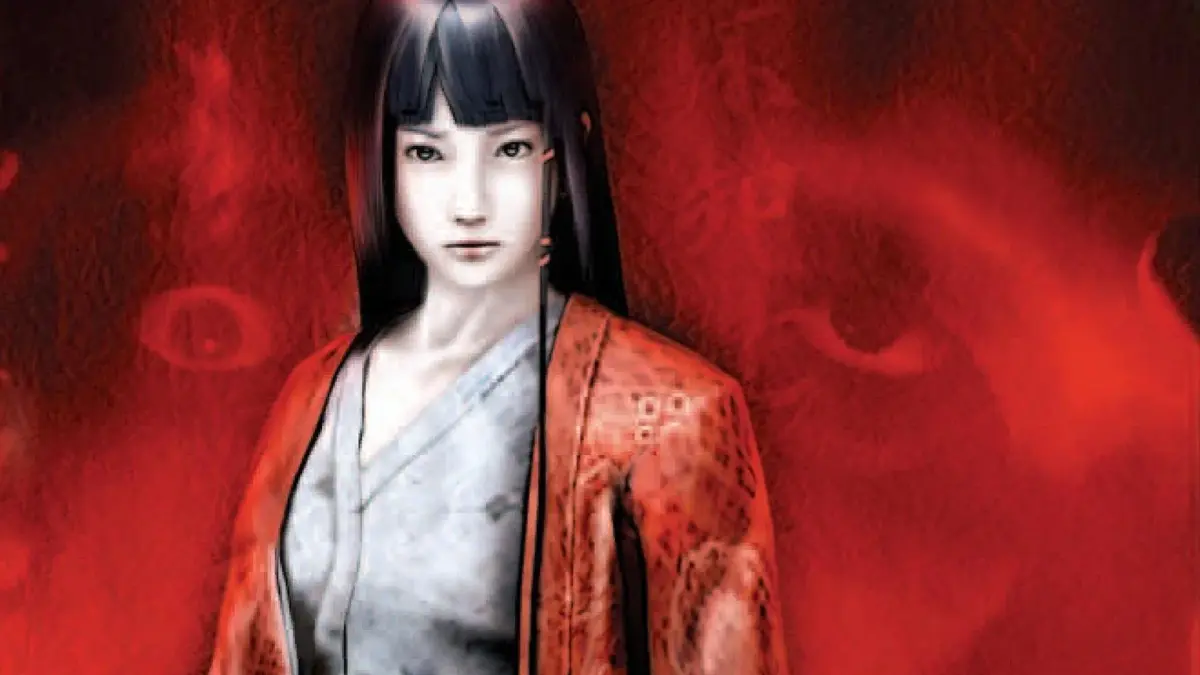
As the second playable character in Kuon, Sakuya's journey, known as the Yang Phase, picks up immediately after the unsettling events of Utsuki's Yin Phase. This section of the game shifts the focus significantly, presenting a more direct and combat-oriented challenge as Sakuya, a skilled exorcist, delves deeper into the manor's escalating corruption.
Unlike Utsuki's more vulnerable and puzzle-centric approach, Sakuya is equipped with superior combat prowess from the outset, including access to powerful talismans and a more robust health pool. Players will find themselves engaging in more frequent and intense confrontations with the manor's grotesque inhabitants. This phase introduces several unique enemy types, such as the formidable Giant Worms and the elusive Shadow Figures, which demand different tactical approaches than the spirits encountered in the Yin Phase.
Beyond the increased combat, Sakuya's narrative serves to unravel more of the manor's dark history and the true nature of the Fuyu-no-Tokoro ritual. Her investigations will lead her through previously inaccessible areas and reveal crucial plot points that connect the disparate threads of the story. Expect a greater emphasis on resource management for offensive talismans, strategic positioning during encounters, and deciphering cryptic clues that directly relate to the manor's occult secrets. While Utsuki's phase was about discovery and survival, Sakuya's is about confrontation and purification, setting the stage for the climactic Kuon Phase.
Initial Objectives & Starting Gear
Sakuya begins her investigation in the Main Hall, much like Utsuki, but with a different set of immediate objectives and a more prepared inventory. Your primary goal is to understand the source of the manor's corruption and cleanse it.
Starting Inventory:
- Exorcism Talismans (x10): Your primary offensive tool. These deal significant damage to most spectral enemies.
- Healing Talismans (x5): Restores a moderate amount of health. Essential for sustained combat.
- Purification Talismans (x3): Removes negative status effects and can temporarily stun some enemies.
- Small Knife: A basic melee weapon for close-quarters combat when talismans are scarce.
- Manor Map (Partial): Provides an initial layout of the accessible areas.
First Steps:
- Investigate the Main Hall: Start by examining the central area. You'll notice new bloodstains and signs of decay not present during Utsuki's phase.
- Proceed to the East Wing: Your initial objective marker will guide you towards the East Wing, specifically the Guest Room. Expect your first combat encounter with a Wandering Spirit here. Utilize your Exorcism Talismans.
- Retrieve the Rusty Key: Inside the Guest Room, you'll find the Rusty Key on a small table. This key is crucial for unlocking further areas.
Navigating the East Wing & First Encounters
The East Wing will be your first major combat proving ground. Be prepared for more aggressive enemy patterns.
Key Locations & Items:
- Guest Room: (Already visited) Contains the Rusty Key.
- Storage Room (East): Accessible via the Rusty Key. Contains Exorcism Talismans (x3) and a Diary Page (Entry 4), which provides lore.
- East Corridor: Home to several Wandering Spirits and potentially a new enemy type, the Crawling Hand. These are fast and low to the ground; aim your talismans carefully.
- Tea Room: Contains a Healing Talisman (x2) and a clue hinting at a hidden passage in the Library.
Combat Strategy - Wandering Spirits:
- Distance is Key: Keep your distance and use Exorcism Talismans. They have a slow, predictable lunge attack.
- Stun with Purification: If overwhelmed, a Purification Talisman can briefly stun them, allowing you to reposition or land more attacks.
- Melee as Last Resort: The Small Knife is weak. Only use it if you're out of talismans and need to finish off a weakened spirit.
The Library & Unlocking the West Wing
The Library is a central hub for information and progression. It also introduces a minor puzzle element.
Objectives:
- Access the Library: The Library door is typically unlocked from the Main Hall.
- Locate the Hidden Passage: Based on the clue from the Tea Room, examine the bookshelves carefully. Look for a section that appears slightly out of place or has a unique marking. Interacting with it will reveal a hidden passage leading to the Study.
- Obtain the West Wing Key: Inside the Study, you'll find the West Wing Key on a desk, often guarded by a single, stronger Shadow Figure.
Enemy Spotlight - Shadow Figure:
- Nature: These enemies are semi-transparent and can phase in and out of existence, making them difficult to target.
- Strategy:
- Anticipate Movement: They often appear, attack, and then disappear. Try to predict their next appearance.
- Area of Effect: If you have any area-of-effect talismans (though rare early on), they can be effective.
- Focused Fire: When they solidify, unleash a rapid succession of Exorcism Talismans. They have moderate health but are vulnerable when corporeal.
- Purification Stun: A well-timed Purification Talisman can force them to solidify and stun them, creating an opening.
Exploring the West Wing & The First Boss Encounter
The West Wing presents new challenges, including the introduction of the terrifying Giant Worms and your first significant boss battle.
Key Locations & Items:
- West Corridor: Expect multiple Wandering Spirits and Crawling Hands. Be mindful of narrow spaces.
- Servants' Quarters: Contains Exorcism Talismans (x5) and a Health Potion (Small).
- Kitchen: Here you'll encounter your first Giant Worm. This area also holds a Ritual Incense (x1), which can temporarily ward off weaker spirits.
- Dining Room: Leads to the Underground Passage, which is your next major destination.
Enemy Spotlight - Giant Worm:
- Nature: Large, slow-moving, and highly resilient creatures that spit corrosive bile. They are a significant threat.
- Strategy:
- Maintain Distance: Their bile attack has a decent range and deals heavy damage. Stay out of its arc.
- Target the Head: While tough, their head is a weak point. Focus your Exorcism Talismans there.
- Flanking: If possible, try to get behind them. They are slow to turn.
- Resource Drain: These fights will consume a lot of talismans. Be prepared.
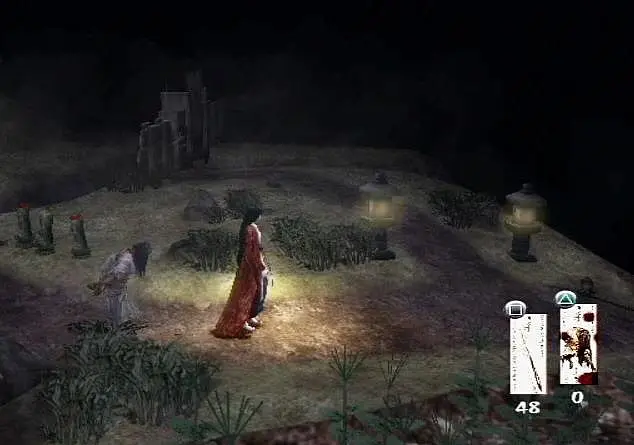
Boss Battle: The Possessed Monk
As you enter the Underground Passage, you will face the Possessed Monk, a corrupted figure who guards the path forward.
- Location: Deep within the Underground Passage, in a large, circular chamber.
- Attacks:
- Shadow Orb: Fires slow-moving dark projectiles. Easy to dodge.
- Teleportation: Frequently teleports around the arena, making him hard to pin down.
- Melee Swipe: If you get too close, he performs a quick, damaging melee attack.
- Summon Spirits: Periodically summons 1-2 Wandering Spirits to distract you.
- Strategy:
- Prioritize Summons: Deal with the summoned spirits quickly using 1-2 Exorcism Talismans each. They can become a nuisance if left unchecked.
- Anticipate Teleports: Watch for the visual cue of his teleportation. Try to anticipate where he will reappear and pre-aim your talismans.
- Burst Damage: When he materializes and before he attacks, unleash a rapid volley of Exorcism Talismans. He has a brief vulnerability window.
- Dodge and Weave: Constantly move to avoid his Shadow Orbs. The arena offers plenty of space.
- Healing Management: Don't be afraid to use Healing Talismans if your health drops below 50%. This is a fight of attrition.
- Recommended Loadout: Ensure you have at least 15-20 Exorcism Talismans and 5-7 Healing Talismans before engaging.
- Reward: Upon defeat, the Possessed Monk drops the Ritual Bell, an important key item that allows access to the deeper, more corrupted sections of the manor.
Progression Beyond the Monk
With the Ritual Bell in hand, Sakuya can now access the Shrine Room and the areas beyond, leading her closer to the heart of the Fuyu-no-Tokoro ritual. This marks the end of the initial exploration phase and the beginning of Sakuya's deeper dive into the manor's dark secrets.
100% Human-Written. AI Fact-Checked. Community Verified. Learn how AntMag verifies content