Navigate the intense Kuon Phase: Seimei's Exorcism. Master Abe no Seimei's powerful Onmyodo spells and confront the manor's deepest curse in this climactic cha.
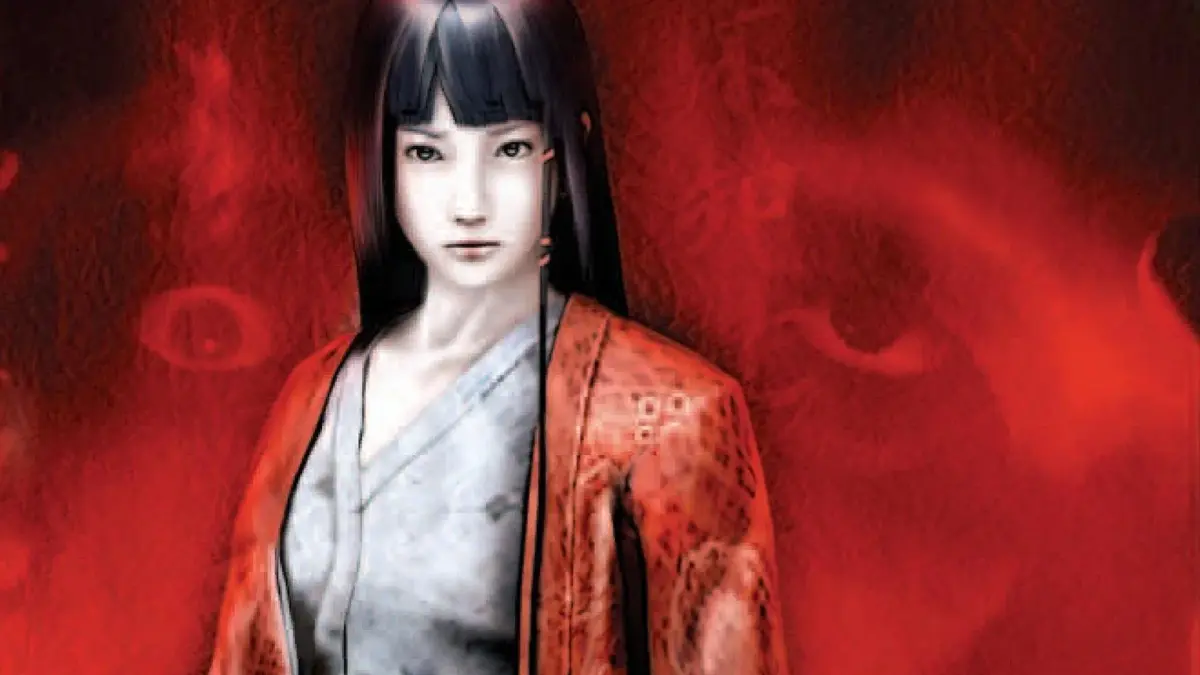
Abe no Seimei's phase represents the true culmination of Kuon's chilling narrative, where the legendary Onmyoji directly confronts the very heart of the manor's pervasive curse. Unlike the more vulnerable Twins, Seimei arrives armed with unparalleled knowledge of the occult, potent Onmyodo spells, and a deeper understanding of the malevolent forces at play. This phase is unique for its focus on direct confrontation with the supernatural source, rather than mere survival, and culminates in a series of intense exorcisms and a final, desperate battle against an entity of immense power. Players will experience a shift from stealth and evasion to strategic spellcasting and the decisive application of ancient rituals, facing challenges that demand both intellect and courage to finally sever the ties of the Kuon.
Seimei's Unique Arsenal and Abilities
As Abe no Seimei, players command a significantly different set of abilities compared to Utsuki and Sakuya. His strength lies not in physical prowess, but in his mastery of Onmyodo magic.
- Talismans: Seimei begins with a robust collection of offensive and defensive talismans, many of which are more powerful versions of those found by the Twins. These are crucial for crowd control and direct damage against the more formidable Yokai.
- Spirit Summoning (Shikigami): Seimei has the unique ability to summon powerful Shikigami to aid him in battle. These spiritual familiars can distract enemies, deal damage, or even provide temporary buffs. Mastering their use is key to overcoming difficult encounters.
- Exorcism Rituals: Beyond simple combat, Seimei's primary goal is to perform specific exorcism rituals to weaken and ultimately banish the source of the curse. These often involve gathering specific ritual items and performing actions at designated locations.
- Enhanced Perception: Seimei's spiritual awareness allows him to perceive hidden truths and weaknesses that others cannot, often revealing crucial clues or the true forms of certain entities.
Walkthrough: Unraveling the Kuon
Part 1: The Manor's Heart
Seimei begins his investigation deep within the manor, specifically in areas that were previously inaccessible or only hinted at. His objective is to understand the true nature of the curse and locate the primary source of its power.
- Starting Point: Seimei typically begins in the Main Hall (East Wing), near the large ceremonial area.
- Objective: Investigate the Library: Head to the Grand Library. Here, you'll find ancient texts and scrolls detailing the history of the manor and the origins of the curse.
- Enemies: Expect encounters with Flesh-Eating Worms and Possessed Servants. Use your basic offensive talismans (e.g., Fire Talisman) to dispatch them efficiently.
- Key Item: Locate the "Scroll of the Eight-Headed Serpent" on a specific bookshelf (usually the one furthest east). This scroll hints at the nature of the entity you're facing.
- Objective: Access the Hidden Shrine: The scroll reveals a hidden passage in the Courtyard Garden. Navigate there, defeating any Onryo or Shadow Beasts encountered.
- Puzzle: The entrance to the shrine is often concealed behind a series of sliding panels or a pressure plate puzzle. The solution is usually hinted at in the Library scroll or through environmental clues (e.g., specific flower arrangements).
- Reward: Inside the Hidden Shrine, you'll find the "Purification Bell", a key ritual item.
Part 2: The First Exorcism
With the Purification Bell in hand, Seimei can begin the first of several exorcism rituals designed to weaken the curse's hold.
- Objective: Perform the Ritual in the Ancestral Chamber: Proceed to the Ancestral Chamber, a room often filled with ancestral tablets and offerings.
- Enemies: This area is heavily guarded by Greater Yokai, such as the Weeping Woman or Giant Spider. Strategically use your Shikigami (e.g., Guardian Shikigami for distraction, Attack Shikigami for damage) and powerful talismans (e.g., Lightning Talisman).
- Ritual Steps:
- Place the Purification Bell on the central altar.
- Recite the incantation from the Scroll of the Eight-Headed Serpent (interact with the scroll in your inventory).
- Defeat the wave of spiritual entities that emerge during the ritual. Focus on maintaining your spiritual energy (SP) for spellcasting.
- Reward: Successful completion grants you a temporary boost to your spiritual energy regeneration and reveals the location of the next key item.
Part 3: Confronting the Manifestation
The first exorcism weakens the curse, causing a more direct manifestation of its power. Seimei must now confront a powerful entity.
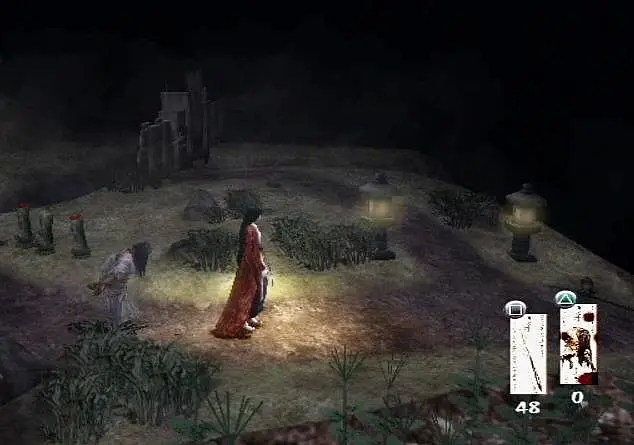
- Objective: Locate the Manifestation: The ritual points towards the Underground Catacombs, a labyrinthine area beneath the manor.
- Navigation: Be wary of traps and collapsing pathways. Use your lantern to illuminate the dark corridors.
- Enemies: Expect numerous Ghastly Apparitions and Corrupted Souls. Use area-of-effect talismans (e.g., Explosion Talisman) to clear groups.
- Boss Battle: The Corrupted Priestess
- Location: Deepest chamber of the Underground Catacombs.
- Strategy:
- Phase 1: Spectral Form: The Priestess is initially invulnerable to direct attacks. You must use the Purification Bell to temporarily disrupt her spectral form, making her vulnerable.
- Phase 2: Physical Form: Once vulnerable, unleash your most powerful offensive talismans (e.g., Thunderbolt Talisman) and summon your strongest Shikigami (e.g., Raging Oni Shikigami).
- Weakness: She is particularly susceptible to Light-elemental attacks. If you have any Divine Talismans, now is the time to use them.
- Avoid: Her ranged spiritual projectiles and close-quarters claw attacks. Maintain distance and dodge frequently.
- Reward: Upon defeat, she drops the "Sealing Charm", another vital ritual component.
Part 4: The Final Exorcism and the Kuon's Core
With all ritual items gathered, Seimei prepares for the ultimate confrontation.
- Objective: Reach the Kuon's Core: The Sealing Charm reveals a hidden path in the Forbidden Altar Room, leading to the true source of the curse. This area is often depicted as a distorted, otherworldly space.
- Environmental Hazards: The environment itself becomes hostile, with pools of spiritual energy draining your health or sanity, and walls that shift and distort.
- Final Gauntlet: Expect a relentless assault of the most powerful Yokai and spiritual entities encountered throughout the game. Do not hesitate to use all remaining resources.
- Final Boss: The Kuon Entity
- Location: The heart of the Forbidden Altar Room.
- Strategy: This is a multi-phase battle that tests all of Seimei's abilities.
- Phase 1: Manifestation of Despair: The entity appears as a grotesque, amorphous mass. Your goal here is to use the Purification Bell and Sealing Charm in conjunction with specific incantations (prompted on-screen) to weaken its defenses. During this, it will summon lesser entities. Prioritize clearing them to avoid being overwhelmed.
- Phase 2: True Form: Once weakened, the entity reveals its true, ancient form. This phase requires sustained damage. Unleash all remaining offensive talismans and Shikigami. Focus on its glowing core or eyes, which are often its weak points.
- Unique Mechanic: The entity may attempt to possess Seimei. Rapidly input the displayed button prompts to resist the possession, or risk a significant health and sanity drain.
- Recommended Loadout: Maximize your stock of Thunderbolt Talismans, Explosion Talismans, and ensure you have at least one Divine Talisman for emergency damage. Keep Healing Herbs and Sanity Restorers readily available.
- Victory: Successfully defeating the Kuon Entity completes Seimei's phase and the game's narrative, bringing a temporary peace to the cursed manor.
Key Items and Consumables (Seimei's Phase)
Below is a table of essential items Seimei will rely on:
| Item Name | Description | Typical Location/Acquisition | Usage |
|---|---|---|---|
| Fire Talisman | Basic offensive talisman, deals fire damage. | Starting inventory, various chests. | Standard enemy engagement. |
| Lightning Talisman | Powerful offensive talisman, deals electric damage to a single target. | Hidden rooms, rewards for minor puzzles. | Stronger Yokai, boss damage. |
| Explosion Talisman | Area-of-effect offensive talisman, deals damage to multiple enemies. | Rare drops, specific hidden passages. | Crowd control, clearing groups. |
| Divine Talisman | Extremely powerful offensive talisman, deals holy damage. | Very rare, usually one or two per playthrough. | Boss weak points, emergency damage. |
| Guardian Shikigami | Summons a spiritual guardian to distract enemies. | Starting ability. | Drawing aggro, creating openings. |
| Raging Oni Shikigami | Summons a powerful Oni to deal significant damage. | Unlockable through story progression. | Boss damage, clearing elite enemies. |
| Purification Bell | Ritual item, used to disrupt spiritual entities. | Hidden Shrine (Courtyard Garden). | Key ritual component, boss mechanic. |
| Sealing Charm | Ritual item, used to bind and weaken spiritual entities. | Defeat Corrupted Priestess. | Key ritual component, boss mechanic. |
| Healing Herb | Restores a moderate amount of health. | Common drops, scattered throughout. | Standard health recovery. |
| Sanity Restorer | Restores a moderate amount of sanity. | Less common than herbs, found in studies. | Preventing sanity-induced status effects. |
Common Pitfalls and Tips for Seimei's Phase
- Resource Management: Seimei's spells consume spiritual energy (SP). While he has a larger pool, it's not infinite. Use basic talismans for weaker enemies and save powerful ones for significant threats.
- Shikigami Placement: When summoning Shikigami, consider their positioning. A Guardian Shikigami placed between you and an enemy can buy crucial time.
- Environmental Awareness: Seimei's phase often features more environmental puzzles and hazards. Pay attention to details in the environment for clues or hidden paths.
- Sanity Management: The final areas are particularly taxing on Seimei's sanity. Keep Sanity Restorers handy and try to avoid prolonged exposure to cursed areas or repeated jumpscares.
- Read Everything: Seimei's understanding of the curse comes from texts and scrolls. Reading all documents found will provide crucial context, hints for puzzles, and sometimes even direct instructions for rituals.
- Practice Dodging: Even with powerful spells, Seimei is not invulnerable. Mastering the dodge mechanic is essential for avoiding boss attacks and conserving health.
100% Human-Written. AI Fact-Checked. Community Verified. Learn how AntMag verifies content