Master the Diplomacy is Not an Option campaign with this walkthrough for Resistance Easiest Difficulty. Learn resource management and strategic planning to def.
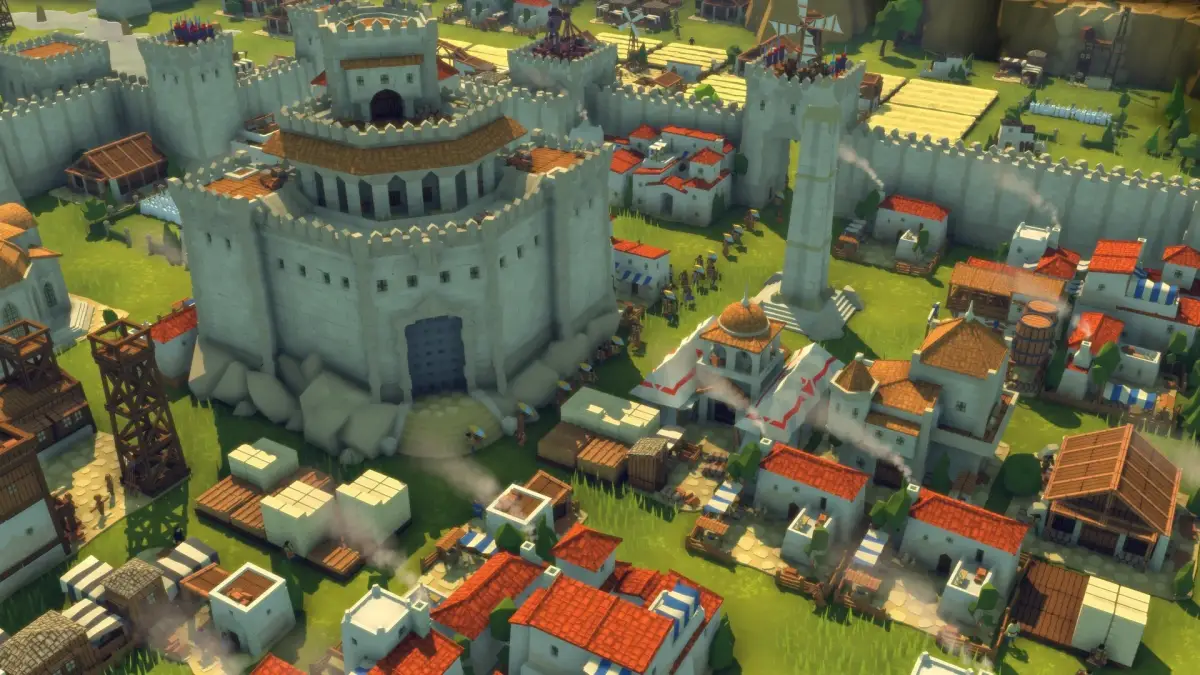
Welcome, aspiring Lord, to the detailed walkthrough for the Diplomacy is Not an Option campaign. This guide is tailored for the Resistance Easiest Difficulty on PC, providing actionable steps to overcome the monstrous hordes and reclaim your lands. While diplomacy might not be an option, strategic planning and efficient resource management certainly are!
General Campaign Strategies
- Early Expansion: Prioritize securing nearby resource nodes, especially Stone and Wood, to fuel your initial base construction and defenses.
- Wall Placement: Always build walls in layers. A single wall is easily breached. Two or three layers, especially with Towers interspersed, will significantly slow down enemy advances.
- Tower Specialization: Don't just build any tower. Early game, Ballista Towers are excellent for their range and damage against single targets. Later, upgrade to Cannon Towers for area-of-effect damage against swarms, and consider Archer Towers for their rapid fire.
- Worker Management: Keep your workers busy! Idle workers are wasted potential. Assign them to resource gathering, construction, or repairs as needed.
- Scouting: Use your initial units to scout the immediate area around your starting position. Identify choke points, resource locations, and potential enemy spawn points.
- Resource Hoarding: Maintain a healthy reserve of Wood and Stone. You never know when you'll need to rapidly repair defenses or construct new buildings under pressure.
Mission 1: The First Stand
This mission serves as your introduction to the core mechanics. Focus on establishing a basic defense and understanding resource flow.
- Initial Setup:
- Immediately construct a Woodcutter's Lodge and a Stone Quarry near their respective resource nodes.
- Build a Barracks and train 5-7 basic Militia units. These will be your initial scouts and defenders.
- Place your first Town Center. This is your primary hub and provides initial housing.
- Early Defense:
- Identify the primary attack vectors. Typically, enemies will approach from the north or east.
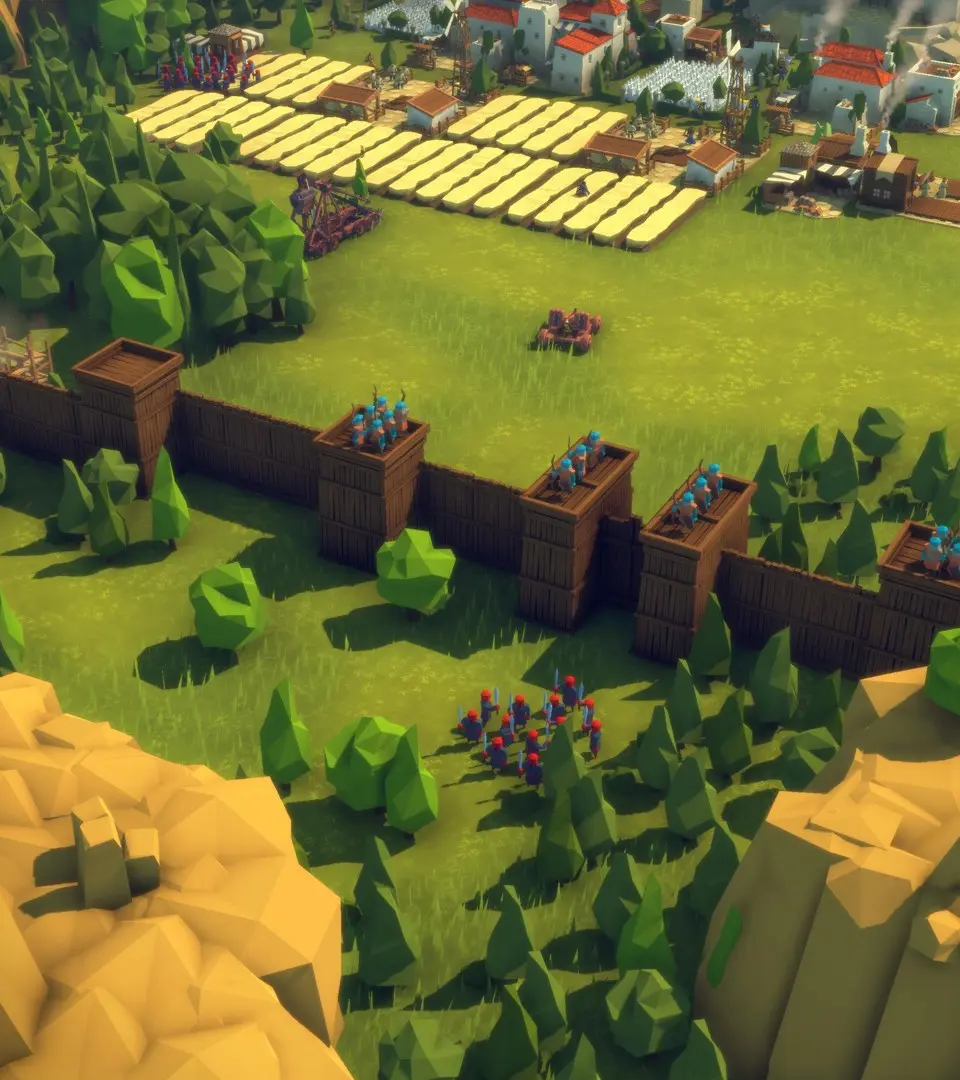
- Construct a single layer of Wooden Walls across these choke points.
- Build 2-3 Ballista Towers behind your walls, focusing their fire on the most likely enemy approach.
- Resource Management:
- Keep an eye on your Wood and Stone reserves. If you're running low, build more Woodcutter's Lodges or Stone Quarries.
- Expand your housing with Houses to increase your worker population. More workers mean faster resource gathering and construction.
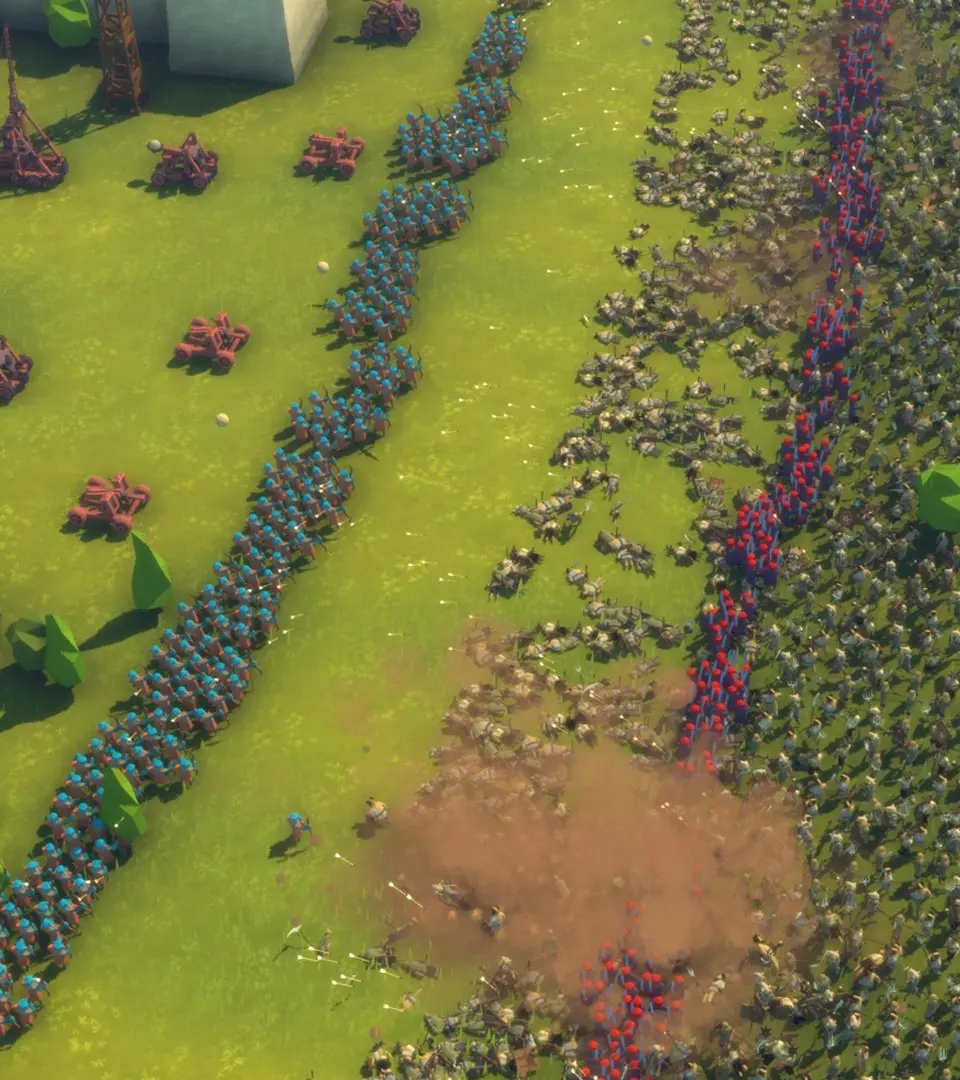
- First Waves:
- The initial waves will consist of basic Zombie units. Your Ballista Towers and Militia should handle them easily.
- Focus your Militia on any zombies that breach the walls or target your towers.
- Mission Objective: Survive the designated number of waves. Once the timer runs out and the final wave is defeated, the mission will conclude.
Mission 2: The Barricade
This mission introduces more complex enemy types and emphasizes layered defenses.
- Expanded Base:
- Start by reinforcing your existing defenses from Mission 1. Upgrade Wooden Walls to Stone Walls where possible.
- Construct a Workshop to unlock advanced defensive structures.
- Research Cannon Towers as soon as possible.
- Choke Point Reinforcement:
- You'll likely face attacks from multiple directions now. Identify all potential entry points.
- Build a second layer of Stone Walls at your most vulnerable choke points.
- Place Cannon Towers strategically behind your Stone Walls. Their area-of-effect damage is crucial against the larger groups of enemies you'll encounter.
- Consider building a few Archer Towers for their rapid fire against faster enemies.
- New Enemy Types:
- Be prepared for Brutes, which are tougher and deal more damage. Focus your Ballista Tower fire on them.
- Swarmers will also appear in larger numbers. Cannon Towers are highly effective against these.
- Hero Unit Deployment:
- This mission often introduces your first hero unit. Utilize their unique abilities to turn the tide of battle.
- Position your hero near critical defensive points or where enemy concentrations are highest.
- Mission Objective: Hold out for the specified duration, often involving defending a specific objective like a refugee camp or a vital resource node.
100% Human-Written. AI Fact-Checked. Community Verified. Learn how AntMag verifies content