Master Chivalry 2's chaotic combat scenarios. Learn strategies for 1v1 duels and team fights to dominate the battlefield and overcome any foe.
Chivalry 2's battlefields are dynamic and often chaotic. Mastering individual combat mechanics is crucial, but understanding how to apply them effectively in various scenarios is what truly separates a footman from a knight. This section will break down common combat situations and provide actionable strategies to dominate the fight.
1v1 Duels: The Art of the Blade
While Chivalry 2 is a team-based game, isolated 1v1 encounters are frequent and often decide the flow of battle. Precision, timing, and psychological warfare are your greatest assets here.
- Initiation & Footwork:
- Approach: Don't sprint directly at your opponent. Use a zig-zag pattern or a feigned approach to mask your true intentions and avoid predictable charges.
- Spacing: Maintain optimal distance for your weapon. A Longsword user wants to keep a Short Sword wielder at arm's length, while a Dane Axe benefits from slightly more space for its wide arcs.
- Offensive Tactics:
- Feinting: This is your bread and butter. Initiate an attack (e.g., an overhead with a Greatsword), then immediately cancel it (default 'Q' on PC, 'B' on Xbox, 'Circle' on PlayStation) and follow up with a different attack (e.g., a horizontal slash). This forces your opponent to guess, often leading to a missed block or parry.
- Jab & Kick: If an opponent is blocking too much, a well-timed Jab (default 'F' on PC, 'Left Stick Click' on console) can interrupt their block and open them up for a quick attack. Kicks (default 'X' on PC, 'Right Stick Click' on console) are slower but break through blocks entirely, making them excellent for punishing turtling enemies, especially when using a heavy weapon like the Maul.
- Riposte & Counter: After a successful block, immediately attack to perform a Riposte. This attack has hyper armor and faster wind-up. Even better, if you match your opponent's attack type (e.g., they overhead, you overhead), you perform a Counter, which is even faster and consumes less stamina. Master these for sustained offense.
- Defensive Tactics:
- Parry Timing: Don't hold block indefinitely; it drains stamina. Instead, learn to parry just before the attack connects. This is especially crucial against heavy weapons like the Executioner's Axe.
- Dodge & Sidestep: Use your dodges (double-tap movement key) to avoid slow, heavy attacks or to reposition. A well-timed sidestep can put you behind an opponent, allowing for a free hit.
- Reading Opponents: Pay attention to their weapon choice and attack patterns. A Spear user will likely favor thrusts, while a Two-Handed Hammer will rely on slow, devastating overheads. Anticipate their moves.
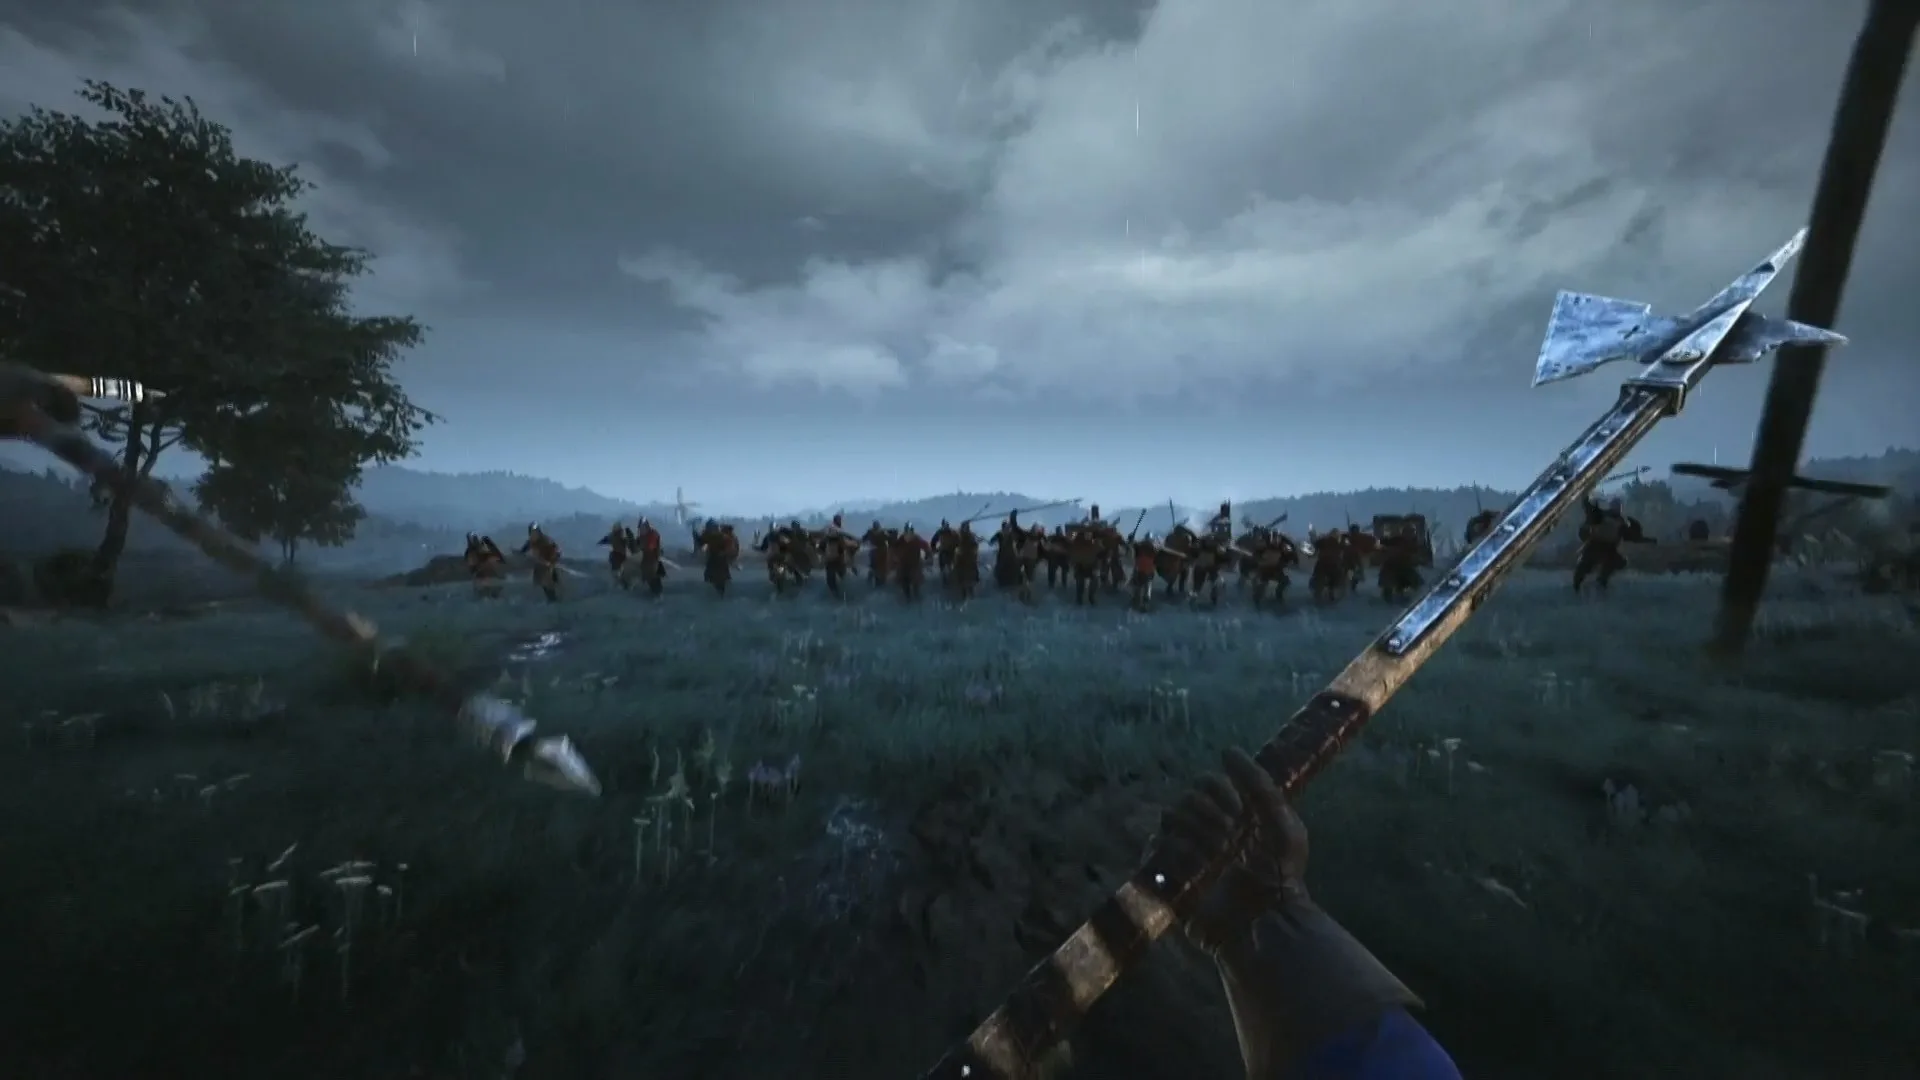
Group Engagements: Surviving the Melee
The true chaos of Chivalry 2 shines in its large-scale battles. Here, situational awareness and smart target prioritization are paramount.
- Positioning is Key:
- Flanking: Avoid charging head-on into a group. Look for opportunities to flank enemies, especially archers or isolated targets.
- Backing Up Teammates: If a teammate is engaged in a 1v1, consider assisting them. A well-placed heavy attack from behind can quickly turn the tide. Be mindful of friendly fire!
- Objective Focus: Always prioritize the objective. If you're defending a Siege Tower on Darkforest, focus on enemies climbing ladders rather than chasing individual kills.
- Area of Effect (AoE) Attacks:
- Horizontal Swings: Weapons like the Battle Axe or Halberd excel at clearing crowds with wide, horizontal slashes. Use these to hit multiple enemies simultaneously.
- Special Attacks: Many weapons have special attacks (default 'Alt + Left Click' on PC, 'LB + RT' on Xbox, 'L1 + R2' on PlayStation) that offer unique crowd control or damage. The Longsword's special, for instance, is a wide, sweeping attack that can hit multiple foes.
- Target Prioritization:
- Archers/Engineers: These are high-priority targets. Eliminate them quickly to reduce incoming damage and prevent objective construction/destruction. Look for them on elevated positions like the walls of Falmire or the catapult platforms on Coxwell.
- Heavily Armored Foes: While tempting, don't focus all your attention on a single Guardian with a shield. Look for lighter armored targets or assist teammates already engaging the tank.
- Low Health Enemies: Always try to finish off enemies with low health. One less sword in the fight is a significant advantage.
- Utilizing the Environment:
- Chokepoints: Funnel enemies into narrow passages (e.g., the bridge on Askandir) where your AoE attacks are more effective.
- Environmental Hazards: Push enemies off ledges, into spike traps, or into fire where available. The pit on Tournament Grounds is a prime example.
- Interactables: Use ballistas, catapults, and other siege equipment when the opportunity arises. On Rudhelm Siege, manning the ballista can decimate approaching waves.
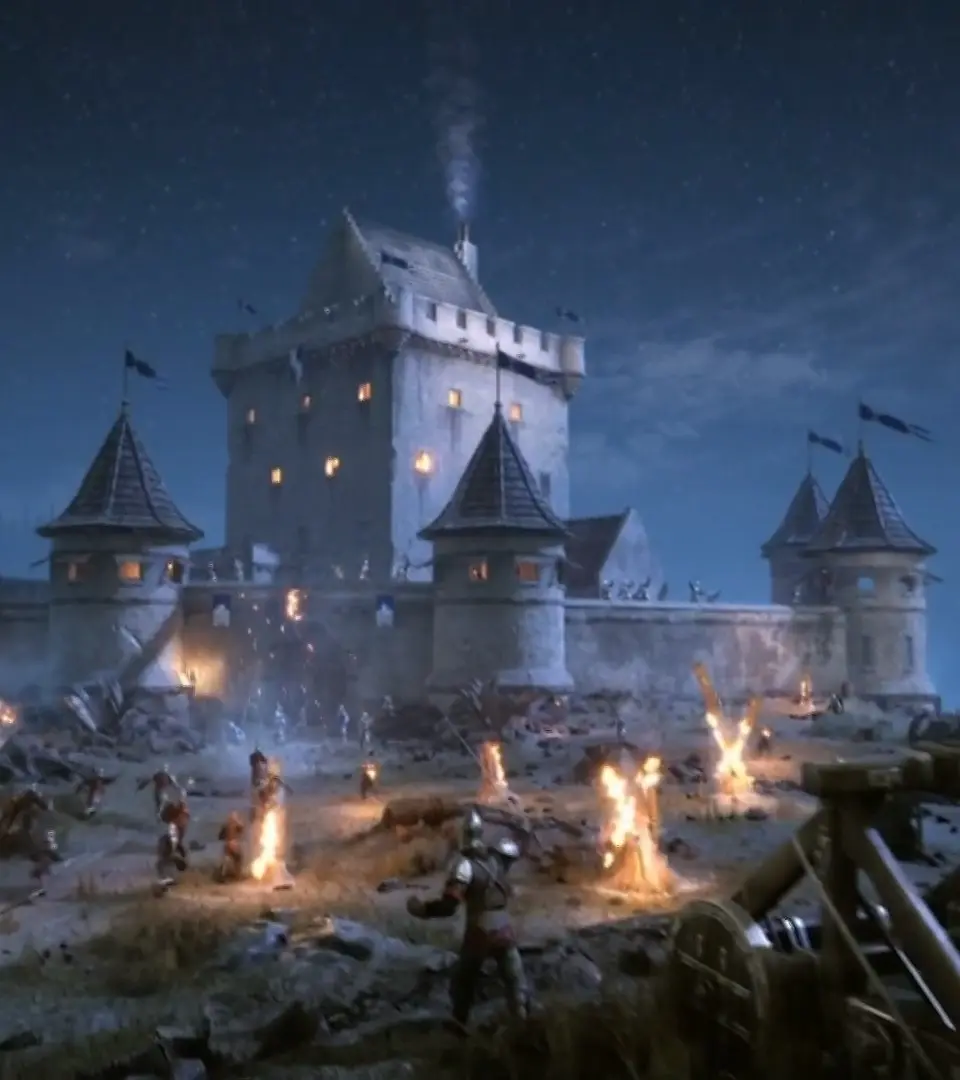
Objective Play: Winning the War
Killing enemies is good, but completing objectives wins the game. Adapt your combat strategy to the current objective.
- Attacking Objectives:
- Pushing the Line: As an attacker, your primary goal is to break through enemy defenses. Use heavy weapons to break down barricades (e.g., the Maul on Coxwell gates) and clear paths for your team.
- Bomb/Torch Carriers: If you are the designated carrier for a bomb or torch (e.g., igniting the braziers on Falmire), your survival is paramount. Stick with your team, let them clear the path, and prioritize defensive maneuvers.
- Siege Equipment: Protect your siege engines (e.g., the battering ram on Rudhelm). Clear enemies attempting to destroy them and repair them when damaged.
- Defending Objectives:
- Holding the Line: As a defender, create chokepoints and deny enemy access. Use shields (e.g., the Kite Shield of the Footman) to absorb damage and block pathways.
- Counter-Attacks: When attackers are focused on the objective, launch coordinated counter-attacks to break their momentum.
- Eliminate Key Threats: Prioritize enemies carrying bombs or torches. A well-timed Javelin throw from an Archer can stop an objective carrier in their tracks.
100% Human-Written. AI Fact-Checked. Community Verified. Learn how AntMag verifies content