Master Chivalry 2's consumables and throwables like the throwing axe and smoke bomb to gain battlefield advantages. Learn their strategic uses for survival and.
In the brutal battlefields of Chivalry 2, every advantage counts. While your primary weapon and shield are your bread and butter, mastering the use of consumables and throwables can turn the tide of a skirmish, secure an objective, or even save your life. This detailed guide will walk you through each item, its strategic applications, and how to best use them for maximum impact.
Understanding Consumables & Throwables
Consumables are single-use items that provide a temporary buff or effect, often related to healing. Throwables are projectile weapons that can be hurled at enemies for damage or to create tactical opportunities. Both categories are crucial for adapting to various combat scenarios.
General Strategies for All Throwables
- Aim for the head: Headshots with any throwable deal significantly more damage, often resulting in an instant kill or a major advantage. Practice your aim in the training grounds.
- Target vulnerable enemies: Focus on opponents who are already low on health, engaged in combat with an ally, or attempting to disengage.
- Interrupt actions: A well-placed throwable can interrupt an enemy's special attack, revive attempt, or objective interaction.
- Environmental awareness: Use the environment to your advantage. Throw over obstacles, around corners, or into chokepoints.
- Replenish often: Always be on the lookout for supply crates or fallen enemies to restock your throwables.
Available Consumables
Bandage
- Effect: Heals a moderate amount of health over a short duration.
- Usage:
- Personal Healing: The most common use. Duck behind cover or disengage from combat to apply a bandage when your health is low.
- Objective Defense: If you're holding a position, a quick bandage can keep you in the fight longer without needing to retreat.
- Team Support (Indirect): By staying alive, you contribute to your team's numbers.
- Location: Carried by all classes as a default consumable. Can be replenished at supply crates found throughout maps.
- Strategy: Don't wait until you're critically low. If you have a moment of respite and are below half health, consider bandaging up. Be aware that applying a bandage leaves you vulnerable for a few seconds.
Available Throwables
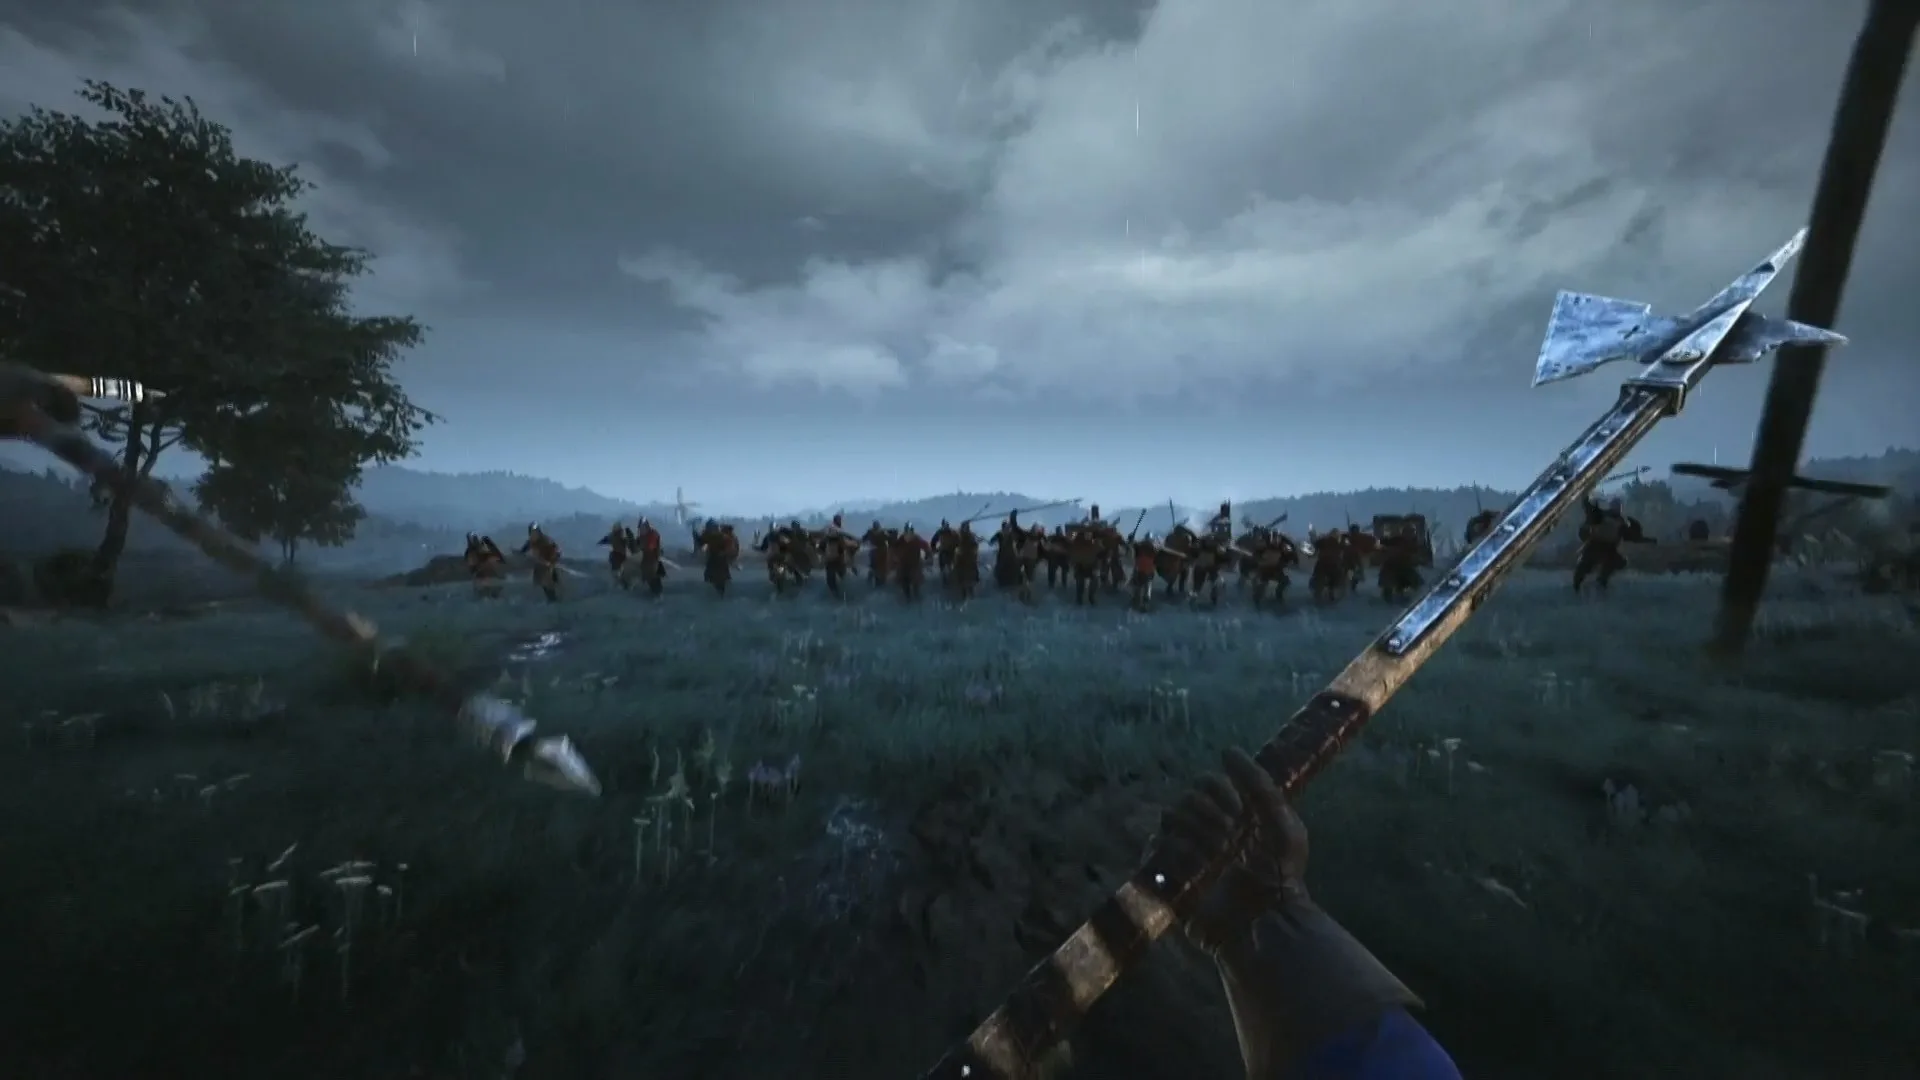
Throwing Axe
- Class: Vanguard (Ambusher, Raider subclasses)
- Damage: High, especially on headshots. Can be lethal to unarmored or low-health targets.
- Usage:
- Finishing Blow: Excellent for catching fleeing enemies or delivering the final hit on a weakened opponent.
- Opening Engagements: Throw an axe before charging in to soften up an enemy or disrupt their formation.
- Counter-Archer: A well-aimed throwing axe can be surprisingly effective against pesky archers.
- Location: Default throwable for Vanguard subclasses. Can be picked up from the ground after being thrown (both yours and enemy axes).
- Strategy: Due to their high damage, save your throwing axes for critical moments. Practice leading your shots as they have a noticeable travel time and arc.
Throwing Knife
- Class: Archer (Skirmisher subclass)
- Damage: Moderate. More effective against unarmored targets.
- Usage:
- Harassment: Use to chip away at enemy health, especially against opponents who are focused on your teammates.
- Interrupting Revives: A quick knife throw can stop an enemy from reviving a fallen ally, buying your team crucial time.
- Close-Quarters Defense: If an enemy closes the distance, a throwing knife can create space or finish them off if your primary weapon is slow.
- Location: Default throwable for Archer Skirmisher. Can be picked up from the ground.
- Strategy: Throwing knives are fast and have a flatter trajectory than axes. Use them frequently to maintain pressure and secure kills. Don't be afraid to spam them if you have a clear shot and plenty of reserves.
Javelin
- Class: Archer (Javelinier subclass)
- Damage: Very High. Can be lethal to most targets, especially with headshots.
- Usage:
- Long-Range Elimination: Javelins are designed for taking out high-priority targets from a distance, such as enemy archers, engineers building defenses, or Masons/Agathians pushing an objective.
- Anti-Cavalry: A direct hit can dismount or severely wound a horse and rider.
- Objective Denial: Launch javelins into chokepoints or objective areas to clear out enemies.
- Location: Default throwable for Archer Javelinier. Can be picked up from the ground.
- Strategy: Javelins have a significant arc and travel time. Anticipate enemy movement and aim slightly above your target for longer distances. They are a limited resource, so make each throw count.
Fire Pot (Molotov)
- Class: Vanguard (Ambusher), Footman (Poleman), Archer (Skirmisher)
- Damage: Area-of-effect (AoE) burn damage over time.
- Usage:
- Area Denial: Throw into chokepoints, doorways, or objective zones to prevent enemies from advancing or to flush them out.
- Crowd Control: Excellent for damaging multiple enemies grouped together.
- Flank Protection: Throw behind you or into a side path to deter enemies from sneaking up.
- Objective Defense/Offense: Burn down barricades, siege engines, or clear out defenders from an objective.
- Location: Default throwable for specific subclasses. Can be found in supply crates.
- Strategy: Aim for surfaces where the fire will spread effectively. Consider throwing it slightly ahead of an advancing group to force them to either take damage or change their path. Be careful not to hit your teammates!
Oil Pot
- Class: Engineer
- Damage: Area-of-effect (AoE) burn damage over time, similar to a Fire Pot, but often more potent in specific contexts.
- Usage:
- Synergy with Fire: The Engineer's unique ability to deploy spike traps and barricades makes the Oil Pot incredibly versatile. Throw oil onto your own defenses, then ignite it with a torch or another Fire Pot for a devastating combo.
- Defense of Structures: Protect your built walls and barricades by dousing the area in oil, making it deadly for attackers.
- Objective Control: Similar to Fire Pots, use for area denial and flushing out enemies from contested zones.
- Location: Default throwable for the Engineer class. Can be found in supply crates.
- Strategy: Engineers should prioritize using Oil Pots defensively around their fortifications. A well-placed oil slick followed by ignition can wipe out entire pushes. Coordinate with teammates who have Fire Pots for maximum effect.
Rock
- Class: All classes (found as environmental pickups)
- Damage: Low to moderate. More of a utility throwable.
- Usage:
- Distraction: Throw to draw enemy attention away from an objective or a vulnerable ally.
- Stagger/Interrupt: Can briefly stagger an enemy, interrupting their attack or sprint.
- Finishing Blow (Desperate): In a pinch, a rock can finish off a critically wounded enemy.
- Breaking Barricades: While slow, repeated rock throws can eventually destroy enemy barricades if no other options are available.
- Location: Found scattered on the ground throughout most maps, especially near objective areas or natural terrain.
- Strategy: Rocks are free and plentiful. Don't underestimate their utility for minor interruptions or as a last resort. They are particularly useful for archers who run out of arrows and throwing knives.
By understanding and effectively using these consumables and throwables, you'll significantly enhance your combat prowess and become a more valuable asset to your team on the chaotic battlefields of Chivalry 2. Practice makes perfect, so experiment with different items and find what works best for your playstyle and class!
100% Human-Written. AI Fact-Checked. Community Verified. Learn how AntMag verifies content