Master Chivalry 2 Arena maps with strategy. This guide provides tactical insights for 3v3 duels and team coordination on intimate maps.
Chivalry 2 Arena Mode Maps and Strategies
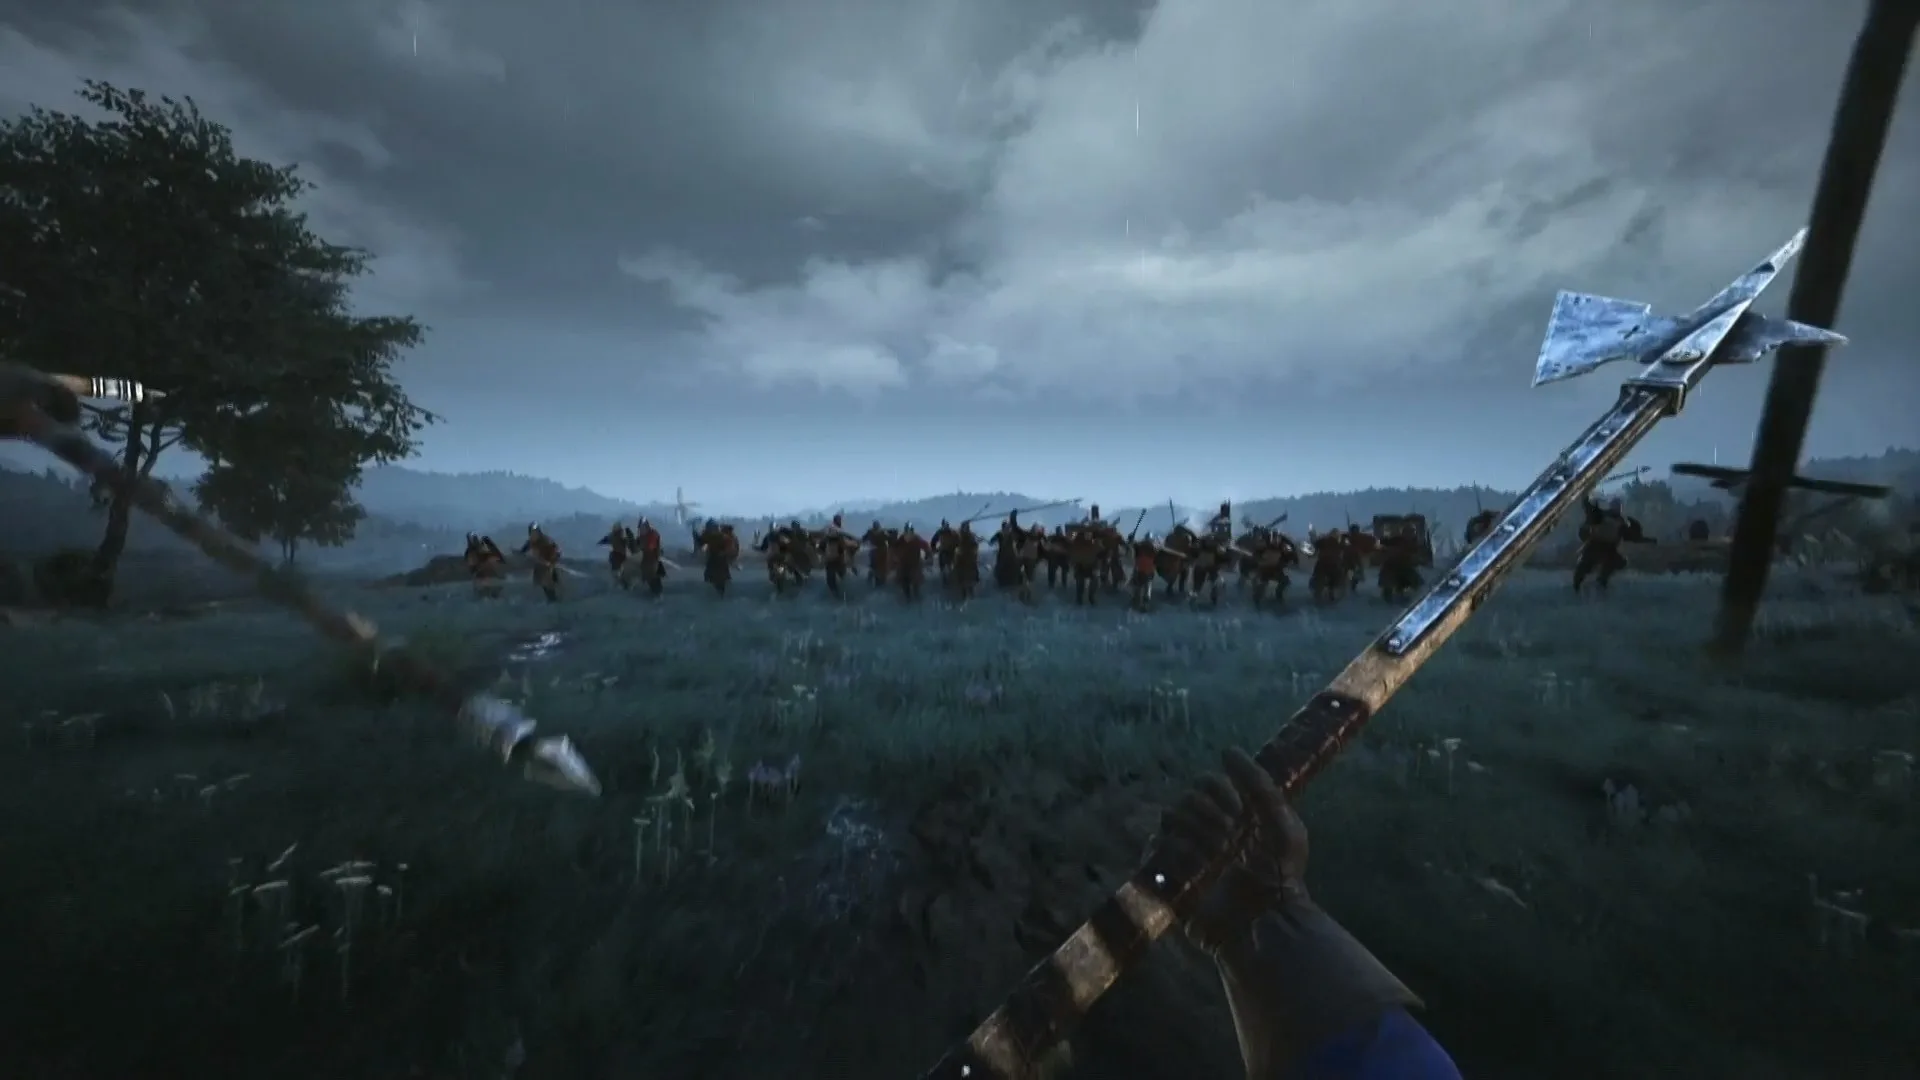
Arena mode in Chivalry 2 offers a fast-paced, competitive 3v3 experience that tests individual skill and team coordination. Unlike the large-scale battles, Arena focuses on smaller, more intimate maps designed for intense duels and tactical engagements. This guide explores the various Arena maps and provides strategic insights to help your team achieve victory in this challenging game mode.
The Arena Maps
Chivalry 2 features several distinct maps specifically designed for Arena mode, each with its own layout, cover points, and strategic advantages:
- The Pit: A classic, circular arena with minimal cover. This map emphasizes pure combat skill and positioning. Players must rely on their dodging and parrying abilities to outmaneuver opponents.
- The Courtyard: A more complex map featuring various obstacles, pillars, and small structures. This map allows for more tactical play, with opportunities to break line of sight, flank, and use cover effectively.
- The Bridge: A linear map with a central bridge and flanking paths. Controlling the bridge is key, but flanking routes can be used to surprise enemies.
- The Forest Clearing: An arena set in a wooded area, offering natural cover and varied terrain. You can use trees and bushes to their advantage for ambushes or to escape danger.
- The Castle Ramparts: This map features elevated positions and narrow walkways, creating unique vertical combat opportunities and chokepoints.
General Arena Strategies
Regardless of the map, certain strategies are crucial for success in Arena mode:
- Teamwork is Paramount: Arena is a 3v3 mode. Stick with your teammates, focus fire on the same targets, and communicate enemy positions. Don't wander off alone.
- Target Prioritization: Identify the weakest or most dangerous enemy player and focus your attacks on them. If an enemy is low on health, press the advantage.
- Cover and Positioning: Utilize the map's cover to break line of sight, regenerate stamina, and avoid taking unnecessary damage. Always try to position yourself so you have an escape route or can receive support from teammates.
- Stamina Management: This is critical in Arena. Never deplete your stamina completely, as you'll be vulnerable to attacks. Always leave enough to dodge or block.
- Weapon and Loadout Synergy: While loadouts are somewhat limited in Arena, choose weapons and perks that complement your teammates' choices. A balanced team composition is often more effective than three players running the same build.
Map-Specific Tactics
- The Pit: Focus on footwork and reaction time. Use feints and counters to exploit openings.
- The Courtyard: Use pillars and structures for cover. Look for opportunities to flank enemies who are engaged with your teammates.
- The Bridge: Control the center of the bridge to deny the enemy passage. Be wary of flanking routes.
- The Forest Clearing: Use the foliage for ambushes. Be aware of enemies using the terrain to their advantage.
- The Castle Ramparts: Control the high ground for a tactical advantage. Be cautious of enemies pushing from below or flanking.
Loadout Considerations for Arena
While loadouts can vary, some general principles apply:
- Balanced Team: Aim for a mix of melee and ranged capabilities within your team.
- Perks: Perks like Bloodlust (health on kill) or Friendly Fire (damage to enemies when you hit teammates) can be very effective in the close-quarters combat of Arena.
- Weapon Choice: Weapons with good reach and damage, like the Poleaxe or Greatsword, are strong choices. Faster weapons like the Messer can be good for quick follow-up attacks.
Table of Arena Map Features
| Map Name | Key Features | Strategic Focus |
|---|---|---|
| The Pit | Circular, minimal cover | Pure combat skill, positioning |
| The Courtyard | Obstacles, pillars, structures | Tactical play, flanking, cover usage |
| The Bridge | Linear, central bridge, flanking paths | Chokepoint control, flanking awareness |
| The Forest Clearing | Trees, bushes, varied terrain | Ambush tactics, terrain exploitation |
| The Castle Ramparts | Elevated positions, narrow walkways | Vertical combat, chokepoint control |
Mastering these Arena maps and employing smart team strategies will significantly improve your win rate in Chivalry 2's competitive Arena mode.
100% Human-Written. AI Fact-Checked. Community Verified. Learn how AntMag verifies content