
Master Chivalry 2's battlefields with map-specific strategies. Gain advantages on maps like Darkforest by understanding choke points and objectives.
Mastering the art of war in Chivalry 2 extends beyond individual combat prowess; it demands a deep understanding of each battlefield. This section provides detailed, actionable strategies for key objective maps, focusing on specific choke points, item locations, and tactical approaches for both offense and defense.
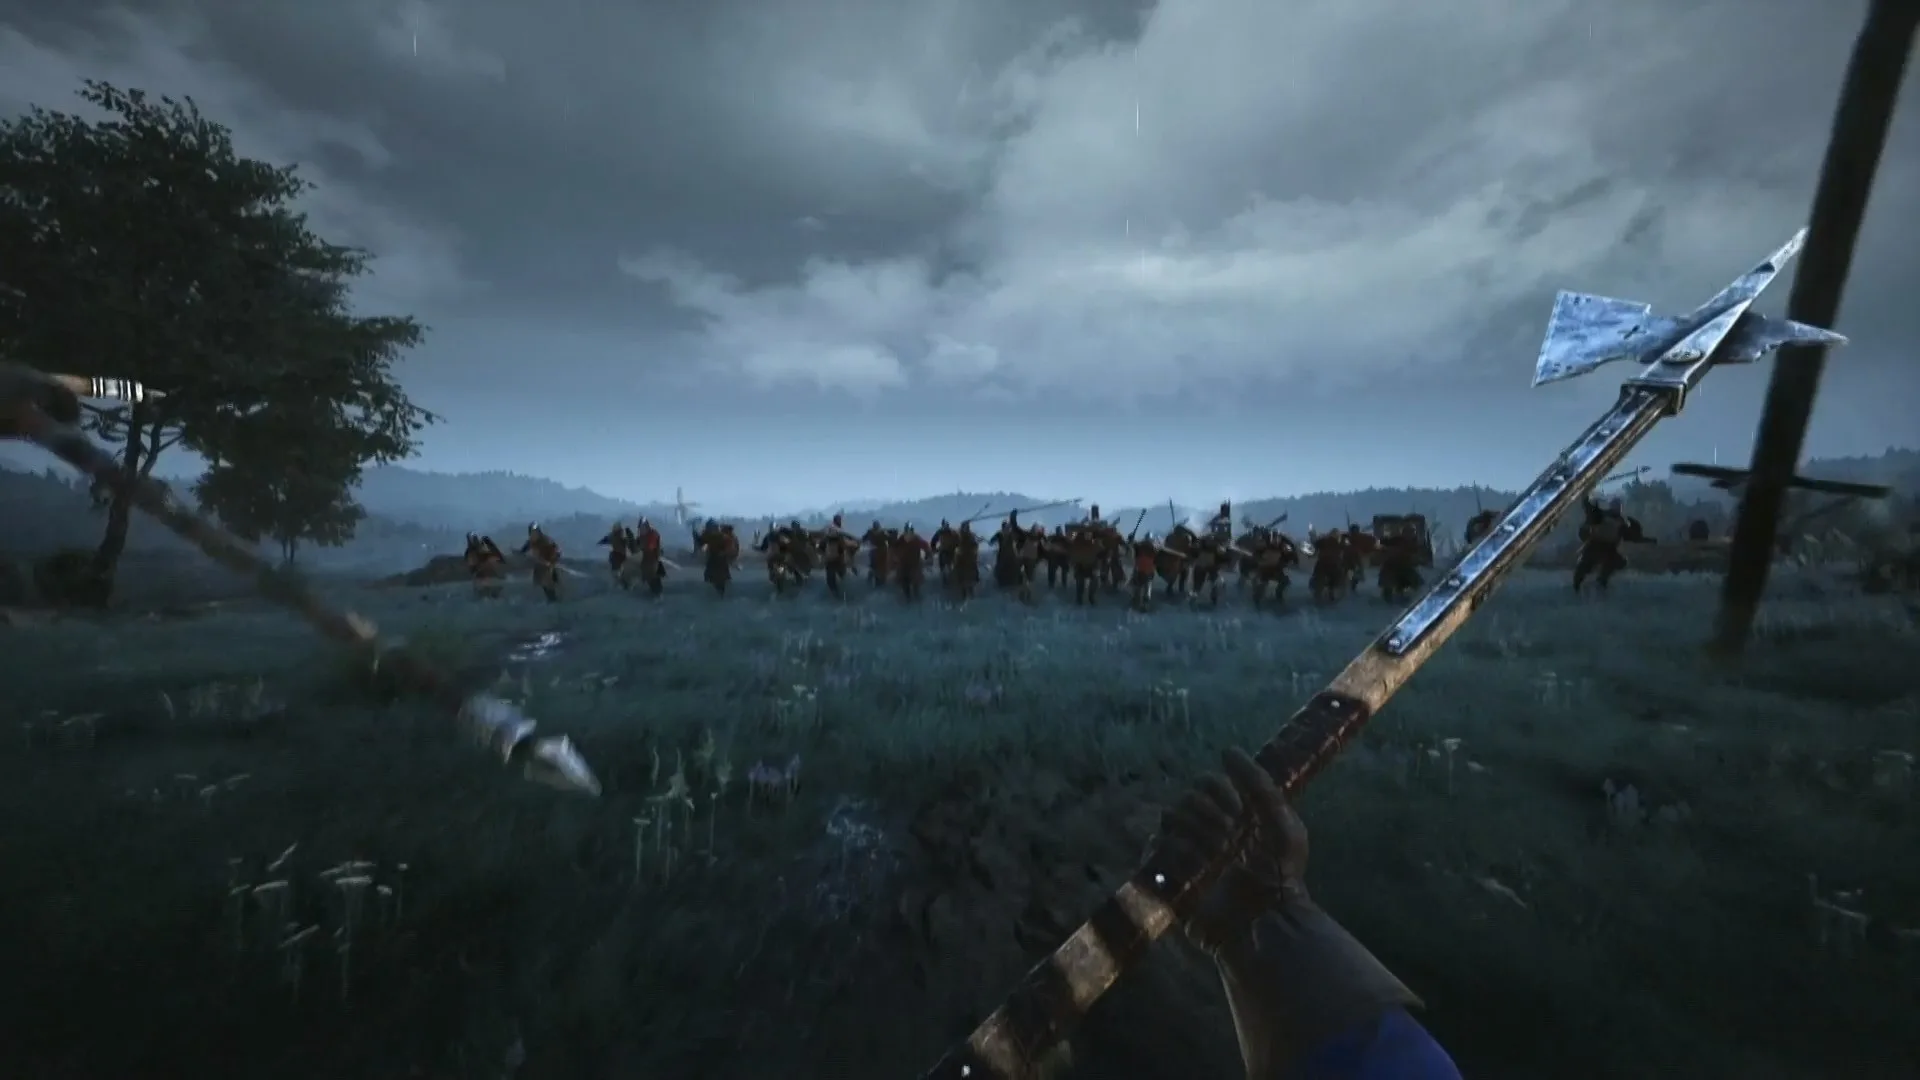
Darkforest
Darkforest is a multi-stage objective map where the Agatha Knights must escort a convoy through a treacherous forest to execute the Duke of Fogbern. The Mason Order defends fiercely, using the environment to their advantage.
Stage 1: Convoy Escort & Bridge Defense
- Offense (Agatha Knights):
- Convoy Push: Stick close to the convoy. Use the Warhorn ability (available to Footman and Vanguard classes) to provide sustained healing for the push.
- Flanking Routes: use the dense forest on either side of the main path to flank Mason archers and engineers setting up defenses. A well-placed Throwing Axe or Javelin can quickly dispatch a stationary target.
- Bridge Rush: When approaching the first bridge, focus fire on any Mason Ballistas or Catapults positioned on the high ground. A coordinated charge with Charge (Vanguard) or Horn (Footman) can break through their lines.
- Defense (Mason Order):
- Choke Point: The initial bridge is a critical choke point. Place Barricades (Engineer) and Spike Traps (Engineer) strategically to slow the convoy.
- High Ground Advantage: Position archers and engineers on the rocky outcrops overlooking the convoy path. Use Longbows and Crossbows to pick off Agatha Knights pushing the cart. Engineers should deploy Spike Traps near the convoy to inflict damage and slow its progress.
- Ambushes: use the dense foliage to set up ambushes. A well-timed charge from a Maul-wielding Knight can devastate a clustered group of Agatha Knights.
Stage 2: Gatehouse Breach & Courtyard Control
- Offense (Agatha Knights):
- Siege Weapons: Prioritize capturing and operating the Catapults located on the flanks of the gatehouse. Aim for the gate itself and any Mason defenders on the walls.
- Ladder Assault: Use the ladders provided to scale the walls and create diversions. A Man-at-Arms with a Short Sword can be surprisingly effective in close-quarters wall combat.
- Inner Courtyard Push: Once the gate is breached, immediately push into the courtyard. Look for opportunities to flank defenders by using the side passages.
- Defense (Mason Order):
- Gatehouse Fortification: Repair the gate with Repair Hammer (Engineer) as Agatha Knights attack it. Place Barricades inside the gatehouse to create further obstacles.
- Wall Defense: Position archers and Footmen on the walls to rain down arrows and javelins. Be wary of Agatha Knights using ladders. A well-placed Oil Pot can clear a ladder of attackers.
- Courtyard Counter-Attack: Once the gate falls, initiate a strong counter-attack in the courtyard. use the central fountain as cover and try to push Agatha Knights back towards the gate.
Fallen Keep
Fallen Keep is an objective map where the Mason Order attempts to capture the keep from the Agatha Knights. It features intense close-quarters combat and multiple objective points.
Stage 1: Breaking the Outer Wall
- Offense (Mason Order):
- Siege Tower Push: The primary objective is to push the Siege Tower to the wall. Focus all efforts on this. Use Warhorns and Banners (Knight) to sustain the push.
- Flanking Ladders: While the siege tower is the main push, use the ladders on the flanks to create diversions and eliminate Agatha archers on the walls. A Vanguard with a Greatsword can quickly clear a section of the wall.
- Explosive Barrels: Look for Explosive Barrels near the siege tower path. Pick them up and throw them at clustered Agatha defenders or the wall itself to create breaches.
- Defense (Agatha Knights):
- Siege Tower Destruction: Prioritize destroying the Siege Tower. Use Catapults (if available) and focus ranged fire on its base. Engineers should deploy Barricades in front of the tower's path.
- Wall Defense: Maintain strong defensive positions on the wall. Use Oil Pots and Rocks (found on the wall) to deter Mason climbers. Archers should target the Mason engineers repairing the siege tower.
- Choke Points: The top of the wall, once the siege tower connects, becomes a brutal choke point. Use Spears and Halberds to keep attackers at bay.
Stage 2: Capturing the Courtyard & Inner Keep
- Offense (Mason Order):
- Courtyard Control: Once inside, immediately push to secure the courtyard. The central area is often heavily contested. Look for opportunities to flank through the side buildings.
- Objective Focus: Identify the specific capture points within the courtyard (often marked by flags). Prioritize these. A Footman with a Poleaxe can be very effective in these tight spaces.
- Inner Keep Breach: After securing the courtyard, the next objective is often to breach the inner keep. Look for battering rams or explosives to achieve this.
- Defense (Agatha Knights):
- Courtyard Hold: Defend the courtyard fiercely. use the various structures for cover and create ambush points. Place Spike Traps in doorways and narrow passages.
- Inner Keep Last Stand: If the courtyard falls, retreat to the inner keep. This is usually a final, desperate stand. Use the elevated positions and narrow doorways to your advantage. A Knight with a Longsword can hold a doorway against multiple attackers.
100% Human-Written. AI Fact-Checked. Community Verified. Learn how AntMag verifies content