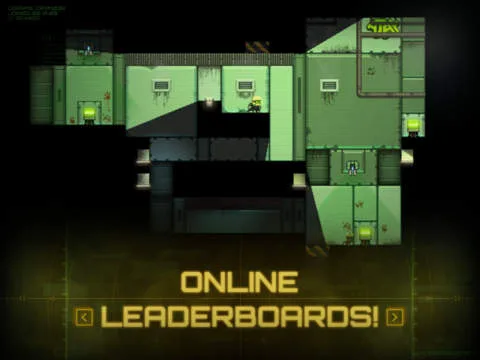
Struggling with Chamber 6: Clone Survivor in Stealth Inc.? Follow our step-by-step guide to beat the Seeker, use the clone, and grab the Helix.
Alright, let's get through Chamber 6: Clone Survivor. This one can be a bit tricky, especially if you're aiming for that S-Rank, but we'll break it down so you can nail it.
S-Rank Targets:
- Time: 1 minute 10 seconds
- Deaths: 0
- Spotted: 0
Walkthrough
- 1First up, drop down to the terminal. Activate it, and just hang tight until your clone is done with their panel. Once they're finished, head into the next room.
- 2This next part is where you can easily get spotted and ruin your S-Rank. The goal is to draw the Seeker to you without it seeing you properly. Stand in the light to make it come towards you, specifically so it's passing under the lower platform. As soon as it's in position, leap up to the terminal, hack it, and then quickly run across the top to the platform on the far right and hack that one too. If you're fast and the Seeker hasn't left the bottom of the room yet, you can then sprint back over the top platform and hack the final terminal without it ever spotting you.
- 3After you've waited for the clone to open the door, climb up to the Block. Your objective here is to push it down onto your clone below. Ouch! Once that's done, make a mad dash into the final room. Head straight for the bottom-right corner. You can wait a second or two for the lift to come all the way down if you want, but speed is key here.
- 4Now, hop into the teleporter. As soon as you land, hold left so you end up on the platform with the button. Press it to release your clone, then jump a bit higher than you normally would, pressing yourself against the wall above the laser. This clever move stops you from hitting the laser, but times your descent so you fall into the area just as the laser switches off.
- 5In this last bit, press the switch to move the teleporter across. Wait for your clone to go through it, then hit the switch again to send the teleporter back. Drop down to the left, hop onto the lift, hack the panel, and then jump over to the platform on your right. If you still need the **[Helix]**, this is where you'll find it. If not, just drop down into the exit below.
Tips
- The Seeker in Step 2 is the main threat to your S-Rank. Mastering the timing to draw it under the platform and then quickly hacking the terminals is crucial.
- Don't rush the block drop in Step 3; make sure your clone is in position to open the door first.
- In Step 4, pressing against the wall above the laser is key to timing your fall correctly.
100% Human-Written. AI Fact-Checked. Community Verified. Learn how AntMag verifies content