Infiltrate the Aegis Research Facility in Spectre Divide. Master stealth, hacking, and cloaking devices to reach the data core in Operation Chimera.
Mission Walkthrough: Operation Chimera - Facility Infiltration
Objective: Infiltrate the Facility
Welcome to Operation Chimera, a critical mission that requires you to breach the heavily fortified Aegis Research Facility. Your primary objective is to infiltrate the facility, bypass its advanced security systems, and reach the central data core to retrieve sensitive intelligence. Success hinges on meticulous planning, silent execution, and the strategic use of specialized gear.
Understanding Infiltration Mechanics
Spectre Divide's infiltration mechanics are designed to reward tactical thinking and resourcefulness. To excel in missions like Operation Chimera, you'll need to master the following:
- Stealth: Moving silently, utilizing cover, and avoiding enemy line of sight are paramount. Enemies have a detection meter; once full, they will alert others, escalating the situation.
- Hacking: Acquired through the 'Cybernetic Augmentation' upgrade tree (available after completing the 'Data Heist' side mission). Hacking allows you to interact with electronic systems.
- Functionality: Temporarily disable cameras, unlock electronic doors, overload turrets, or create audio/visual distractions.
- Acquisition: Invest 2 Tech Points into the 'Interface Mastery' skill. This grants you a basic hacking tool. Higher tiers unlock more complex interactions and faster processing times.
- Cloaking Devices: A tactical gadget acquired from the 'Black Market Vendor' in the 'Safe Haven' hub after reaching Level 10.
- Functionality: Renders you partially or fully invisible for a limited duration. Effective against most standard enemy patrols but can be detected by specialized sensors or if you move too quickly.
- Acquisition: Purchase the 'Chameleon Suit Mk. I' for 5,000 Credits. Upgrades are available for longer duration and reduced energy drain.
Phase 1: Perimeter Reconnaissance and Entry
The Aegis Research Facility is situated in the desolate industrial zone west of Sector 7. Its perimeter is patrolled by heavily armed Aegis Security Forces and monitored by thermal and motion sensors.
- Approach: Approach the facility from the north, utilizing the dense fog cover. Avoid the main gate, which is heavily guarded and equipped with automated turrets.
- Entry Point: Your primary entry point is a ventilation shaft located on the western wall, approximately 50 meters from the northwest corner of the main building. This shaft is guarded by a single patrol.
- Strategy:
- Use a silenced weapon (e.g., the 'Whisperer' pistol) to eliminate the lone guard patrolling the ventilation shaft entrance.
- Alternatively, use a distraction grenade to lure the guard away, then proceed to the shaft.
- Once at the shaft, use your hacking tool to bypass the magnetic lock (requires a Level 1 hack).
Phase 2: Navigating the Interior
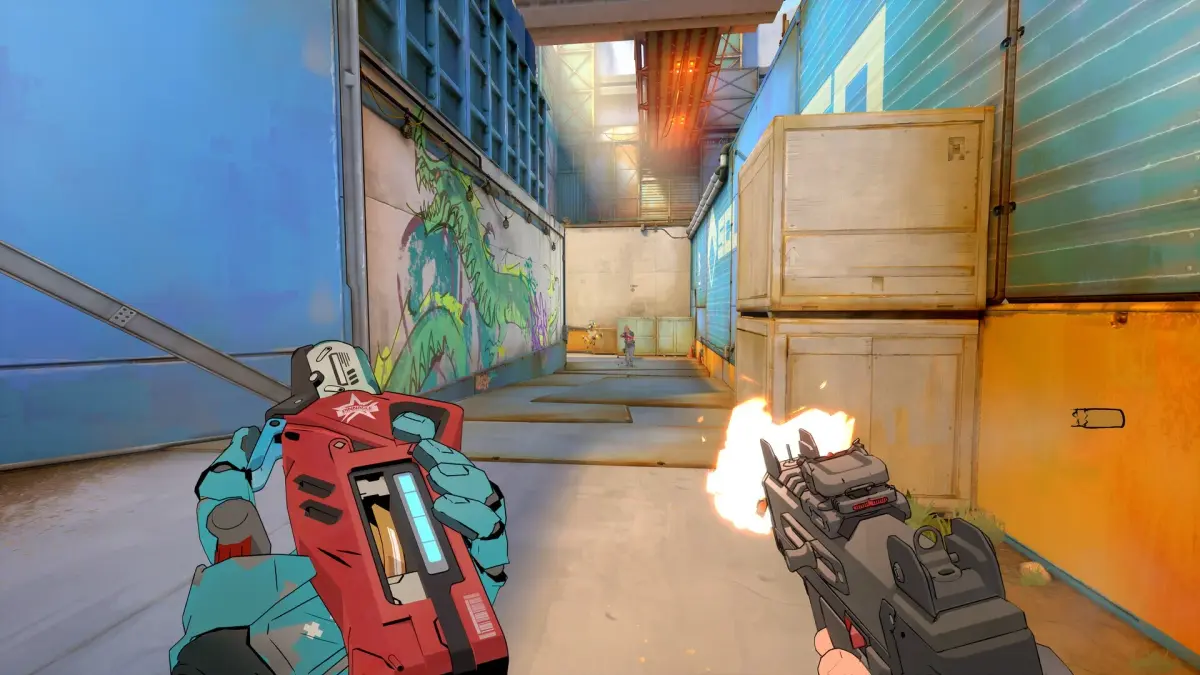
Inside, the facility is a labyrinth of sterile corridors, research labs, and security checkpoints. Expect patrols, laser grids, and security cameras.
- Initial Descent: The ventilation shaft leads to a maintenance corridor on Level B2. Move slowly and crouch to minimize noise.
- Security Checkpoint Alpha: You will encounter a locked door requiring a Level 2 keycard.
- Option A (Stealth): Observe the patrol route of the guard carrying the keycard. Wait for him to pass, then use a silent takedown.
- Option B (Hacking): If you have a Level 2 hack capability, you can remotely disable the camera overlooking the checkpoint and attempt to pickpocket the keycard from a nearby desk.
- Laser Grid Corridor: Proceed through the corridor towards the central hub. This area is protected by a crisscrossing laser grid.
- Strategy: Utilize your cloaking device to pass through undetected. Alternatively, carefully time your movements between the beams. Some laser grids can be temporarily disabled via nearby control panels (Level 1 hack).
- Research Lab Gamma: This lab contains crucial schematics. It is guarded by two Aegis Enforcers and a sentry turret.
- Strategy: Prioritize disabling the turret by hacking its control panel or destroying it with a well-placed explosive. Engage the Enforcers using cover and headshots.
Phase 3: Reaching the Data Core
The Data Core is located in the central command center on Level B1.
- Ascent: Take the service elevator from Level B2 to Level B1. Be aware that the elevator is monitored.
- Command Center Approach: The entrance to the command center is guarded by an Aegis Commander and two Elite Guards. This is a high-threat area.
- Strategy: This is where your loadout truly matters. Consider using EMP grenades to disable enemy armor and electronics temporarily. If stealth fails, a tactical assault with a high-damage assault rifle (e.g., 'Bulldog' AR) is recommended. The Commander is vulnerable to sustained fire to the chest plate.
- Data Core Access: Once inside the command center, locate the primary terminal. You will need to complete a Level 3 hacking sequence to download the intelligence.
Recommended Loadouts for Infiltration
Your gear choices significantly impact your success rate. Here are two recommended loadouts:
| Loadout Type | Primary Weapon | Secondary Weapon | Gadgets | Armor/Gear | Specialty |
|---|---|---|---|---|---|
| Ghost (Stealth Focus) | 'Whisperer' Silenced Pistol (High Accuracy, Low Noise) | 'Stinger' SMG (Silenced, High Fire Rate) | Hacking Tool (Level 2+), EMP Grenades (x2), Smoke Grenades (x2) | Lightweight Infiltration Suit (Increased Movement Speed) | Silent Takedowns, Camera/Door Bypass |
| Phantom (Balanced Approach) | 'Spectre' Assault Rifle (Silenced Option Available) | 'Viper' Shotgun (Close-Quarters Power) | Cloaking Device (Mk. I), Flashbang Grenades (x3), Medkit (x1) | Tactical Infiltration Vest (Increased Durability) | Adaptable Combat, Quick Engagements, Sensor Bypass |
Common Pitfalls and Missables
- Over-Reliance on Cloaking: Cloaking devices have a limited duration and can be detected by specialized sensors in later areas. Always have a backup plan.
- Ignoring Patrols: Enemy patrols are dynamic. Always observe their routes before proceeding.
- Keycard Locations: Keycards are often carried by specific guards or found in secure offices. Missing one can force a lengthy backtrack or a noisy confrontation.
- Data Core Backup: There is a secondary data terminal in the adjacent server room that can be accessed if the primary terminal is compromised, but it takes twice as long and alerts more guards.
Successfully completing Operation Chimera will grant you access to vital intelligence and unlock new mission pathways. Remember, patience and precision are your greatest assets.
100% Human-Written. AI Fact-Checked. Community Verified. Learn how AntMag verifies content