Dominate every scenario in Spectre Divide by learning the objectives, loadouts, and tactics for each unique game mode, including Team Deathmatch.
Welcome, Spectre! To truly dominate the battlefield in Spectre Divide, understanding each game mode's nuances is paramount. This detailed guide will walk you through objectives, optimal loadouts, and tactical maneuvers for every scenario you'll encounter.
Team Deathmatch (TDM)
The classic, unadulterated firefight. Two teams clash, aiming to reach a predetermined kill count before the timer expires or the opposing team does. Coordination and individual skill are key.
- Objective: Eliminate enemy players to score points. The first team to reach the score limit (typically 75 or 100 kills) or have the most kills when the timer runs out wins.
- Strategy:
- Aggressive Push: Utilize SMGs like the Viper-9 or assault rifles such as the Marauder-AR for close-to-mid range engagements. Push flanks on maps like District 7 to catch enemies off guard.
- Defensive Hold: If your team is ahead, consider holding power positions with LMGs (e.g., Goliath-LMG) or sniper rifles (Spectre-SR) on maps with long sightlines like Wasteland Outpost. Focus on denying enemy advances.
- Spawn Trapping: On smaller maps, a coordinated team can push enemies back to their spawn point. Be mindful of spawn protection, but capitalize on predictable enemy movements.
- Recommended Loadout:
- Primary: Marauder-AR with a Red Dot Sight and Foregrip for balanced performance.
- Secondary: Stinger-Pistol for quick swaps.
- Tactical: Flashbang Grenade for pushing entrenched enemies.
- Lethal: Frag Grenade for clearing corners.
- Perks: Quickdraw, Flak Jacket, Tracker.
Domination (DOM)
Control the battlefield by capturing and holding strategic objectives. This mode demands a balance of offensive pushes and defensive holds, with map awareness being crucial.
- Objective: Capture and hold three designated control points (A, B, and C) scattered across the map. Each captured point generates score over time. The first team to reach the score limit (typically 200 points) wins.
- Strategy:
- Initial Rush: Prioritize capturing your closest point (A or C) immediately. Then, a coordinated push for the central B point is often vital.
- Holding B: The B point is usually the most contested and offers the highest score generation. Dedicate at least two players to defend it, utilizing cover and sightlines. On maps like Hydro Plant, the elevated positions around B are critical.
- Flanking & Recapturing: If an enemy captures one of your points, use flanking routes to surprise defenders. The Ghost-SMG with a Suppressor is excellent for stealthy recaptures.
- Don't Overextend: While capturing all three points is ideal, sometimes holding two points securely is more effective than losing all three trying to capture the third.
- Recommended Loadout:
- Primary: Enforcer-Shotgun for close-quarters defense around control points, or the Marauder-AR for versatility.
- Secondary: Stinger-Pistol.
- Tactical: Smoke Grenade for obscuring capture points or pushing through enemy fire.
- Lethal: Proximity Mine for defending captured points.
- Perks: Hardline (for faster scorestreaks), Tactical Mask, Engineer (to spot enemy equipment).
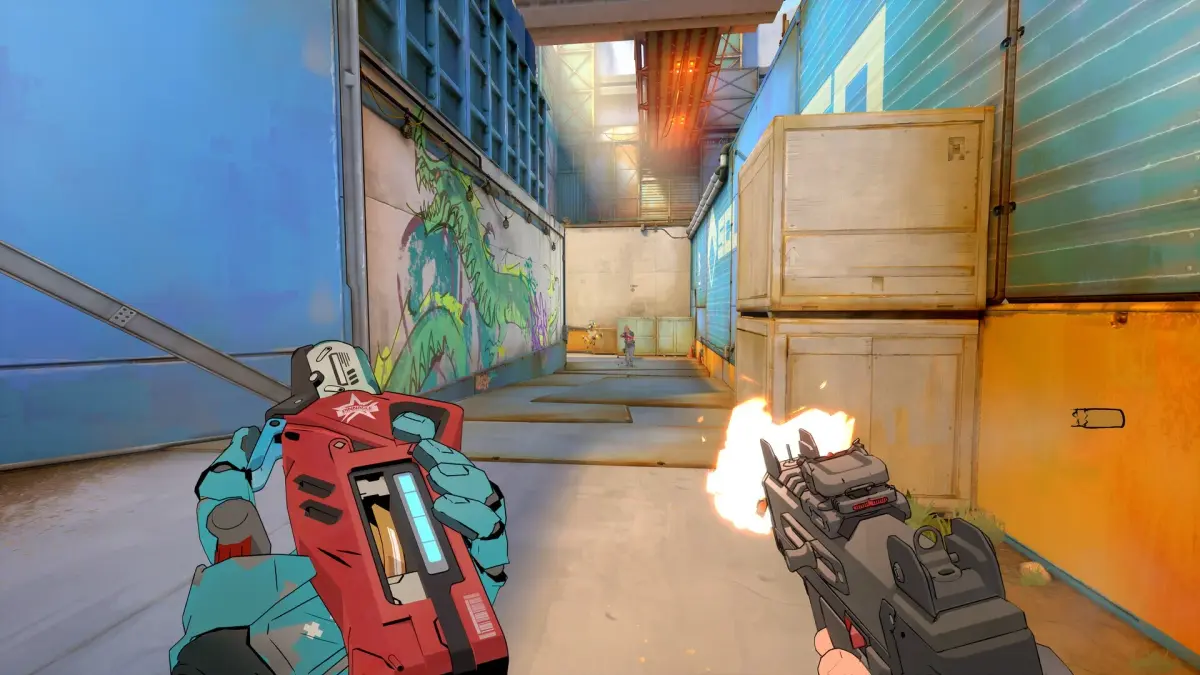
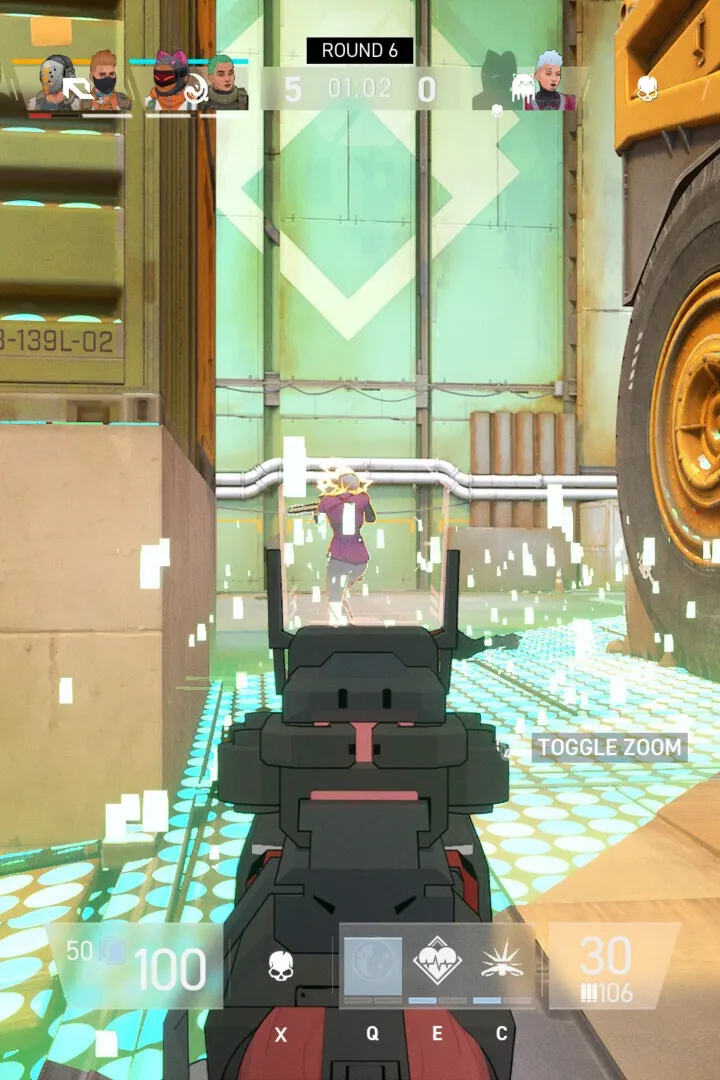
Search & Destroy (S&D)
A high-stakes, round-based mode where teamwork and precise execution are paramount. There are no respawns within a round, making every decision critical.
- Objective:
- Attackers: Plant a bomb at one of two designated sites (A or B) and defend it until it detonates, or eliminate all defenders.
- Defenders: Prevent the attackers from planting the bomb, defuse a planted bomb, or eliminate all attackers.
- Strategy:
- Attackers:
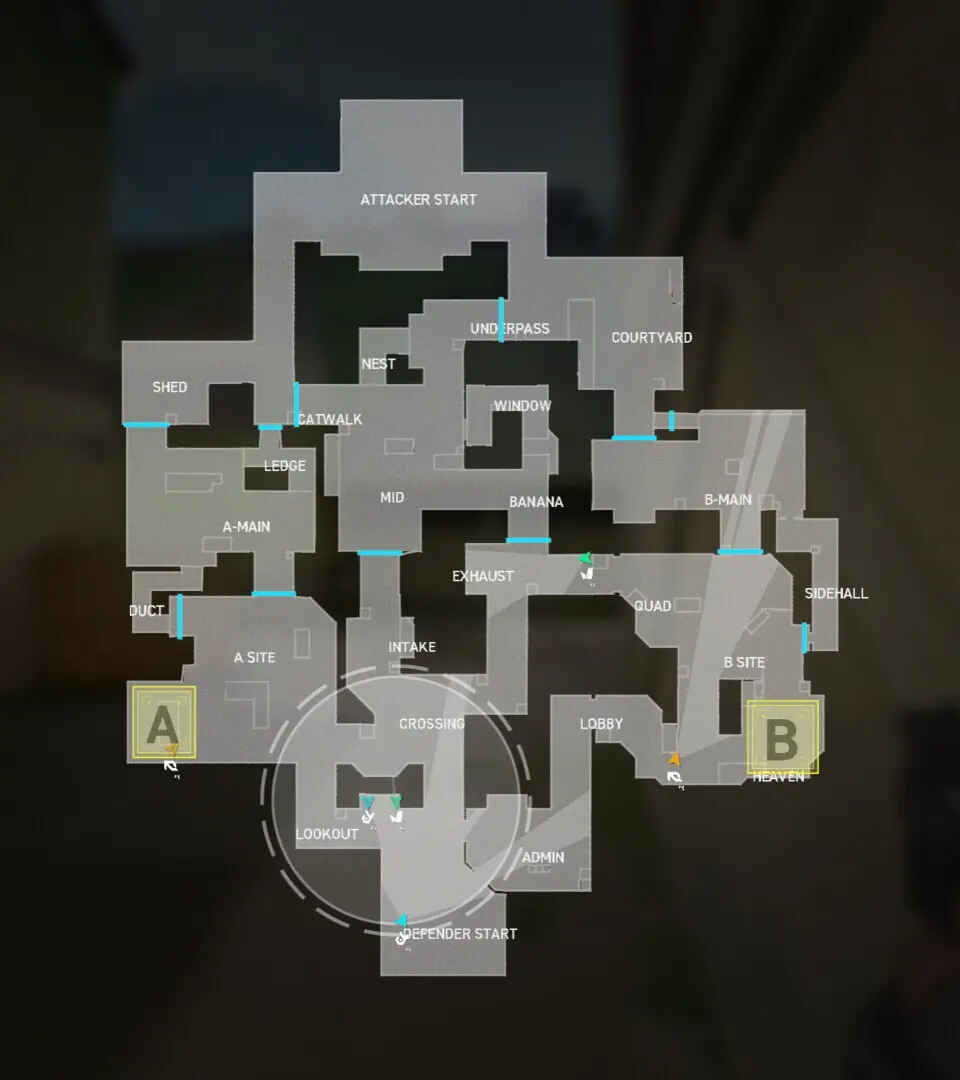
- Site Selection: Coordinate with your team on which bomb site to push. Consider enemy tendencies and map layout. On Overpass, Site A offers more cover, while Site B is more open.
- Entry & Plant: Use Smoke Grenades to obscure vision while planting. Have teammates cover the planter from different angles.
- Post-Plant Defense: Once the bomb is planted, set up defensive positions around the site. Listen for defuse attempts.
- Defenders:
- Early Information: Use UAVs or listen for enemy footsteps to determine their push.
- Holding Angles: Set up crossfires and hold key chokepoints leading to the bomb sites. The Spectre-SR is highly effective for holding long angles on maps like Desert Crossing.
- Defusing: If the bomb is planted, clear the site carefully. A well-timed Flashbang can create an opening for a defuse.
- Attackers:
- Recommended Loadout:
- Primary: Spectre-SR for defenders on open maps, or the Marauder-AR with a Suppressor for attackers.
- Secondary: Stinger-Pistol.
- Tactical: Smoke Grenade (attackers), Trophy System (defenders).
- Lethal: Claymore (defenders), Frag Grenade (attackers).
- Perks: Dead Silence, Ghost, Cold-Blooded.
Kill Confirmed (KC)
A twist on Team Deathmatch, requiring players to collect dog tags from fallen enemies to score points, and from fallen teammates to deny enemy points. This mode rewards aggressive play and map control.
- Objective: Eliminate enemy players and collect their dog tags to score points. Collect dog tags from fallen teammates to deny the enemy points. The first team to reach the score limit (typically 80 or 100 tags) wins.
- Strategy:
- Aggressive Tag Collection: Don't just get the kill; prioritize collecting the dog tag. The Viper-9 allows for quick movement to grab tags.
- Deny Tags: If a teammate goes down, quickly move to collect their dog tag to prevent the enemy from scoring. This is especially crucial in contested areas on maps like Urban Alley.
- Risk vs. Reward: Sometimes, pushing into a dangerous area for a tag is worth it, but know when to fall back if the risk is too high.
- Area Control: Controlling central areas of the map can lead to more kills and easier tag collection.
- Recommended Loadout:
- Primary: Viper-9 with an Extended Mag and Laser Sight for close-quarters tag collection.
- Secondary: Stinger-Pistol.
- Tactical: Concussion Grenade to disorient enemies guarding tags.
- Lethal: Frag Grenade.
- Perks: Scavenger (to resupply ammo), Lightweight (for faster movement), Hardline.
100% Human-Written. AI Fact-Checked. Community Verified. Learn how AntMag verifies content