
Master Satisfactory's early game with our comprehensive guide to pioneer equipment and upgrades. Learn essential controls, tutorial tips, and starting strategies for a smooth experience.
This guide provides an overview of essential pioneer equipment and upgrades in Satisfactory, focusing on early-game progression through Tier 3. It aims to help players spend less time on wikis and forums and more time playing.
How to use this guide:
- The guide is chronological, covering the tutorial through Tier 3.
- Players can reference sections relevant to their current in-game progress or read ahead to anticipate future challenges.
Starting the game:
- It is highly recommended to play through the full game tutorial from the beginning, rather than skipping to level 1.
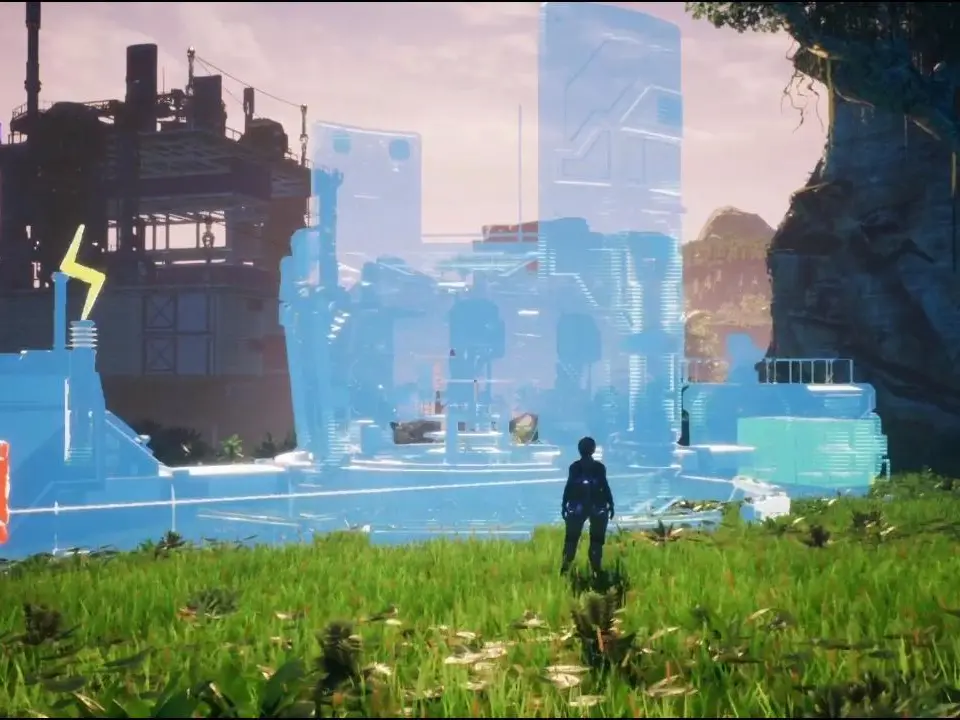
- The initial hours involve manual collection of resources like minerals, sticks, and bushes for biomass to generate electricity. This manual phase is crucial for learning game mechanics.
- Recommended starting locations are Grass Fields or Rocky Desert.
First things first:
- AI Companion Ada: Her dialogue can be reviewed by pressing 'O' and selecting 'inbox'.
- Resource Gathering: Constantly gather branches and leaves by pressing and releasing 'E' while walking to create biomass for power.
- Movement: A faster movement technique involves chaining slides (C) and jumps (Space bar). This works best on level ground or downward slopes.
Controls:
- E: Cycles through items in a selected build group (e.g., different foundation sizes).
- R: Changes build mode (default, zoop, vertical) or swaps ammo types for the rebar gun.
- Left Control: Snaps items to the global grid for precise base alignment.
- F: Toggles Dismantle mode. Holding Left Control while in Dismantle mode enables mass dismantling by hovering over items.
- M: Opens the map, which displays resource nodes once unlocked.
- V: Brings up the scan wheel.
- B: Enables the flashlight.
- Enter: Opens chat.
- Center Mouse Button: Begins building an item by pointing at an existing one, useful for quick replication.
Tutorial Tips:
- Follow the tutorial to the end and only gather nearby resources (Iron, Copper, Limestone) initially.
- Build 2-3 manual miners per node; they do not require electricity. To place a manual miner, open inventory (TAB), drag it to your hand, rotate with the mouse scroll wheel, and click to drop on the resource node.
- Manually mine resources from manual miners by interacting with them.
- Craft biomass at a craft bench using leaves or wood before putting it into a biomass burner for greater efficiency. This may require completing Hub Upgrade 6 or defeating enemies for remains.
- When unlocking the MK1 Miner, remove the mineral node from the resource node by pressing 'E' before placing the miner.
- Build craft benches near mining nodes to craft ingots or concrete while waiting for manual miners.
- The Hub can be relocated by dismantling and rebuilding it to be equidistant between nodes.
- Upon reaching Hub Upgrade 5, an extra biomass burner is added to the Hub. Connect both burners to a power pole and chain power from there to machines to double power output.
- Gathering wood from the ground is more efficient for biomass than gathering leaves.
100% Human-Written. AI Fact-Checked. Community Verified. Learn how AntMag verifies content