Build your dream theme park with Planet Coaster's Sandbox Mode strategies. Utilize unlimited funds and research to maximize creative potential.
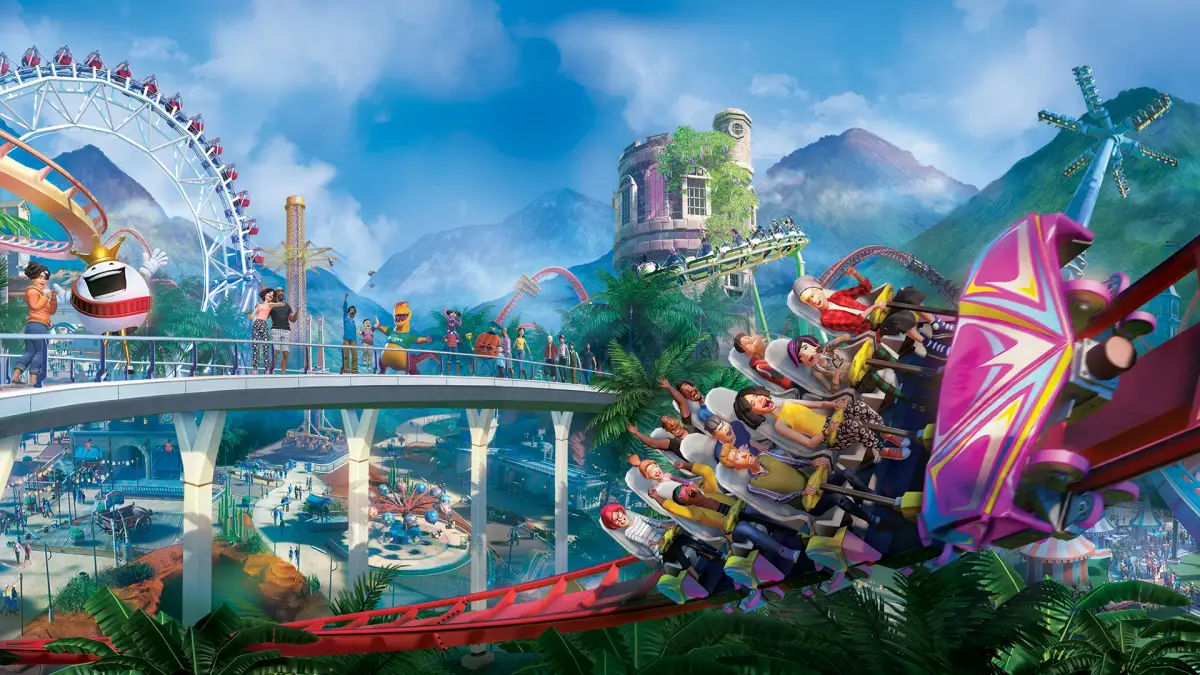
Welcome, aspiring park architects! Sandbox Mode in Planet Coaster is your ultimate canvas, offering unlimited funds and unlocked research to unleash your wildest theme park dreams. This detailed guide will walk you through effective strategies to maximize your creative potential and build truly unforgettable parks.
Initial Setup: Laying the Foundation
Before you even place your first coaster, a thoughtful setup can streamline your building process.
- Terrain Sculpting (Early Game): Navigate to the "Terrain" tab (accessible via the shovel icon on the left-hand UI). Before placing any rides, consider your park's overall aesthetic. Do you envision a mountainous region, a sprawling flatland, or a series of interconnected islands?
- Use the "Raise" and "Lower" tools with a large brush size (e.g., 50-100m) and high intensity (e.g., 75-100%) to quickly establish major elevation changes.
- The "Smooth" tool is invaluable for creating natural-looking hills and valleys.
- For water features, select the "Water" tool. You can create lakes, rivers, or even underground grottoes. Remember to adjust the water level to your preference.
- Grid Placement (Optional but Recommended): For precise path and building alignment, consider toggling the "Grid" option in the bottom-left UI. This helps maintain symmetry and order, especially for urban-themed areas.
- Theme Selection (Conceptual): While not a direct in-game tool, having a conceptual theme in mind from the start will guide your design choices. Are you building a futuristic sci-fi park, a whimsical fantasy land, or a classic Americana fair? This will influence your choice of scenery, rides, and even music.
Efficient Park Layout & Flow
A well-planned park ensures guests can easily navigate and enjoy all your attractions.
- Main Thoroughfares: Start with wide, inviting main paths (found under the "Paths" tab, represented by a footprint icon). Consider paths at least 8m wide to accommodate heavy foot traffic. Use the "Curved Path" tool for more organic shapes or the "Straight Path" tool for structured areas.
- Hub-and-Spoke Design: A common and effective layout involves a central hub with paths radiating outwards, leading to different themed zones. This allows guests to orient themselves easily.
- Themed Zones: Divide your park into distinct themed zones. For example, a "Frontier Adventures" zone might feature the Mine Train Coaster and Log Flume, while a "Sci-Fi Metropolis" zone could house the Hyperjump and Iron Claw. Use themed scenery items (found in the "Scenery" tab, represented by a tree icon) to reinforce these zones.
- Service Roads (Hidden): While guests don't use them, consider creating hidden service paths for staff. This allows janitors and mechanics to access areas quickly without disrupting guest flow. These can be placed behind buildings or within tunnels.
Ride Placement & Design
This is where the magic happens! Sandbox mode gives you access to every ride from the start.
- Coaster Creation (Advanced):
- Track Selection: Experiment with all coaster types. For high thrill, try the Giga Coaster or Wing Coaster. For family fun, the Wooden Coaster or Junior Coaster are excellent choices.
- Lift Hills & Launches: use both traditional chain lift hills and powerful launch sections (found in the "Track Options" menu when building a coaster) to vary ride experiences.
- Inversions & Elements: Don't be afraid to incorporate loops, corkscrews, zero-g rolls, and helixes. Monitor the "Excitement," "Fear," and "Nausea" ratings in the coaster's information panel (click on the coaster once placed) to fine-tune your design. Aim for high excitement with manageable fear and nausea.
- Terrain Interaction: Integrate your coasters with the terrain. Build tunnels through mountains, skim over water features, or even have sections underground. Use the "Tunnel" tool (within coaster building options) for seamless transitions.
- Flat Rides & Thrill Rides:
- Place several flat rides like the Teacups (gentle), Whirly Rig (moderate), and Insanity (intense) to cater to different guest preferences.
- Consider the "Spinning" and "Motion" categories for diverse experiences.
- Group similar intensity rides together to create themed areas for different guest demographics.
- Queue Lines & Theming:
- Design engaging queue lines using the "Queue Path" tool. Incorporate scenery, animatronics (from the "Scenery" tab), and even small shops or entertainment to keep guests entertained while waiting.
- Use the "Themed Scenery" packs (e.g., "Adventure Pack," "Spooky Pack") to quickly theme your ride areas.
Scenery & Atmosphere
Scenery is paramount in Sandbox Mode for creating immersive environments.
- Foliage & Landscaping: The "Nature" category within the "Scenery" tab offers a vast selection of trees, bushes, and flowers. Use them to break up open spaces, create natural barriers, and add visual appeal.
- Building & Custom Structures: The "Buildings" tab allows you to construct custom buildings using individual wall, roof, and trim pieces. This is where true creativity shines.
- use the "Advanced Move" and "Advanced Rotate" tools (accessible by pressing 'X' and 'Z' respectively after selecting an object) for precise placement and unique angles.
- Group multiple scenery items together using the "Group" tool (found in the bottom-right UI after selecting multiple items) to create custom blueprints for future use.
- Lighting & Effects: The "Special Effects" category (under "Scenery") includes fog machines, fire effects, and various lighting options. Use these to enhance the atmosphere, especially for night-time park experiences.
- Audio & Music: Place "Speakers" (found in "Scenery" -> "Audio") throughout your park and assign custom music tracks or sound effects to different zones. This dramatically enhances immersion.
Utilities & Guest Services
Even in Sandbox, guest comfort and park functionality are important for a believable park.
- Shops & Facilities: Place several food stalls (e.g., Chief Beef, Pizze Fritte), drink stands (e.g., Gulpee Soda), and souvenir shops (e.g., Pipshot Souvenirs). While money isn't an issue, it adds realism.
- Restrooms & First Aid: Ensure adequate coverage of restrooms and first aid stations for guest comfort.
- Staff Buildings: Place "Staff Rooms" and "Workshops" (found in "Facilities" -> "Staff Buildings") to provide resting areas and maintenance zones for your staff.
- Information Kiosks: "Information Kiosks" (found in "Facilities" -> "Shops & Facilities") can be placed at key intersections to help guests navigate.
Remember, Sandbox Mode is about experimentation. Don't be afraid to try new things, delete and rebuild, and let your imagination run wild. The tools are all at your fingertips – go forth and create your masterpiece!
100% Human-Written. AI Fact-Checked. Community Verified. Learn how AntMag verifies content