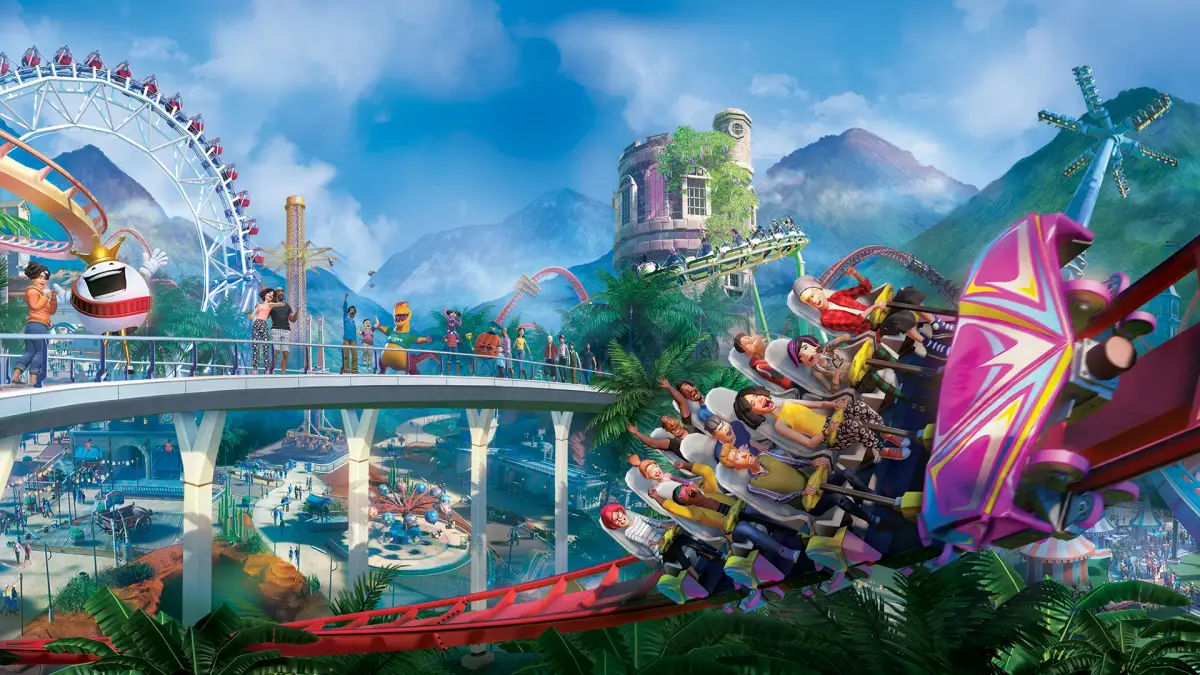
Elevate your creations in Planet Coaster with advanced coaster design principles. Master track manipulation and guest psychology for legendary rides.
Welcome, aspiring coaster architects! While the basics of building a functional coaster are straightforward, truly exceptional rides in Planet Coaster demand a deeper understanding of physics, guest psychology, and meticulous track manipulation. This section will guide you through advanced techniques to elevate your creations from good to legendary, focusing on maximizing excitement, fear, and nausea ratings while minimizing negative G-forces and increasing throughput.
Mastering G-Forces: The Invisible Hand of Excitement
G-forces are the lifeblood of a thrilling coaster. Understanding and manipulating them is key to creating dynamic and enjoyable rides. The in-game G-Force Heatmap (found under the "Coaster Testing" tab, then "Heatmaps") is your best friend here. Aim for a balanced distribution of positive and negative Gs.
Positive G-Forces (Vertical Loops, Helix Turns)
- Strategy: Positive Gs press riders into their seats. They are exhilarating in moderation.
- Actionable Steps:
- Vertical Loops: Ensure your entry speed is sufficient to complete the loop without stalling, but not so high that the bottom of the loop generates excessive Gs (red zones on the heatmap). Use the "Smooth All" tool (found in the Coaster Builder interface, under "Track Tools") sparingly after shaping to refine the curve.
- Helix Turns: Gradual entry and exit into helices are crucial. Use the "Bank" tool (Coaster Builder interface) to smoothly transition into and out of the banked track. A common mistake is to bank too sharply, too quickly, leading to lateral G spikes.
- Airtime Hills (Bottom): The bottom of a steep drop or the valley between two hills will naturally generate positive Gs. Ensure these transitions are smooth and not too abrupt.
Negative G-Forces (Airtime Hills, Camelbacks)
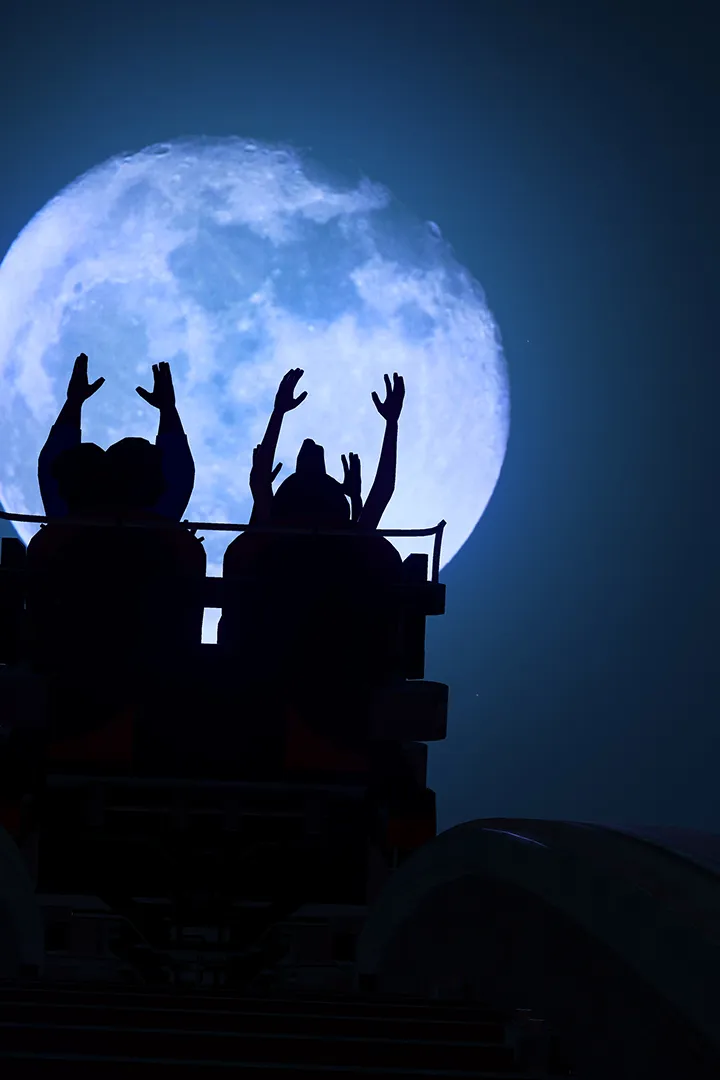
- Strategy: Negative Gs lift riders out of their seats, creating the coveted "airtime" sensation. This is a major driver of excitement.
- Actionable Steps:
- Airtime Hills: Design these with a parabolic curve. The ideal shape allows riders to feel weightless at the crest. Use the "Track Height" and "Track Length" tools (Coaster Builder interface) to fine-tune the hill's profile. Experiment with different hill heights and speeds to find the sweet spot for sustained airtime (light blue on the heatmap).
- Camelbacks: Similar to airtime hills, but often part of a sequence. Focus on smooth, flowing transitions between elements to maintain momentum and airtime.
- Overbanked Turns: While primarily lateral, a well-designed overbanked turn can introduce subtle negative Gs as the train crests the bank.
Lateral G-Forces (Turns, S-Bends)
- Strategy: Lateral Gs push riders side-to-side. Excessive lateral Gs are a primary cause of nausea and can significantly reduce excitement.
- Actionable Steps:
- Banking: Always bank your turns! The "Bank" tool is your most important ally here. The faster the turn, the more banking is required. Aim for a bank angle that keeps the G-force heatmap in the green or light yellow for lateral forces.
- Smooth Transitions: Avoid sudden changes in direction. Use the "Smooth All" tool or manually smooth individual track sections (Coaster Builder interface, "Smooth Track" option) to create graceful curves.
- S-Bends: These require careful banking. Bank into the first curve, then smoothly transition the bank to the opposite direction for the second curve. This is where the "Smooth All" tool really shines.
Optimizing Throughput: Keeping the Lines Moving
A fantastic coaster is only truly successful if guests can actually ride it! Maximizing throughput means more happy guests and more money for your park.
- Multiple Trains: Most coasters can support multiple trains. Access this setting in the "Coaster Operations" tab (select your coaster, then the gear icon). Experiment with 2 or 3 trains. More trains mean more capacity, but also require careful block section placement to prevent collisions.
- Block Sections: These are critical for multi-train operation. A block section is a segment of track that only one train can occupy at a time.
- Placement: Place block sections strategically:
- Immediately after the station.
- Before any lift hill or launch section.
- At the end of the ride, before the final brake run.
- Consider adding mid-course brake runs (MCBRs) on longer coasters to create additional block sections and control train spacing.
- Configuration: Ensure your block sections are long enough to safely hold a full train. Adjust the "Block Brake Speed" in the "Coaster Operations" tab to fine-tune how quickly trains slow down in a block.
- Placement: Place block sections strategically:
- Station Length: A longer station allows for more cars per train, increasing capacity per dispatch. Adjust this in the "Coaster Builder" interface when initially placing the station.
- Dispatch Interval: In the "Coaster Operations" tab, you can set the "Minimum Dispatch Interval." Lowering this allows trains to dispatch more quickly, but only if the block sections are clear.
The Art of Theming and Scenery Integration
A coaster isn't just about the track; it's about the immersive experience. Integrating scenery seamlessly elevates your ride from a mechanical marvel to a storytelling masterpiece.
- Tunnel Vision: Tunnels are more than just track covers. Use them to create moments of darkness, build suspense, or reveal a new section of the ride.
- Placement: Use the "Tunnel" tool (Coaster Builder interface) to automatically generate tunnels when the track goes underground.
- Interior Scenery: Don't leave tunnels bare! Add props like "Mine Supports," "Cave Formations," or even custom lighting effects (found in the "Scenery" tab, under "Lights") to enhance the experience.
- Near Misses: Strategically placing scenery close to the track creates thrilling "near miss" moments.
- Safety First: Always test your coaster thoroughly after placing scenery near the track. Use the "Test Coaster" function and observe the "Clearance" heatmap (under "Coaster Testing") to ensure no collisions occur.
- Effective Props: "Rock Formations," "Tree Canopies," "Building Shells," and even custom-built structures can be used for near misses. Aim for elements that riders will see coming but feel like they just barely avoid.
- Soundscapes: Don't underestimate the power of audio.
- Ambient Sounds: Place "Sound Emitters" (found in the "Scenery" tab, under "Audio") near themed elements. A jungle coaster could have "Jungle Sounds," a haunted ride "Spooky Ambiance."
- Triggered Sounds: Use "Triggered Events" (found in the "Triggers" tab when selecting a coaster track segment) to activate specific sound effects as the train passes. Imagine a roar as the train enters a dragon's mouth, or a splash sound as it passes a water feature.
Advanced Track Shaping Techniques
Beyond the basic tools, mastering subtle track adjustments can make a world of difference in ride comfort and excitement.
- Individual Piece Smoothing: While "Smooth All" is convenient, sometimes you need more granular control. Select individual track pieces (Coaster Builder interface, "Select Track Piece") and use the "Smooth Track" option to refine specific curves or transitions without affecting the entire layout.
- Vertical and Horizontal Smoothing: These specialized smoothing tools (found in the Coaster Builder interface, under "Track Tools") allow you to smooth only the vertical or horizontal profile of the track, respectively. This is invaluable for fine-tuning airtime hills or banking transitions without altering other aspects of the track.
- Pre-Drops and Post-Lifts: Instead of a flat section immediately after a lift hill, consider a small "pre-drop" to build speed and anticipation. Similarly, a gentle "post-lift" curve can smoothly transition the train into the main layout.
- Zero-G Rolls and Stalls: These advanced inversions require precise speed and banking. Practice on a test track. The key is to maintain just enough speed to complete the inversion without excessive G-forces, allowing riders to feel weightless. Use the G-Force Heatmap extensively to perfect these elements.
By diligently applying these advanced principles, you'll be well on your way to designing coasters that not only look incredible but also deliver unparalleled thrills and guest satisfaction. Remember to always test, iterate, and observe your guest feedback to continuously refine your creations!
100% Human-Written. AI Fact-Checked. Community Verified. Learn how AntMag verifies content