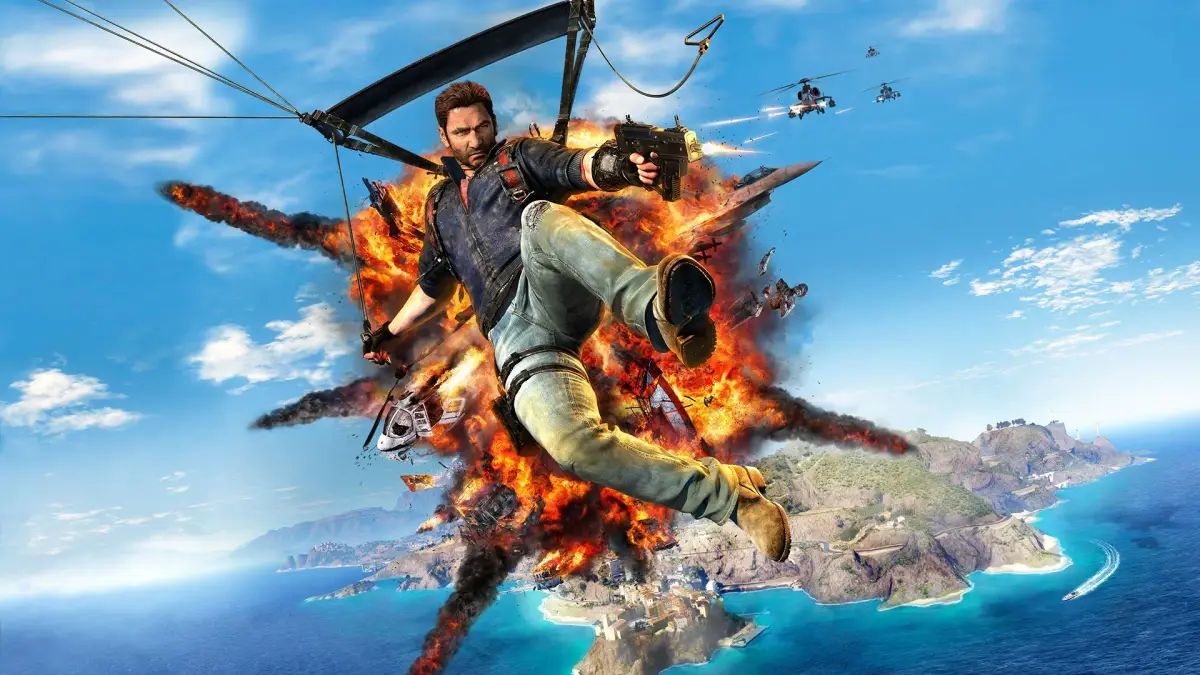
Master Just Cause 3 Destruction Frenzies! Learn tips, tricks, and unlock requirements for all Frenzy types, from Boat to Tank, to maximize your chaos and score.
Destruction Frenzies in Just Cause 3 provide you with a weaponized vehicle or item and a time limit to destroy as many chaos objects and vehicles as possible. You can increase your score significantly by building up a multiplier through quick, successive destruction. Your final score is determined by the total points accumulated.
Tips & Tricks
- Delay starting the timer by positioning yourself optimally before causing the first explosion.
- Begin by destroying smaller objects and vehicles to achieve an x8 multiplier, then use it to rack up points on larger chaos objects.
- If better vehicles are available in the vicinity, utilize them over the provided one.
- Points can still be earned after the timer expires if you maintain your multiplier; points stop accumulating once it drops to x1.
List of all Destruction Frenzies
- Boat Frenzy I — Location: Sirocco Nord; Requisite: Liberate Porto Vena
- Boat Frenzy II — Location: Trio; Requisite: Liberate Porto Darsena
- Boat Frenzy III — Location: Maestrale; Requisite: Liberate Porto Tridente
- FOW Frenzy — Location: Falco; Requisite: Liberate Falco Maxime: CetCom
- Grapple Frenzy — Location: Aspera; Requisite: Liberate Cima Leon: CentCom
- Grenade Launcher Frenzy I — Location: Sirocco Sud; Requisite: Liberate Le Galera
- Grenade Launcher Frenzy II — Location: Petra; Requisite: Liberate Espia Bassa
- Helicopter Frenzy I — Location: Baia; Requisite: Liberate Vis Electra
- Helicopter Frenzy II — Location: Corda Dracon; Requisite: Liberate Corda Dracon: CentCom
- Helicopter Frenzy III — Location: Val De Mar; Requisite: Liberate Porto Cocler
- Jet Frenzy I — Location: Maestrale; Requisite: Liberate Vulture
- Jet Frenzy II — Location: Costa Sud; Requisite: Liberate Griphon
- Machine Gun Frenzy — Location: Lavanda; Requisite: Liberate Porto Le Gratia
- Mortar Frenzy — Location: Petra; Requisite: Liberate Puncta Sud
- RPG Frenzy I — Location: Sirocco Sud; Requisite: Liberate Vigilator Sud
- RPG Frenzy II — Location: Prospere; Requisite: Liberate Cava Grande
- RPG Frenzy III — Location: Rocca Blau; Requisite: Liberate Cava Geminos Nord
- Shotgun Frenzy — Location: Sirocco Nord; Requisite: Liberate Le Tutor
- Sniper Rifle Frenzy I — Location: Plagia; Requisite: Liberate Vigilator Nord
- Sniper Rifle Frenzy II — Location: Capite Est; Requisite: Liberate Espia Alta
- Stunt Hang Frenzy — Location: Capite West; Requisite: Liberate Porto Cavo
- Support Vehicle Frenzy — Location: Lacos; Requisite: Liberate Cima Leon: Silo
- Tank Frenzy I — Location: Feno; Requisite: Liberate Cima Leon: Transmitter
- Tank Frenzy II — Location: Grande Pasture; Requisite: Liberate Alte Potentia
- Tank Frenzy III — Location: Montana; Requisite: Liberate Cava Montana
100% Human-Written. AI Fact-Checked. Community Verified. Learn how AntMag verifies content